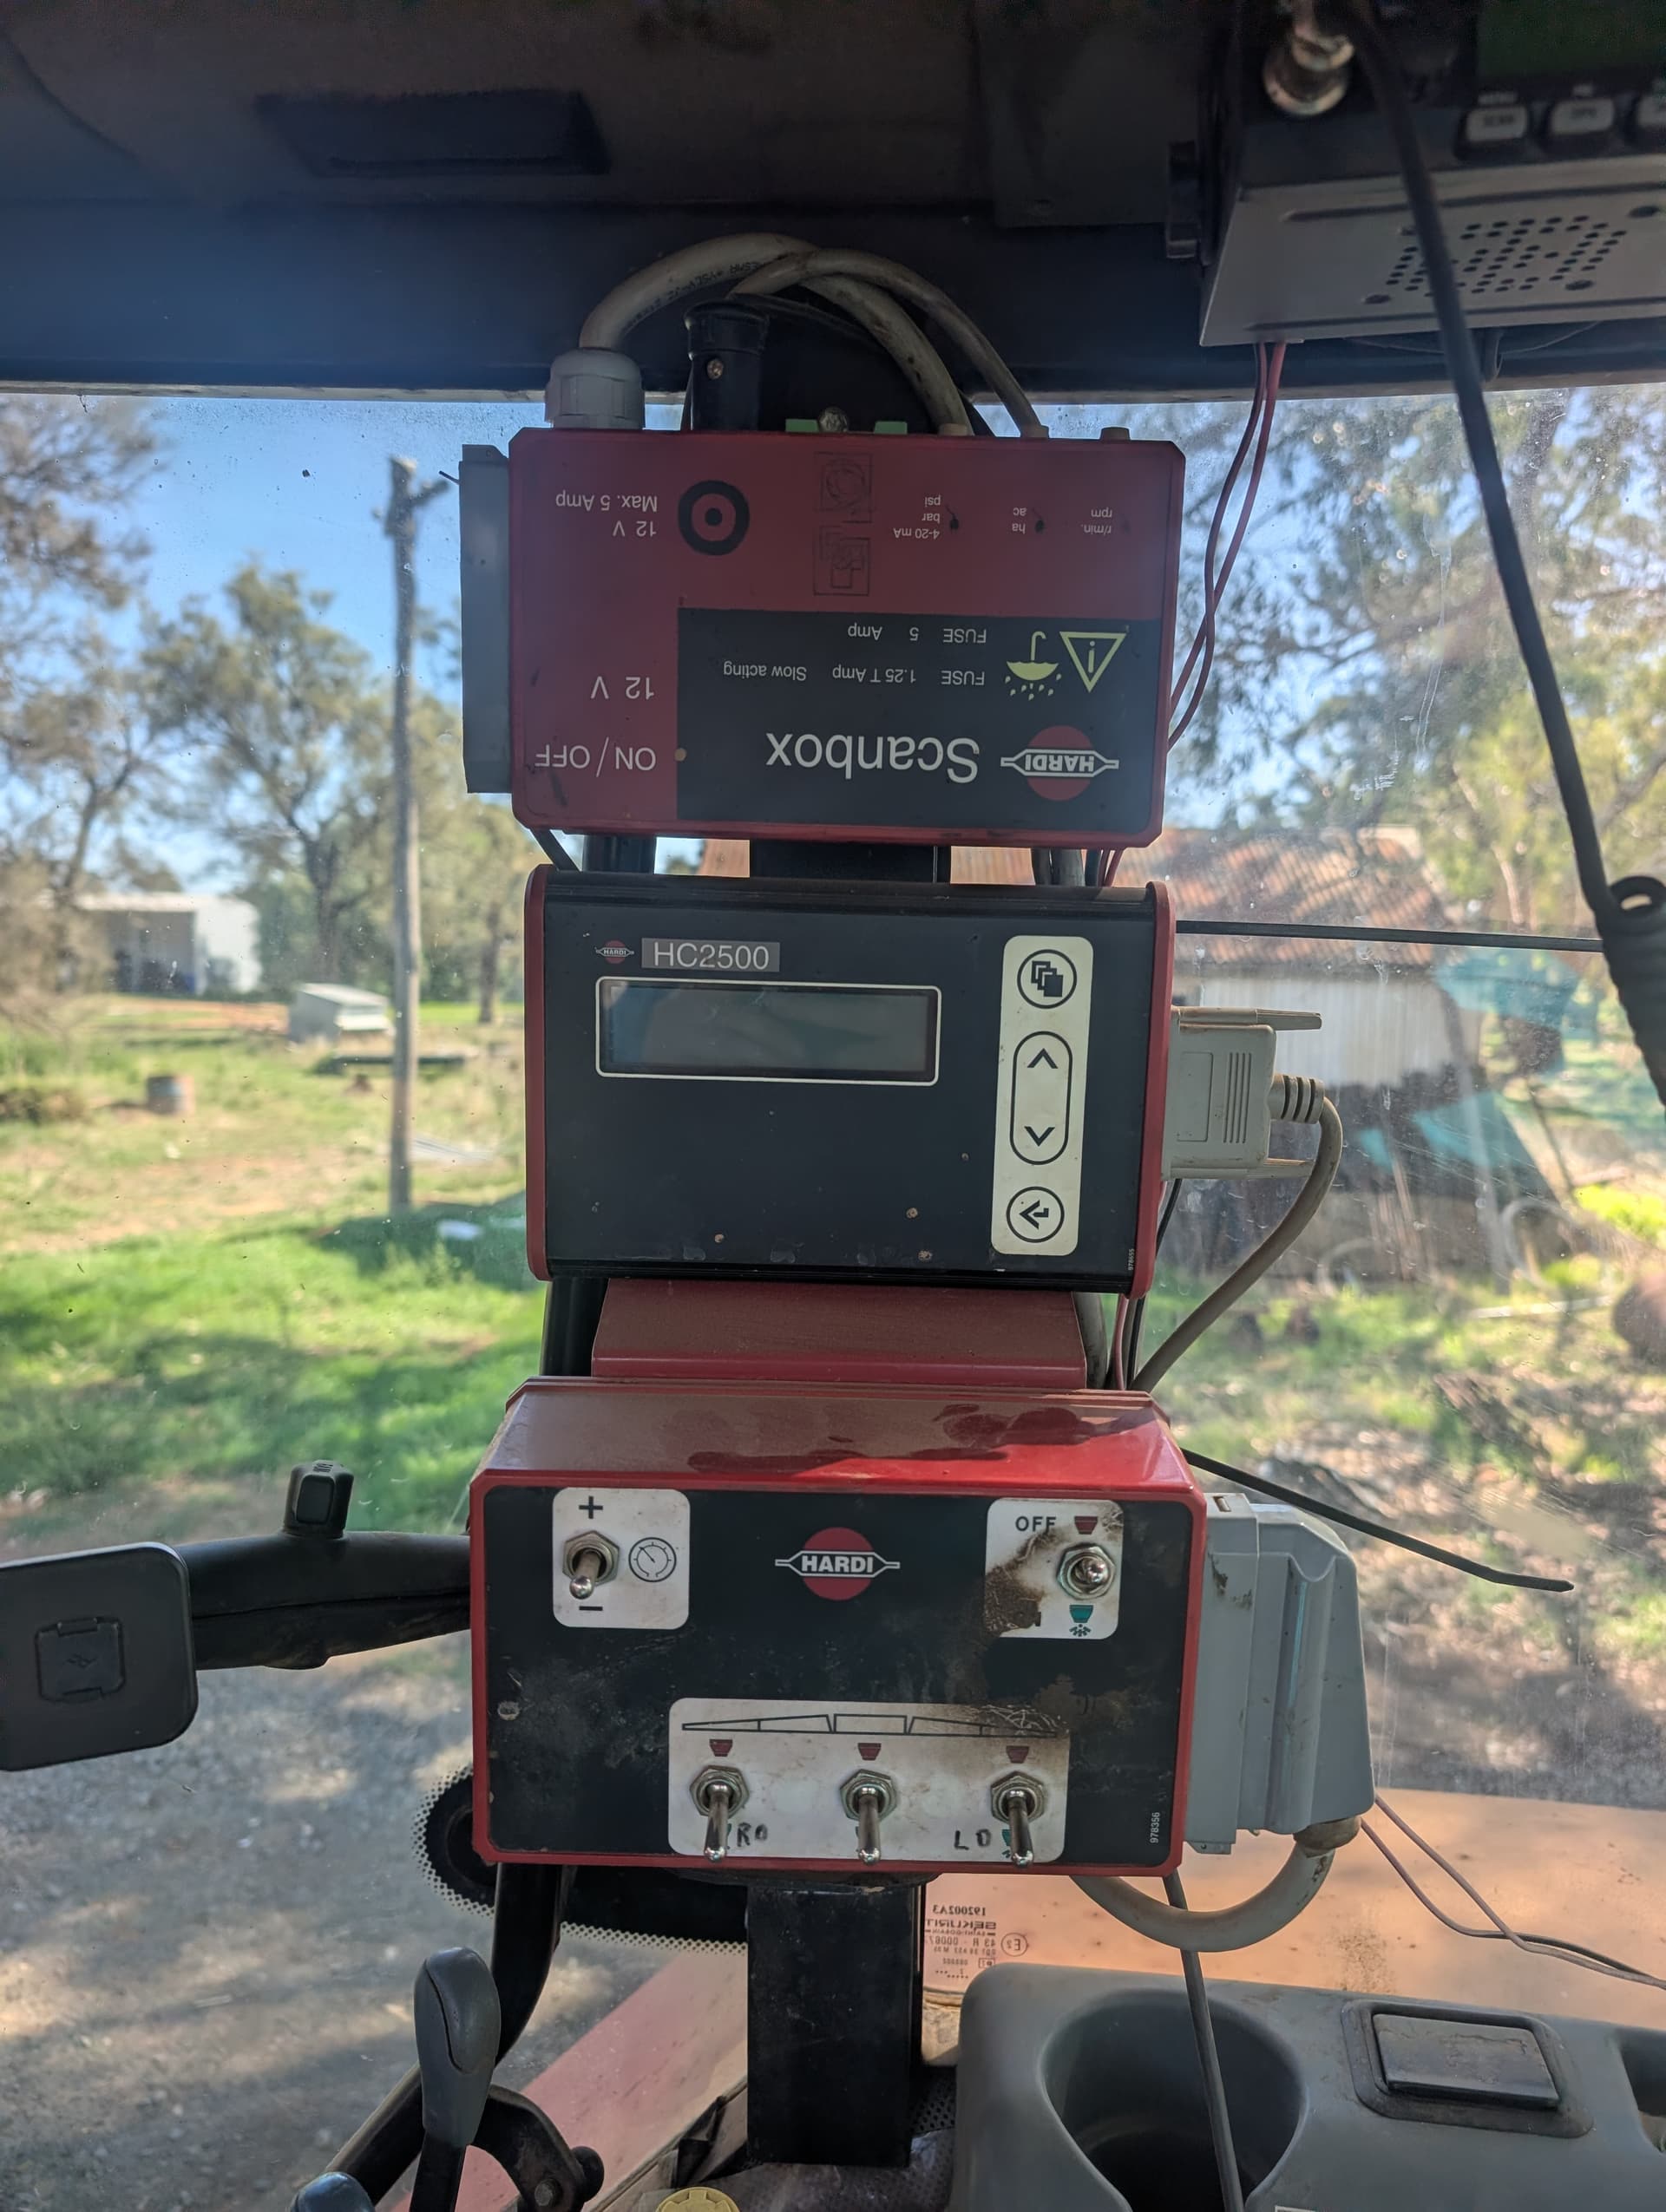
I was wondering what the best way is currently to add section control to a hardi sprayer. I’m aware that the sections are turned on and off by changing the polarity. I’m just not quite sure of the best way to integrate it into the system in the picture. Do people just replace the switch box or integrate it with the exiting switchbox? Alternatively would I just be better to use a machine controller board like the RC15? I was only intending to add section control at this stage but I could add rate control if that would work better
I use GitHub - Xilofeon/Section-Control-for-AgOpenGPS · GitHub with 6 sections, I opened the cable 30 cm from the connector, cut the section wires and reconnected with connectors, now I can disconnect the section control, and directly connect the switch box if needed. I use the original switch box, and use optocouplers to signal gnd. to arduino, (still need the on/off and auto/manual switch)

If you have a fair sized 3d printer then I would look at aogmatic. It uses servos to flip toggle switches. Simple and non-intrusive, works, everyone instantly understand what it should do, and can manually bypass if it doesn’t work. It may look a bit cheesy and listening to the servos may get old, but who cares?
I have the same Hardi switch box. I wired my AgopenGPS relays in parallel with the Hardi section switches. (I also added a small LED indicator light above each switch.) I brought 4 wires out through a hole in the side to a connector to attach to my relay box. Just need a common wire to the switches and the 3 switch legs.
Wiring it this way allows the switch box to be used normally, with or without AgopenGPS relays attached. The section switches stay off, and AgopenGPS relays turn sections on as needed. Everything still goes through the main switch, so it has to be on to spray manually/AgopenGPS, and when it’s off there is no power so sections cannot turn on.
1 Like