Yep, got that done now. ![]()
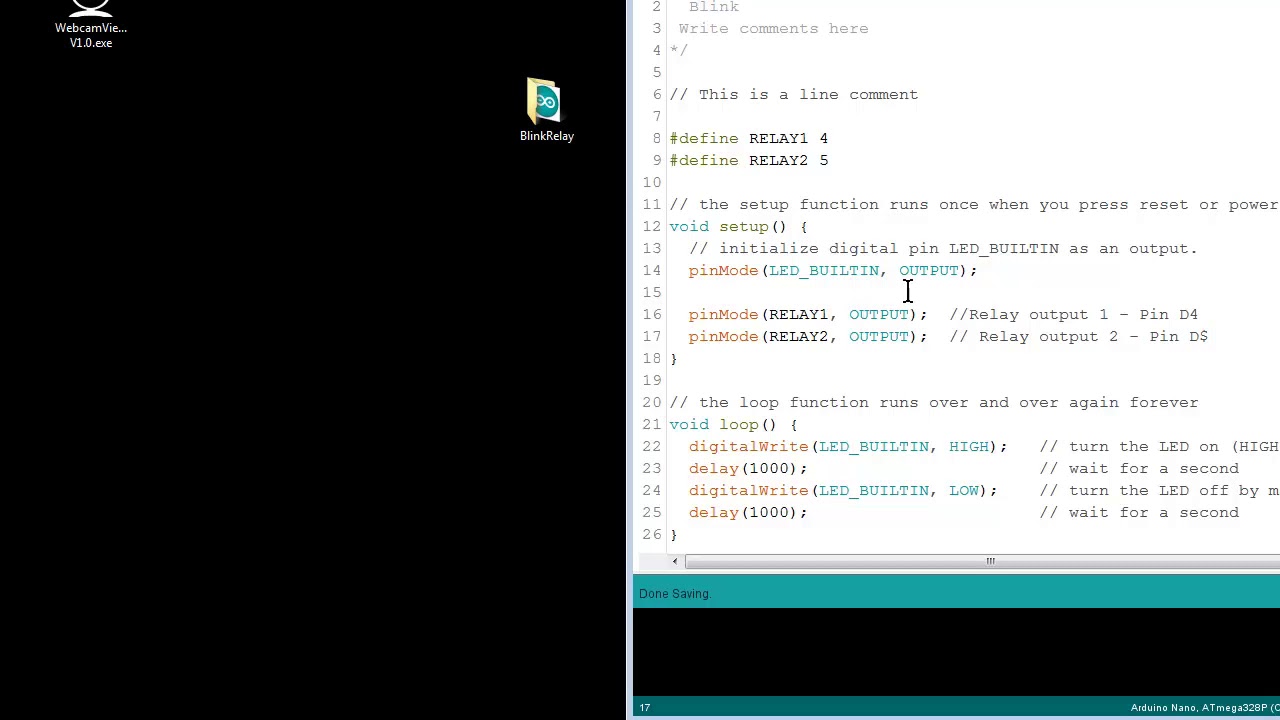
Ok, folow along the video and type the code that is typed in the video. Nothing to copy and paste here - you do the typing.
Brian, bit unrelated but question on the video. You opened the blink and then saved it and that created a library on your desktop. So, let’s say you after you made the changes in the program and you uploaded it and we’re happy with what you have, would you then save it again as a new name or name with a date if it was a work in progress type thing. Just curious how you keep your projects straight
You’re not creating a library - but a sketch, the program to be compiled into machine code which then gets sent to the arduino eeprom (its memory). And that ino to compile is the code in the folder. You can make as many as you want and name them however but the ino must have the same name as the folder
Ok, great. I understand that we are making a sketch, was just confused on how they are saved. So if I have it correct now, each sketch will have a folder?
No everytime you save it, it will be in that same BlinkRelay folder.
Just like saving a word or XLS or text file, when you save it you write over the existing one. Save As allows you to save it to a new one.
If you want to keep older copies, then you need to save them individually as a backup, but not really needed to do every one, just once in a while
Ok, going to try this right now. When you make your videos what do you use to record on your laptop like that
I use camtasia
This guy producers some very good tutorials on arduino projects. Differing levels of complexity but all very well presented and carefully explained. When I started with projects his channel was invaluable.
A very good indicator of someones knowledge on a subject is their ability to explain it (however complex it may be) clearly and in an understandable manner to a lay person. Clearly @BrianTee_Admin falls into this category! ![]()
Maybe those just starting out with projects like AOG should learn the basics from the very cheap to implement projects explained in his tutorials.
https://www.youtube.com/channel/UCzml9bXoEM0itbcE96CB03w/featured

And it works on the relay board,click click. Thanks Brian
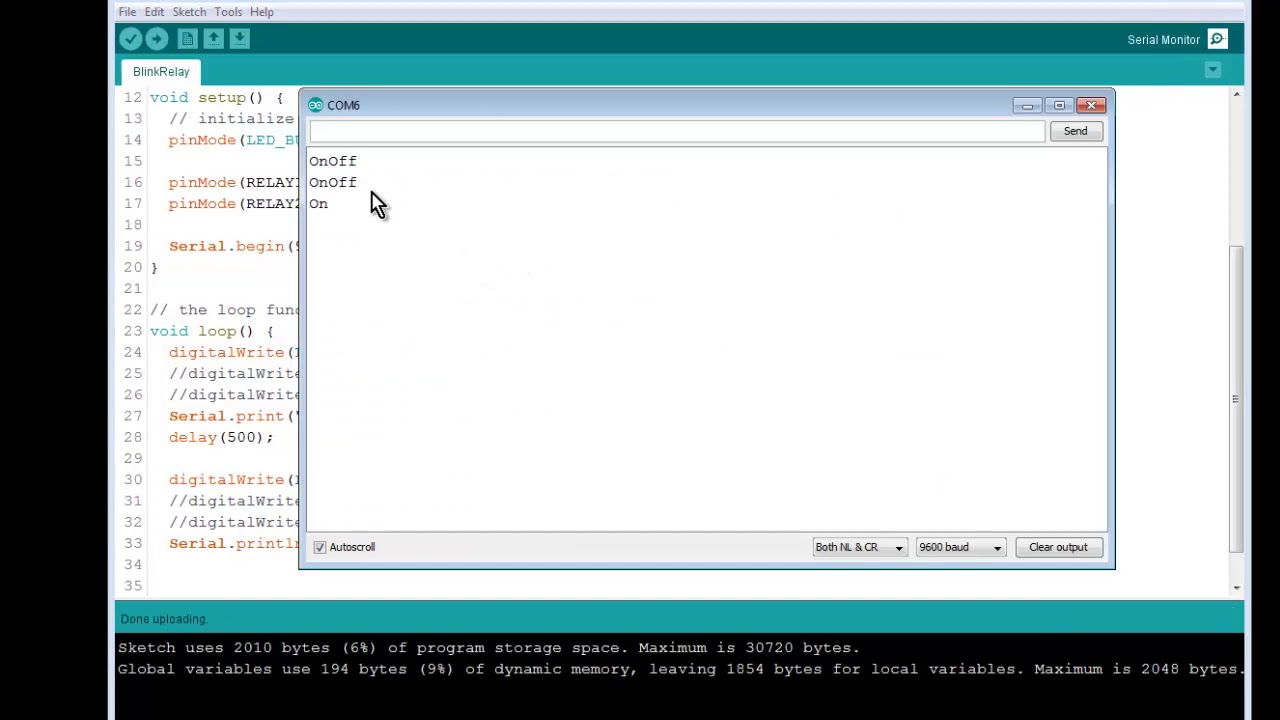
Tomorrow when i get home - the serial port and talking to the outside world
So so video on the serial port. But play around with it, search a little on the web and it’ll make sense.
Interesting, also good to have learned 38400 will be baud rate for AOG
Is serial the same programming as would be if we put a encj2860 in and go that way for communication
Completely different for UDP, but you still have the serial port for printing out stuff while the udp talks to AOG. Very handy
Thanks
ok, time for some code explanation using actual AOG communication.
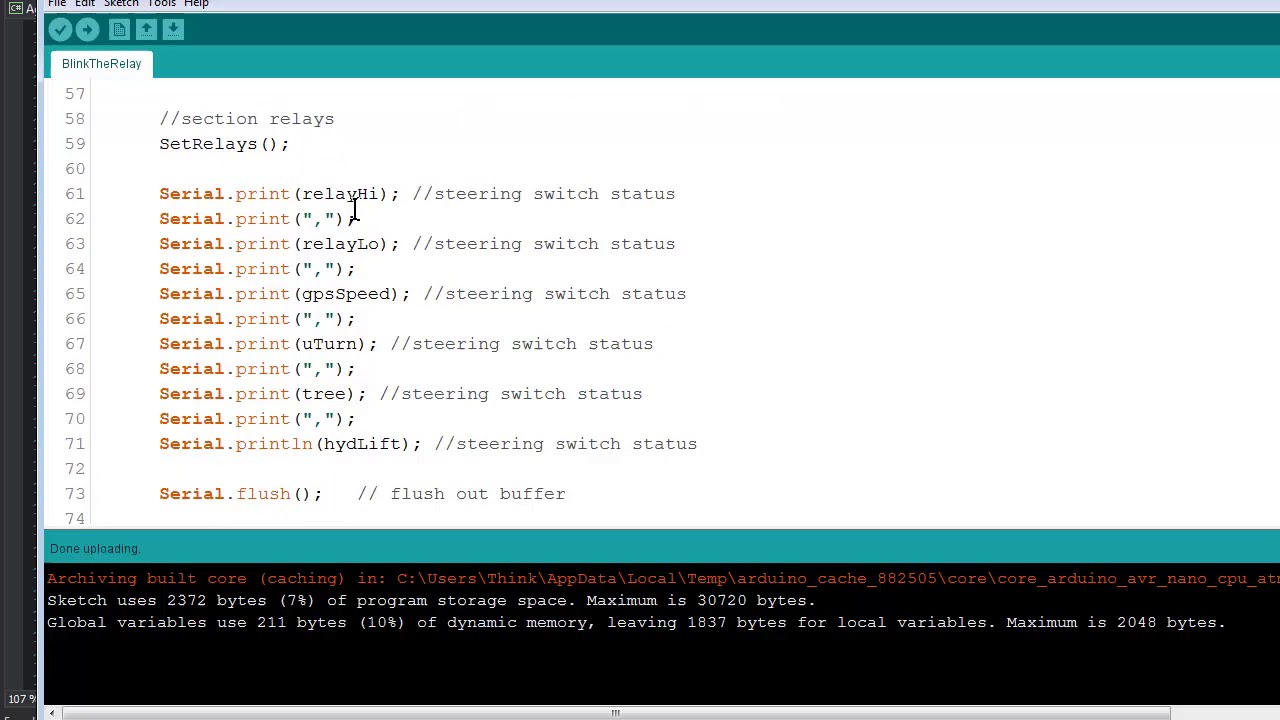
Make a new sketch using the following code. Just use the following ino.
BlinkTheRelay.ino (3.6 KB)
Video # 5. How AgOpenGPS talks to the machine control module and how the Arduino knows what relay to turn on.
Excellent job, a little overwhelming trying to follow the coding but the general idea of what’s going on makes sense. Thanks
When the programming is done for machine control, there needs to be some documentation posted about pinouts on Nano and relay boards to make sure it all gets hooked up correctly


