This is something a little different to open source GPS, but Brian reached out over Twitter and suggested you might be group interested in a new open source ag initiative: Weed-AI
It’s a new platform we developed for the upload/download/standardisation of annotated weeds imagery for the development of machine learning based weed recognition models. It was developed out of a fairly severe bottleneck in the availability of publicly available annotated images to train up these algorithms for anyone to develop their own spot sprayers (or whatever site-specific weed control). We’re hoping to build up a community of people (very much looking at the successful community here as a great example!) that would contribute images and also site improvements.
The Github repository for the site has all the code and is another opportunity for involvement, though less of a priority currently than annotated images.
Contributing Images
If you’d like to contribute imagery that would be fantastic and it can be as small/large a dataset as you are happy to do. The most important points are:
- images must be collected in fairly consistent and reportable format
- images must be annotated (acceptable format is COCO, but we have converters for PASCAL VOC/and mask annotations)
- the AgContext and Metadata files need to be completed
That’s about it! There’s more information about the site and specifics about acceptable formats on the About and WeedCOCO pages of Weed-AI if you’re after that. But would love to hear any questions, suggestions or feedback on the process. We also have an OpenWeedLocator (OWL) that is very close to being ready to launch but we’re just finalising an associated paper, so stayed tuned for another open source hardware/software implementation for site specific weed control in the very near future.
17 Likes
Hey, thanks for putting in the work to develop this project! There’s a lot of potential here for reducing spray consumption.
Just wanted to let you know that I went through the OWL instructions and (after fighting with the file logging bug) have one working unit on my bench. It sees green and it activates the relay. Amazing!
A couple of questions:
Is there a version of the 3D printed case that is a bit compact? I can’t quite fit this on a Prusa I3 MK3S+. If not, would you like me to model one? I currently have all the guts inside a weather sealed project box with a transparent lid. I’d need to do some real world testing to see if this messes with the camera too much, but I think this is more durable and better long term solution. Obviously adds to the price.
Also, I’d like to try running more nozzles with smaller spray diameter off of one camera. Say 8 instead of 4. Think this is worth doing? Or am I going to run into diminishing returns on spray efficiency? Is there any easy way to change the number of sections that the camera splits into, then assign more GPIO pins to those sections? I’m not a programmer, but I am learning.
I’m really looking forward to any green on green developments you may have in the pipes. Here are two image datasets that I’ve come across. Maybe they’ll be of use to you.
https://datacommons.cyverse.org/browse/iplant/home/shared/commons_repo/curated/TerraByte_PlantLabImages_2021
https://datadryad.org/stash/dataset/doi:10.5061/dryad.gtht76hhz
Keep up the good work!
3 Likes
I just discovered all of this!
I love it, it’s just crazy what you’ve achieved.
I’ll think about getting into it, for my own satisfaction.
But for me I just see a first fault to be usable in my fields. Couldn’t we find a more serious camera with regard to working conditions?
1 Like
Thanks @GreenOrpheus, glad you were able to work through those issues and get it working! Incredibly satisfying when it does.
Is there a version of the 3D printed case that is a bit compact?
We did all our printing on my Prusa MK3S so it was designed to just fit within the build area there when rotated so it’s positioned across the build plate. But the design can certainly be made more compact and more weatherproof, it’s on our to do list. If you’d like to have a go designing one that would be awesome! Would very much appreciate it, and we can update the official documentation with the design if it works out well. All the editable TinkerCAD files are available here. There is a GitHub project on optimising enclosure design too if you’d like to take it on.
running more nozzles with smaller spray diameter off of one camera.
This is relatively straightforward to change in the software, check out lines 201-203 in greenonbrown.py. Largest change is mounting an additional relay board (or one with more relays) and connecting more GPIO pins to the Raspberry Pi. After a certain number it would probably be easier to use a serial connection to avoid needing too many GPIO pins.
Or am I going to run into diminishing returns on spray efficiency?
It depends on your application and if you can source some narrower angle nozzle tips. My first guess is that you would save more chemical but it might not be a full 50% saving going from 4 to 8 nozzles. It would be nice to try it and see how much the volume changes though.
@Tooki57 thank you for the kind words too! We chose the PiCam mostly because it is relatively cheap but mainly because it works really easily with the Raspberry Pi. Other cameras need their own drivers, which in our experience have been a source of error/incompatibility with updates/lack thereof as different parts of the tech advance. It’s also a project on GitHub we’re looking into though, because it is a limiting factor. What sort of working conditions (temperatures mainly) would you be working in?
3 Likes
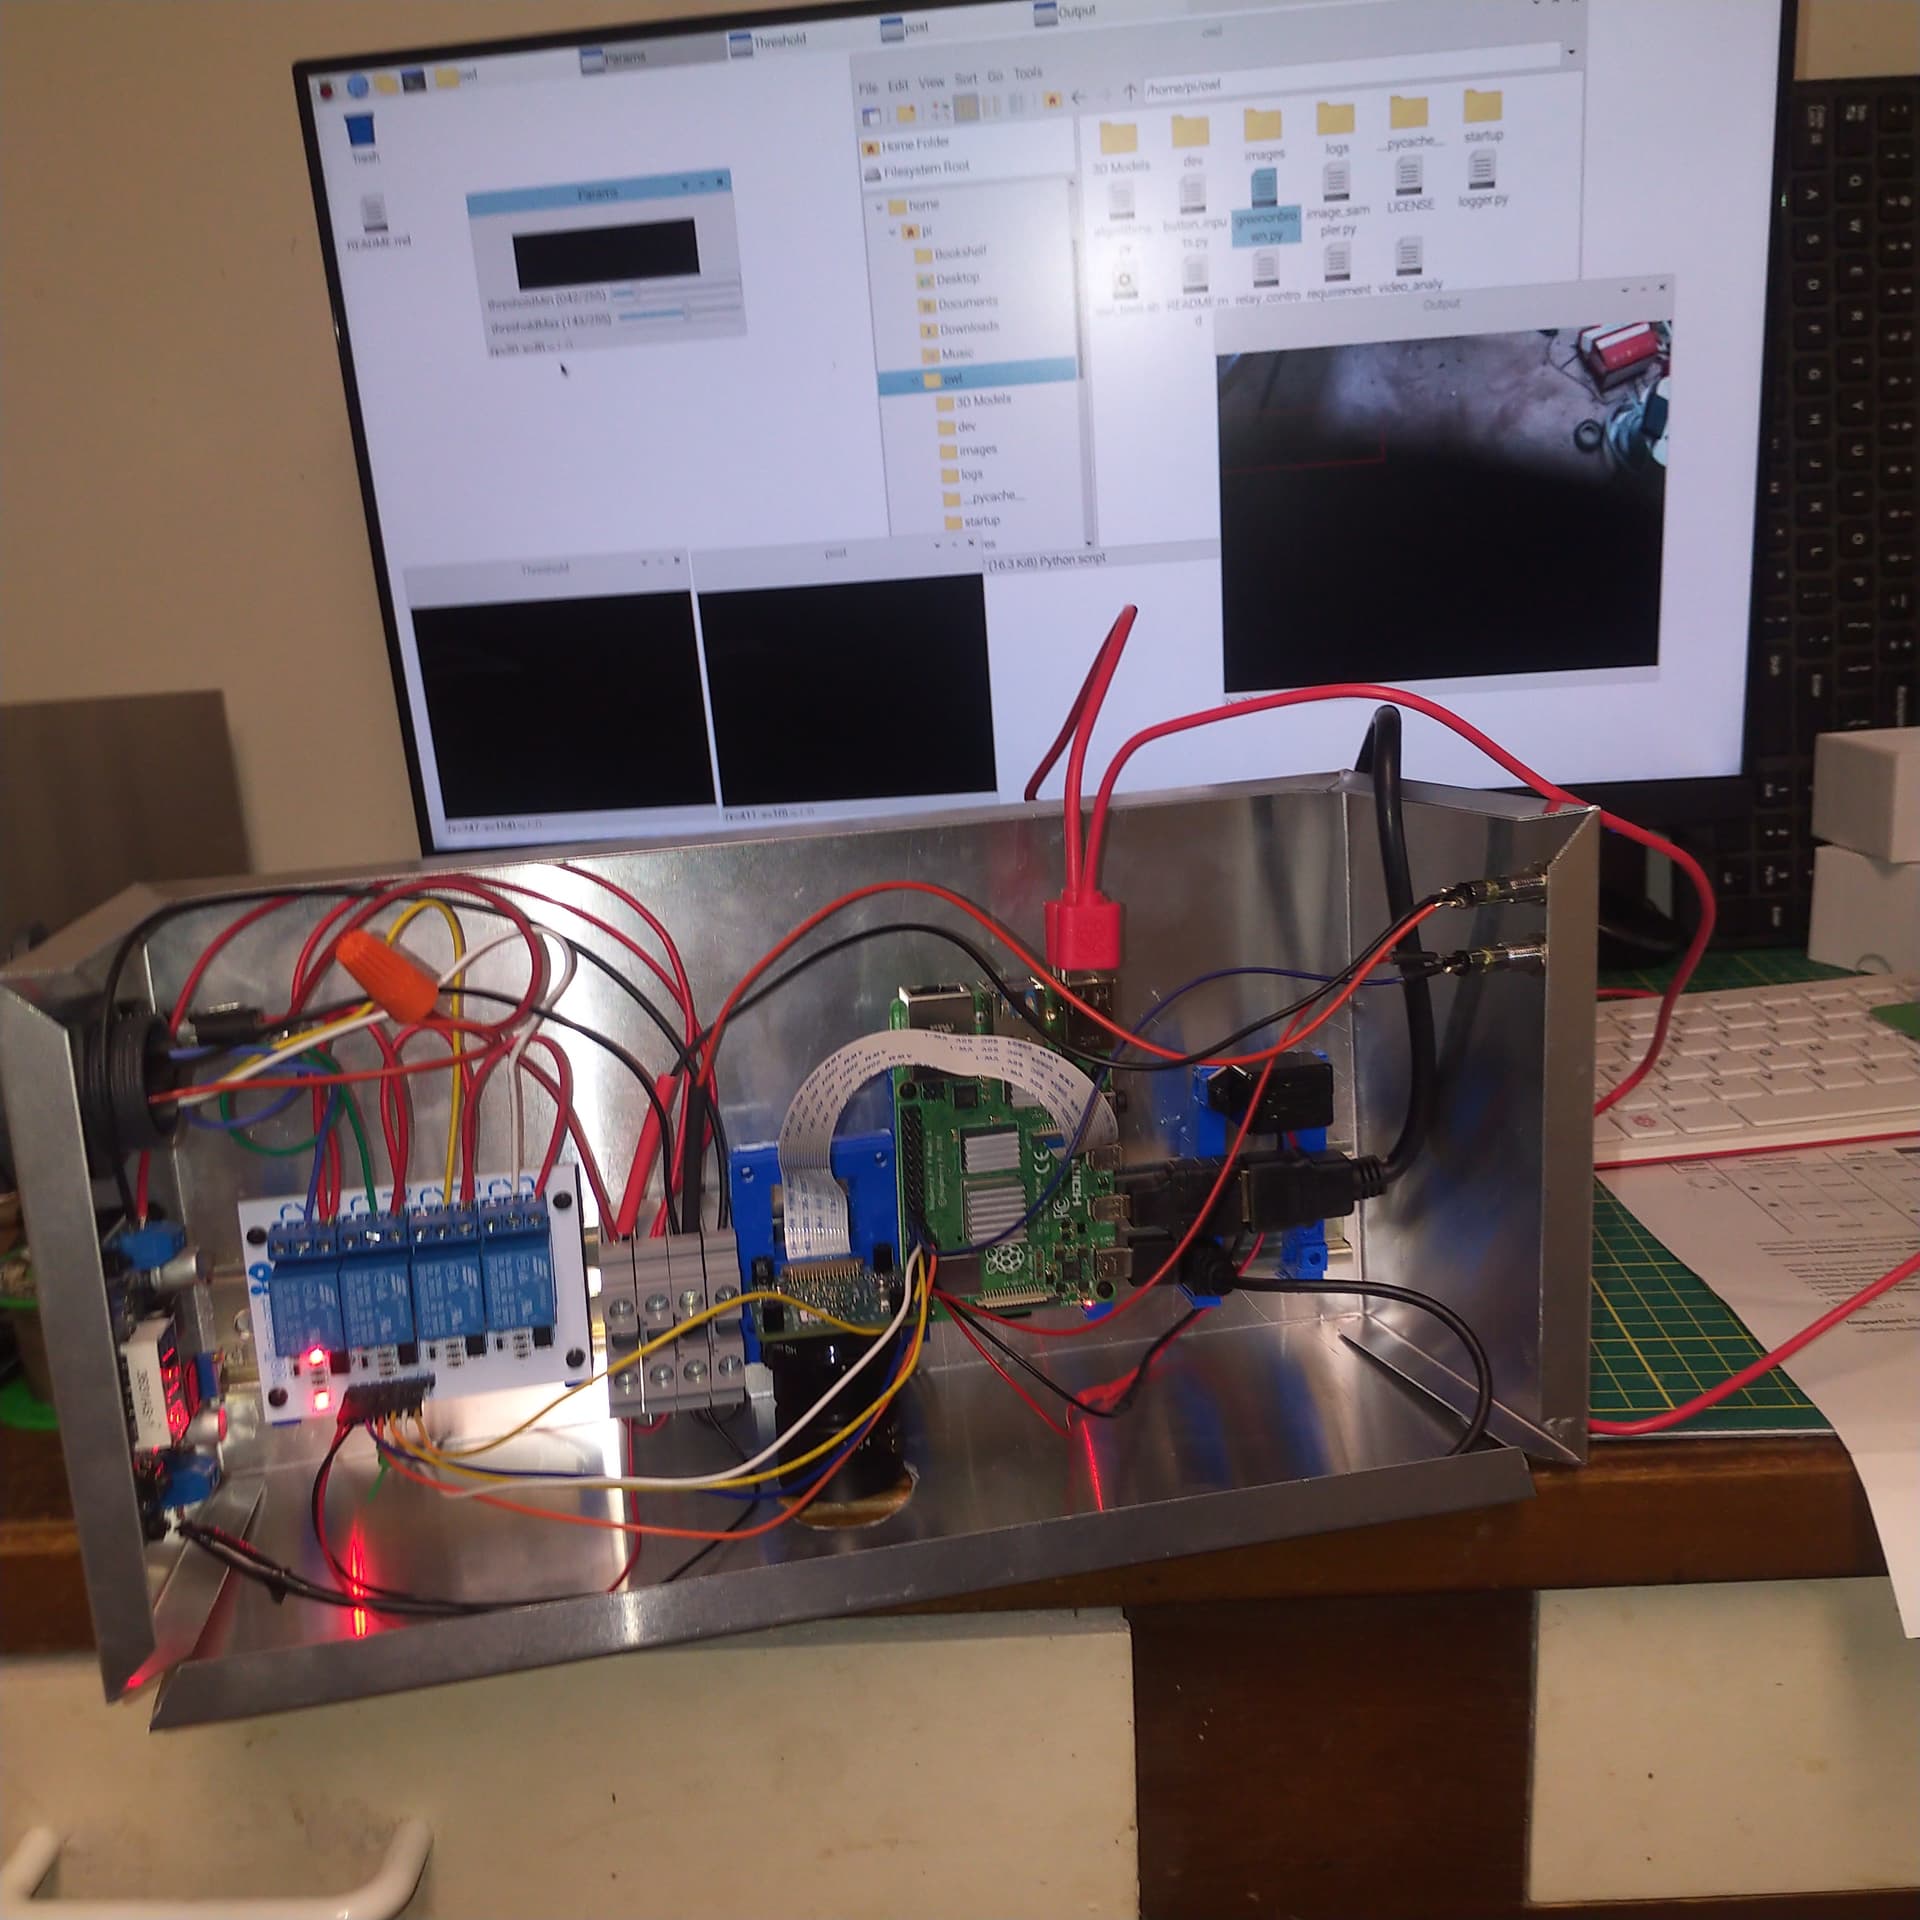
Hi Guy
So I have completed my first unit. I used a DIN rail and printed mounts. Do people VNC into the unit in the field to adjust parameters?
P
2 Likes
That’s a really nice setup! I like the idea of mounting it on a DIN rail. There’s a bit of discussion around
enclosure design at the moment over on the GitHub Discussions page - mind if I share the image/this post of your design there?
We haven’t used VNC in the past, typically we’ve just used a small RPi touch screen in the field for any adjustments and to visualise the output. VNC or ssh in the field to change parameters makes a lot of sense though but I guess just requires wifi which we didn’t really have. The code could be made a lot friendlier for ssh purposes too by making it all adjustable from the command line with argparse.