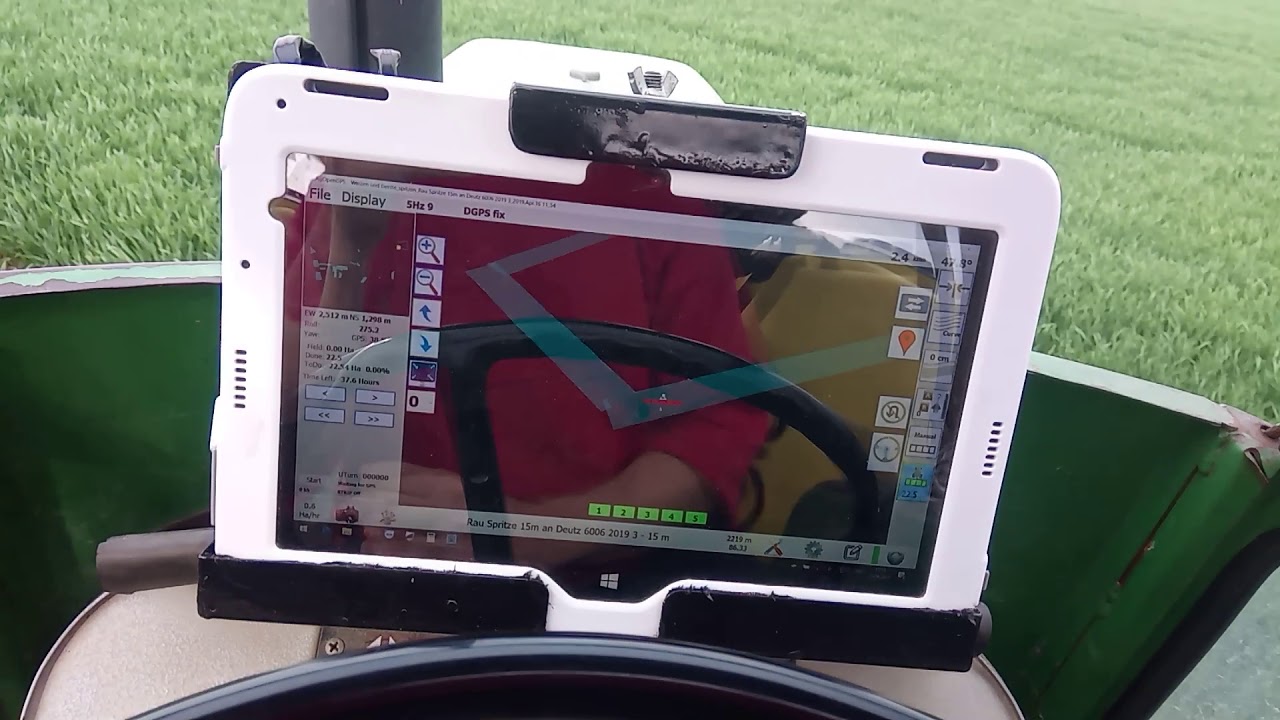
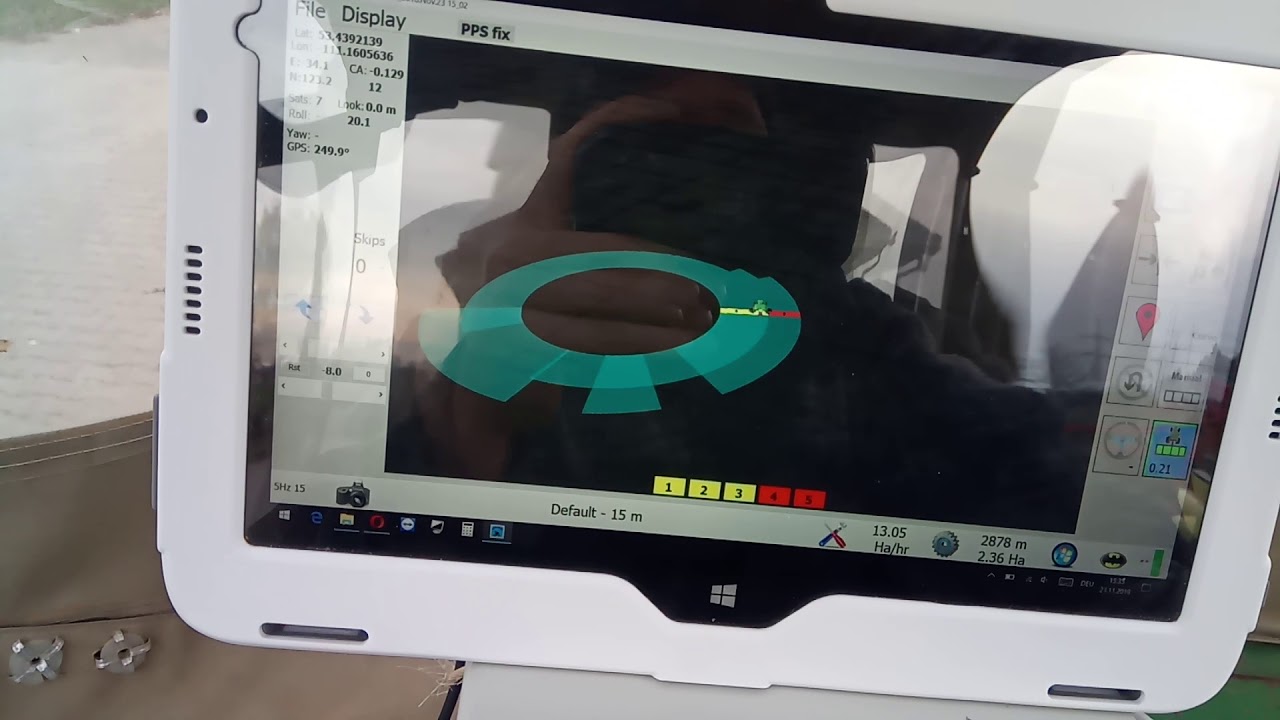
Hello ,
I would like to make a section control for my sprayer. The activation of sections does not by switch, but by button … a relay will not work … Is it possible? I think so, but what would I need? Anybody have an idea ?
if you modify the arduino code that the relay only works for a short time - it could simulate a button…
Look at code at about line 360 in AutosteerPCBv2.ino. Its for steerswitch/button.
does what you want to do.
That is for Autosteer only
Oh , i think it’s a good idea … i will work on it .
I thought about your idea Andreas, it would have been too simple. because it would simulate only 1 position. but it works this way: Momentary Toggle Switch: ON (section on) / OFF / ON (section off)
the switch looks like this :
But it can be copied and modified to suit purpose of changing section control switch to button.
For really good machine control some modification to code required in AOG and section control arduino.
If when a section control arduino is implemented in a system. Map coverage in AOG should only be created by feedback from the arduino,
This way the coverage map is more correct as sensor on implement tells actual state, ie. pressure switch in liquid boom section or blockage sensor on airseeder etc.
Shouldn’t it be the other way around? Mapping control the machine. The GPS knows where you have been and where you haven’t been, and uses that information to turn the machine on and off accordingly. There is no manual switching required at all and is fully automatic.
I believe what you are proposing is a manual system where the operator needs to control the device and AOG simply records what the operator/machine is doing. Very different. Am I understanding this correctly?
On our air drill we have an external Numeric Keypad using shortcut keys that turns on/off the Auto and Manual soft buttons and resumes fields etc. The Arduino section control, controlled by AOG tells the original work switch it is needed on/off which then enables the rate control and it seeds.
You will have to have the relay click on/off just like the same action as a push button instead of being steady on or off. Are you able to program the arduino yourself to do that?
Is your rate controller the button on/off or are the valves opened closed by momentary button action?
Wish I could figure out “reply as linked topic” so as not to hijack and send this one off in a tangent.
No. Nothing to do with manual control. And I have pretty much same setup as you on seeder & sprayer. Having AOG auto control them is really good. But it assumes everything on the machine is working.
What I’m suggesting is to step up another level, make it just a bit smarter and as an option, use feedback from the machine to confirm its actually applying product and then paint the screen.
Just had a couple of instances where AOG done everything as designed but operator or machine fault ends up with unapplied area, just makes reseeding/spraying those areas harder to find.
A simple pressure sensor on each spray boom section or head blockage sensor on seeder is all thats needed for feedback.
Just maybe, AOG could then auto calibrate the time required to switch sections on/off at headlands.
What about it show a warning that what you requested isn’t actually happening on the machine? Could be either way, off when should be on or on when should be off.
Most of the sprays that I know in Europe have 1 box “mapping and guidance” and a box for regulation of the spray. So including the features you mention in AOG would once again do better than existing systems! Maybe you’ll have to think about making AOG isobus / canbus comptatible. It would make it easier to integrate on the recent material …
This afternoon, I opened the armrest of my sprayer where my switches are placed, and … it’s all isobus! So I think the easiest thing for me would be to wire the valves parallel to the existing system.
Yeah. Just thought it would be obvious if the map showed a miss or overlap. I will look at it when get more time.
A couple of monts ago, anybody posted a video of a self made sprayer section control box.
He had switches for the sections, a masterswitch for all the sections on/off and a switch for auto / manual mode. As far as I can remember, he had some communication both ways (AOG to Switchbox / Switchbox to AOG) for “colouring” applied area…
That was all part of the “Rate”, but it was all removed. Needs to be rewritten.
I was wrong.
There is only a one way communication, see video below…
A good solution is on the page of AOrtner:
http://agopengps.gh-ortner.com/doku.php?id=section_controll:start
Hope this helps…
If you can control the sections but over any Arduino Pins, it can use it as he wants to go end-to-ahead AG or the device it could also be programmed to monitor in the arduino.
Hello ,
I looked more closely at my sprayer. I gave up the idea of piloting by can, beyond my capacity. The easiest for me is to connect relays in parallel with the section buttons.
As a reminder, it works this way:
- Upward pulse >> activated
-a pulse down >> deactivated
There are 8 sections. So I need 16 relays to simulate manual action on the buttons.
I watched a lot of things. But I’m not very good at programming. Could you enlighten me on my thoughts on the modifications to be made to the machine-usb code to activate the relays only for a short time ?! The easy way would be to use delay (), but I’m afraid it will affect how well the code works.
ITs a tricky thing making the relay pulse, gotta go haul wheat, but i will come back. Its tricky because new information keeps telling it to turn on or stay off. So what you need to do is detect a change in the stauts and then use a counter to count 5 or 10 frames during which you turn on the relay. When the counter hits 0, you turn off the relay. Here’s the ting, though, you need to have 1 counter for each relay, and be able to reset the counter if the status changes before it counts down. I hope this is confusing, i strive to make things as complicated as possible ![]()
The implement lift in machine.ino demonstrates the process.

