Hi,
As I wrote in my previous post about Kubota M5091 and for users who wrote private messages to me - finally describes my solution.
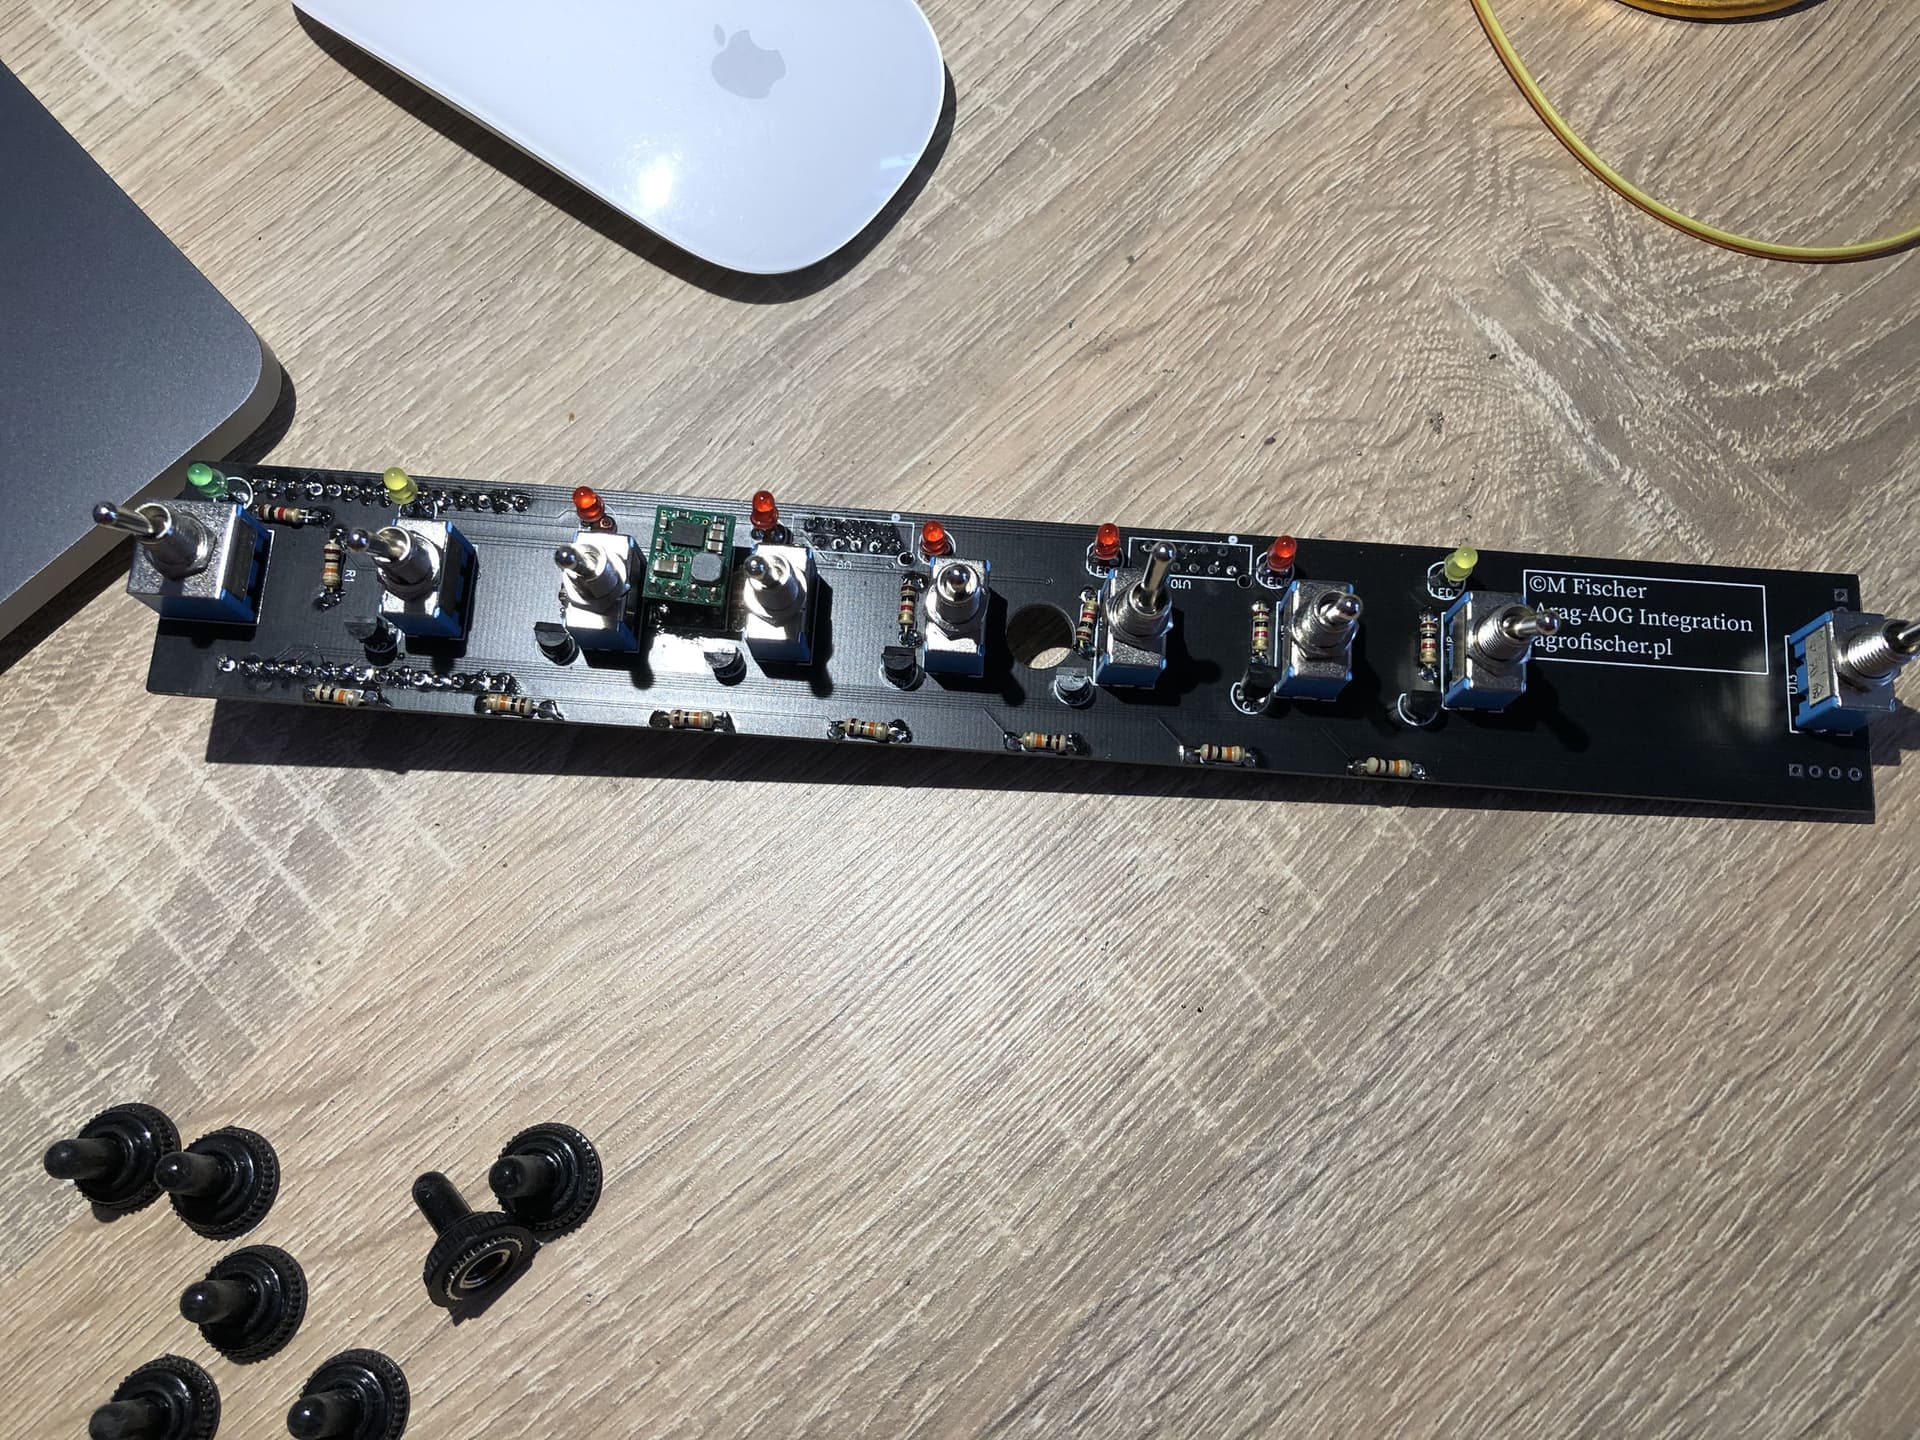
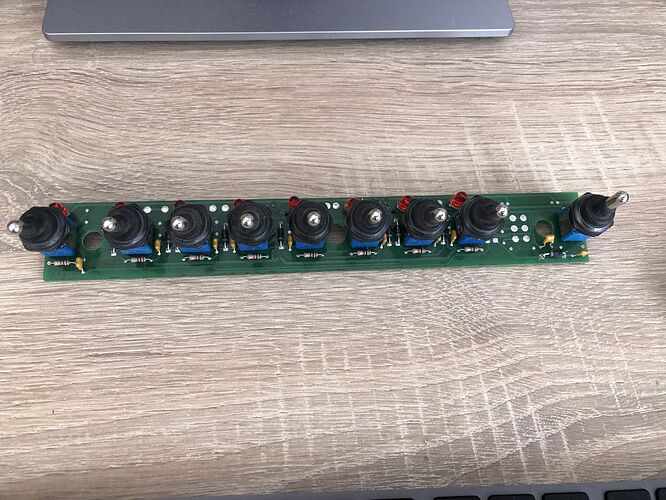
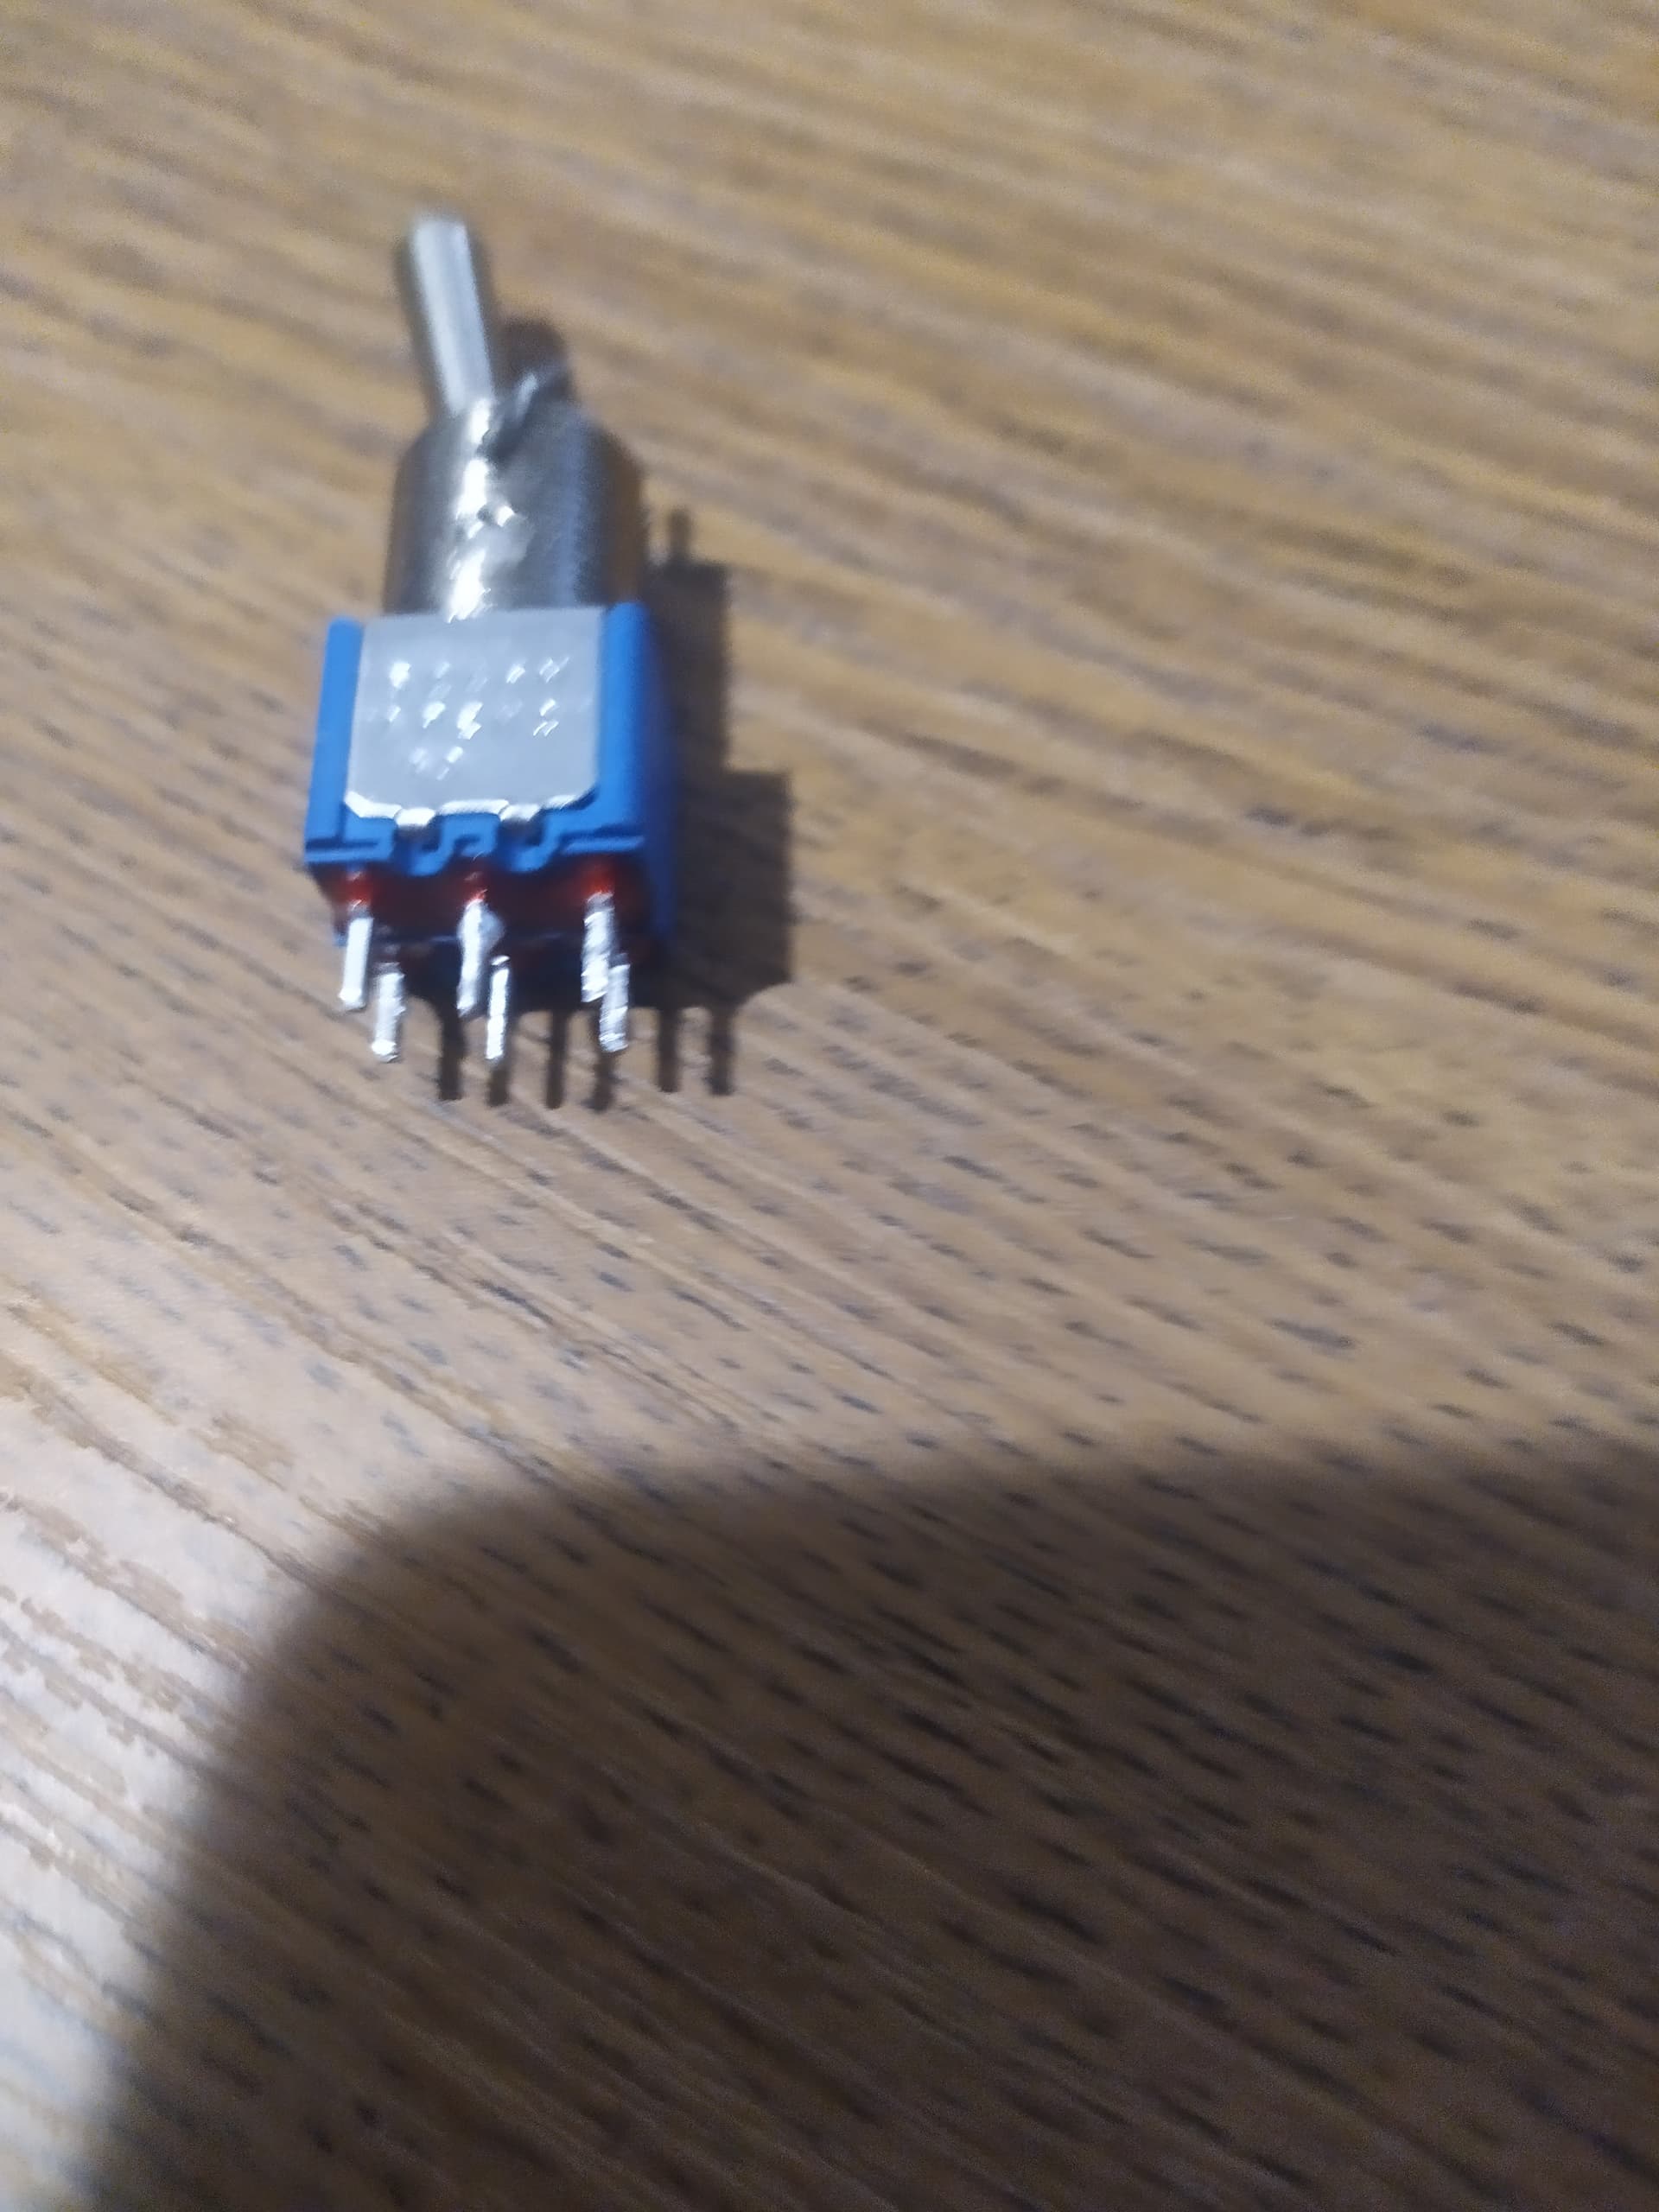
I reverse engineered the PCB in the original Arag 300S. These are nothing but two-way switches, diodes and LEDs. I designed my PCB in place for PlugAndPlay to be replaced. On board there are transistors, diodes, switches and ESP32 (soft from MTZ). Additionally, there is an AUTO / Manual switch. In normal mode, with no USB esp32 or TCP connected, the controller works in Manual mode with normal switches. Just like on the old PCB. After connecting to AOG, we can switch the mode to AUTO. Then, if we have the switch on the arag turned ON, the AOG will be able to turn the section on and off. If we turn off sections on the arag then aog will never turn on this section - very handy.
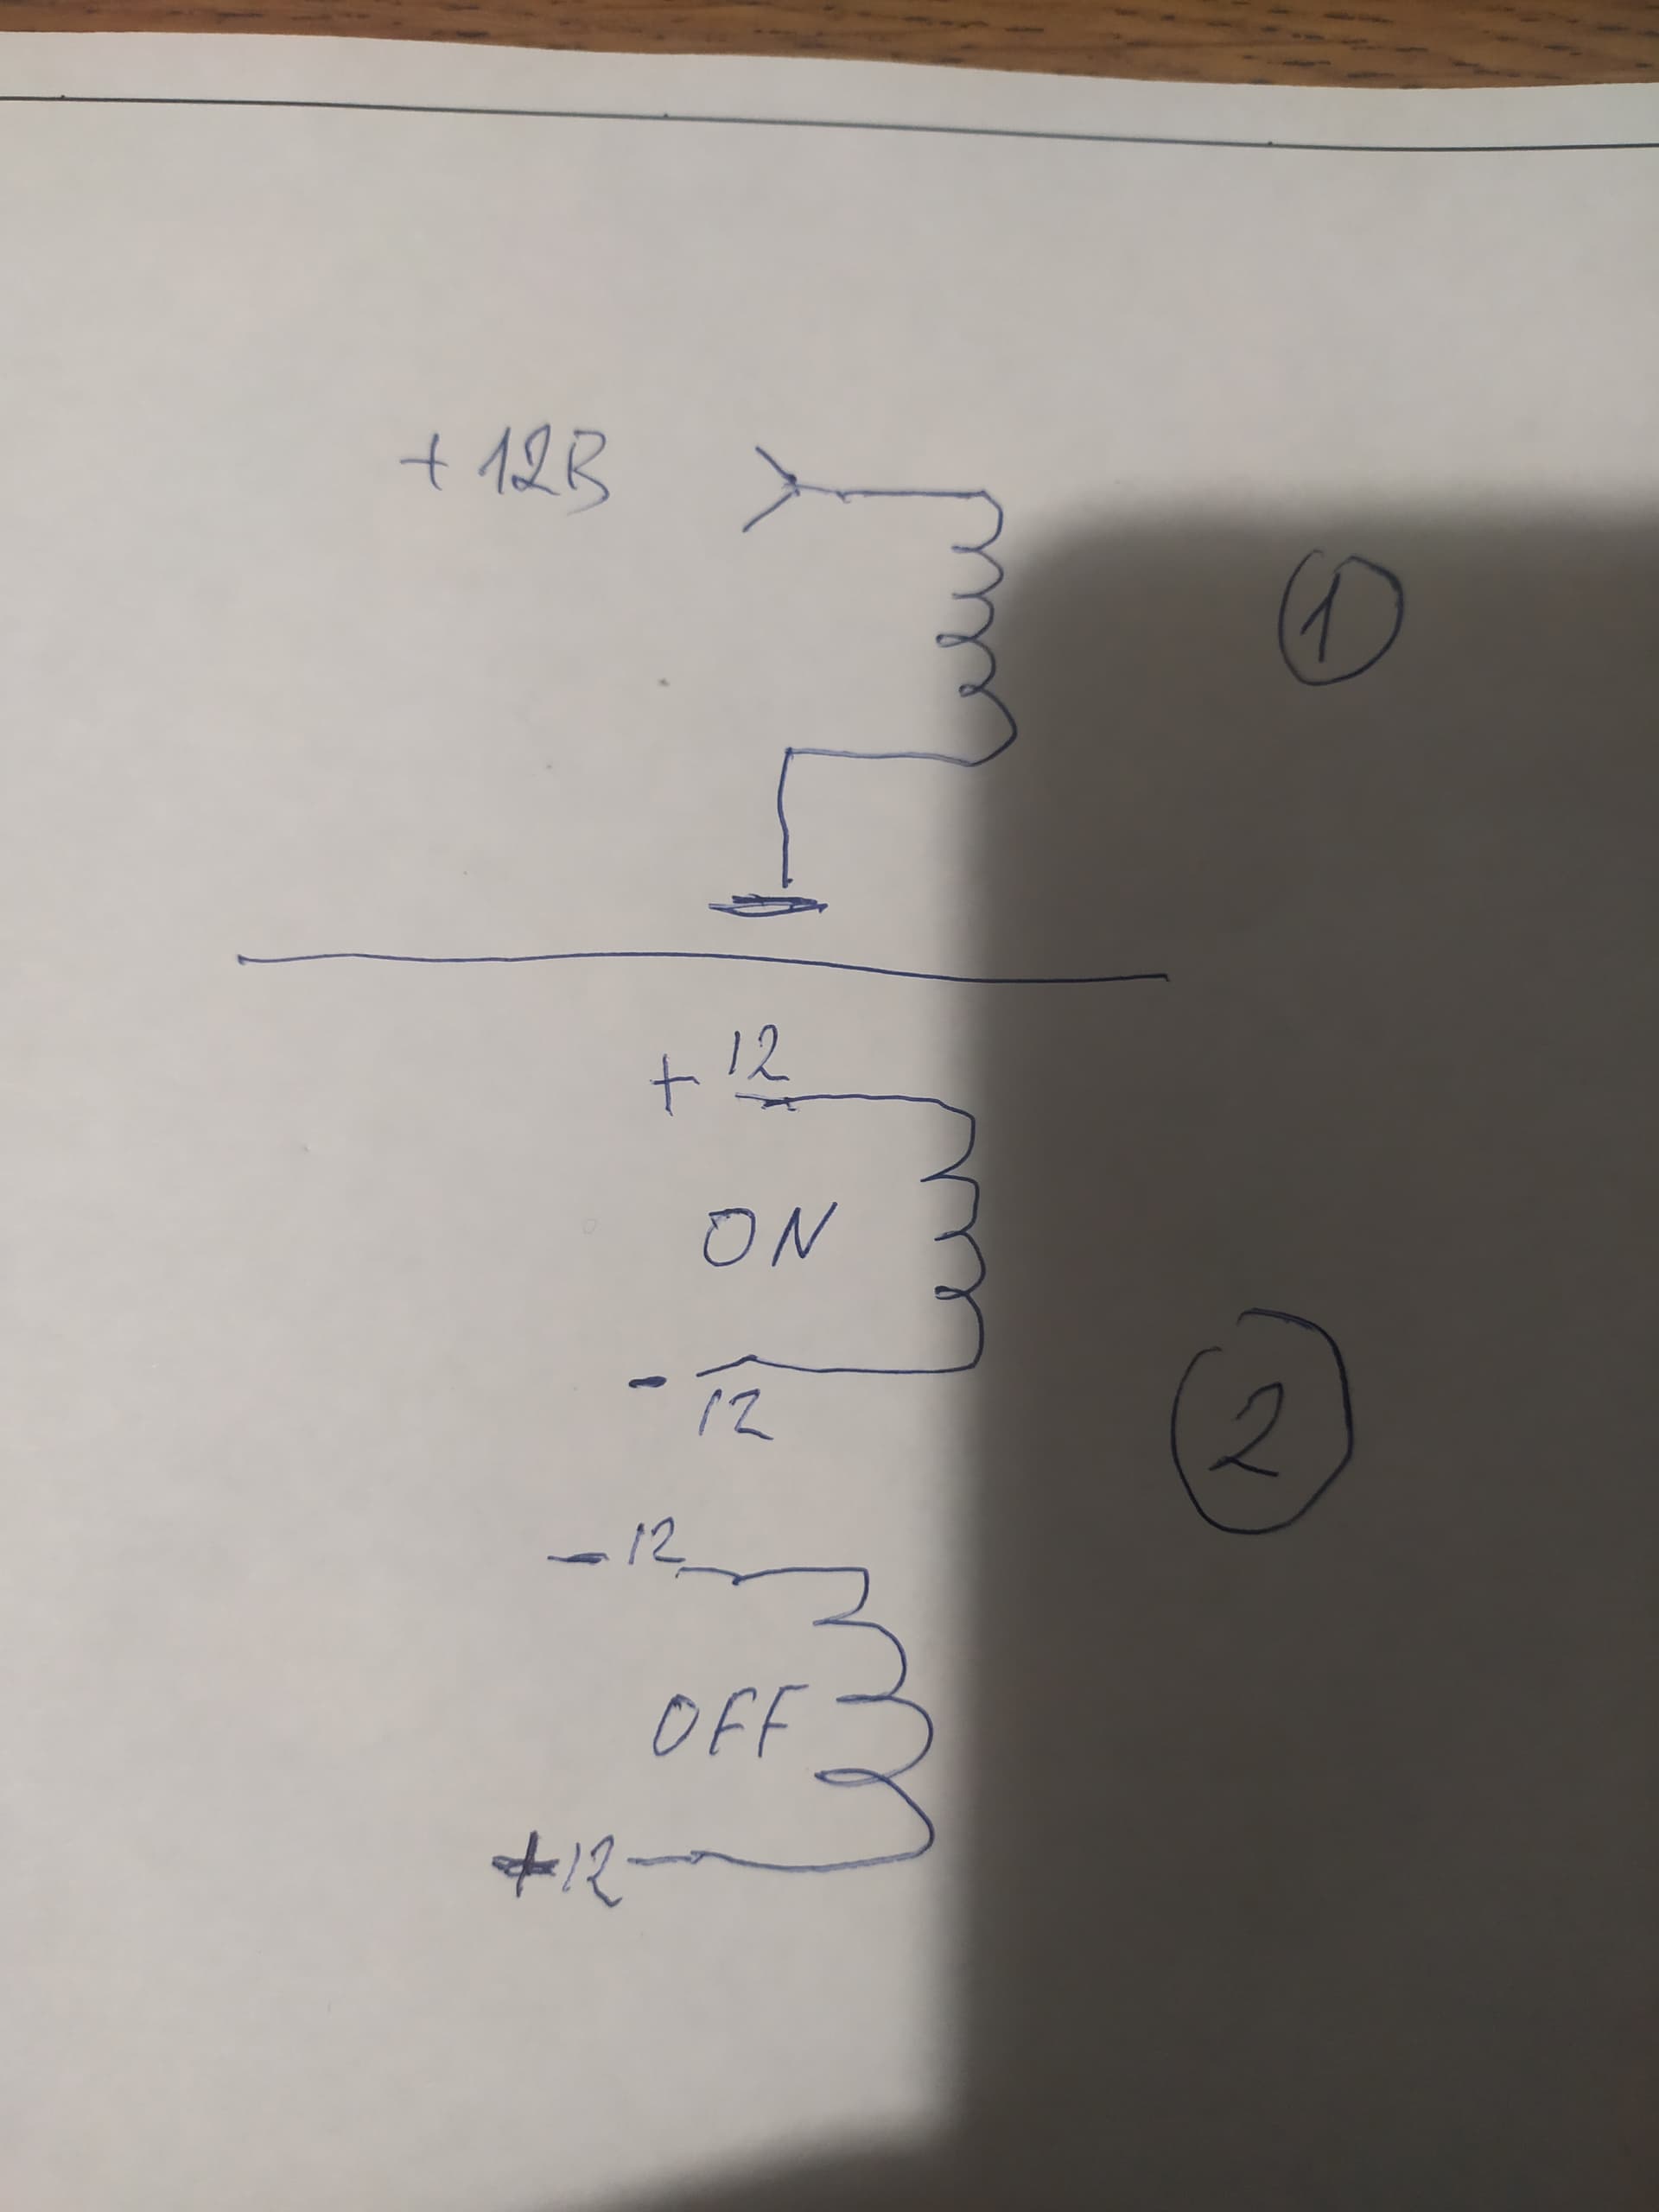
Hello. As on BRAVO 300, the solenoid valves open. On BRAVO180, it is necessary to change the polarity +/-, - / +. As I understood from your circuit, the valves are switched on by applying voltage and switched off by removing the voltage.
You can try to put other DPDT relays at the output and commute +/- to turn on the solenoid valves. But I don’t know if it will work with such functionality as in BRAVO 300.
I realized that you were replacing the original board with switches. How do you turn on the solenoid valves. Switch on +12 in the valve opened. Turn off 12v, closed. In order for me to open, I need to supply power through 2 wires. 1 +, 2 -. To turn off, you need to reverse the polarity.Sorry for the translation, of course. Much is not clear. But the meaning is clear.
In bravo 300s there also is 12v in switches. But main computer is switching valves - physical switches only send signal to main computer and then steer valves
On the S 300, this is because you have a remote control box. On the 180, the switches control the valves directly and transmit the activation signal to the computer, the wires go directly from the switches to the valves on the sprayer.
As i remember, I designed this pcb to operate with 12v (esp32 is steering transistors) so you can do it without any bad soldering and wires in air
(Of course I don’t know how is assembled pcb in 180, schematics etc. for 300s I do reverse engineering)
And second topic is dimension of pcb - I have 7 section
ARDUINO connects via Bluetooth. Instead of switches on the motherboard, I installed a DPDT relay. All BRAVO 180S functions remained intact. Connection diagram and firmware for ARDUINO from MTZ8302