PX1122R /F9P + ESP32 + TRIMBLE, TOPCON, John Deere .
Basically the PX1122R/F9P is not manufactured to be compatible with TopCon and Trimble devices. Although the PX1122R/F9P fully supports the latest generation satellite system, L1 / L2 band and RTK RTCM3.x format, it will always be inadequate to want it to be compatible with all other brands in the world.
We start to develop “Position Antenna” and “Stream Manager” feature from 2020. Since ESPrtk 3.9.90 we’ve completed the requirements required for this feature.
It supports the RTCM message generator and injects some special bits into the RTCM RTK stream to work with some TopCon and Trimble devices.
- Inject RTCM 1005, 1006, 1007, 1008,1032,1033. (Automatic injection and sequencing, automatic MSM packing).
- RTCM MSM4 message generator (1004 and 1012) for TOPCON / John Deere.
- The issue of locking the satellite L2 (1004,1012) and setting the variable TADJ = 1 on the RTKLIB .
- Automatic filtering NMEA, RTCM, UBX, SKYTRAQ.
- Stream Manager: insert data, remove a message, repeat a message, replace a message with other data, minimize the appearance of a message… and set a speed limit (highest) for Push-Out data.
This will provide PX1122R/F9P scalability for more purposes and allow ESPrtk to integrate features for inserting and injecting some RTCM messages that other brands require.
For TRIMBLE and TOPCON , you need to configure the PX1122R/F9P to output RTCM MSM7 messages in the settings 1005 (Antenna) 1077 (GPS), 1087 (GLONASS). And use a combination of both modes POSITION_ANTEANNA (auto insert) and STREAM_MANAGER (raw data injection) in ESPrtk .
ESPrtk internet NTRIP model transmit .
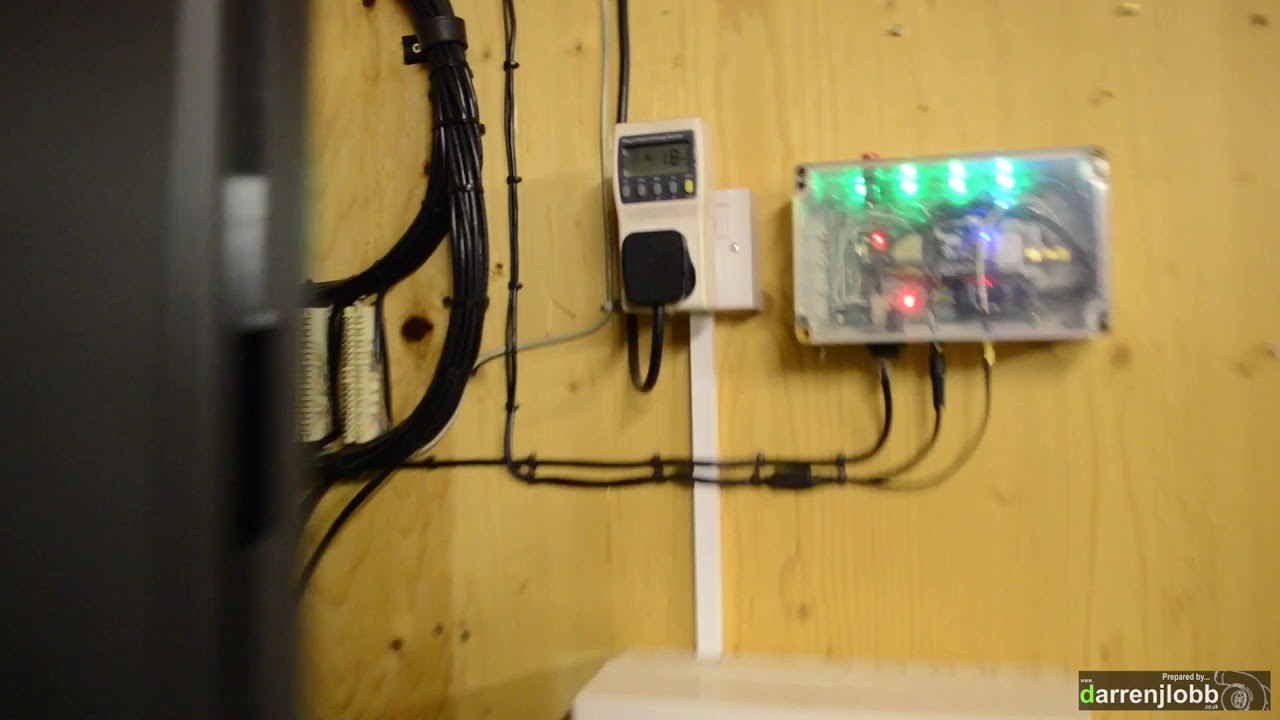
Darren Lobb’s BaseStation (ESPrtk + F9P) system on with several months of continuous uptime without problems.
Step 0 : Preparing .
NTRIP account.
To use NTRIP service, users need to have an NTRIP account, if not, Click here to create an NTRIP account .
Hardware.
- App Build : NTRIP/MQTT RTK BaseStation+Rover
- ESP32 : ESP32 DEV KIT C Espressif (ESP32_WROOM_32U CHIP)
- RTK GNSS: F9P or PX1122R
- Ethernet : W5500 ( option !)
- Display: OLED SSD1306 ( option !)
- Power supply: 5V 2.5A Adapter
- Other: LED , Button, Switch , 2.4Ghz WiFi Antenna , GNSS RTK Antenna, RJ45 Etheret cable, Micro USB Cable , 3.3V Active Buzzer , …
Connection + Build custom board.
- Create ESPrtk board from any development board
- Connect ESPrtk to RTK receiver and some other modules
- Register / Update firmware for ESPrtk
Step 1 : Hardware connection - WIFI + BASIC for Beginner.
For users who prefer simplicity and minimize all connections or for quick test purposes. Wireless internet connection using WIFI on ESP32 will be suitable.
- PX1122R/PX1172R - Navspark (Fullsize)
- F9P - Drotek (Fullsize)
- F9P - Ardusimple (Fullsize)
- F9P - Sparkfun (Fullsize)
Step 1 : Hardware connection - ETHERNET + Full standards.
For RTK Basestation applications with up to several months or years of continuous uptime, we always recommend users to use the W5500 Ethernet module for their systems to ensure a stable 24-hour connection !.
In addition, it is possible to add 1 buzzer on the ERROR LED pin (3.3V Active Buzzer) and 1 small OLED module to be able to see the operating status, (connection status, error, flow rate, etc.) of the whole. system .
To connect ESPrtk with RTK receiver, Ethernet, OLED …, Click here for more detail.
- PX1122R/PX1172R - Navspark (Fullsize)
- F9P - Drotek (Fullsize)
- F9P - Ardusimple (Fullsize)
- F9P - Sparkfun (Fullsize)
Step 2 : Configure Action Planning - NTRIP MASTER .
- Get RTCM/RAW /… data from RX_UART1 then send to NTRIP Caster (Cloud Server).
Step 3 : Configure Type Internet connection - WIFI .
Step 3 : Configure Type Internet connection - ETHERNET .
Step 4 : Configure NTRIP Master.
Step 5 : Configure Position Antenna - insert RTCM 1007+1032 for TRIMBLE + new TOPCON.
Step 5 : Configure Position Antenna - insert RTCM 1007+1032+1004+1012 for old TOPCON.
Step 6 : Final : Testing and Running.
Please make sure the configuration is saved correctly. Now press the “Reset” button on ESPrtk, it will start working.
For Base “Standard” : < video >
After about 1 minute run, can visit http://www.rtk2go.com:2101/SNIP::STATUS to check Status of your NTRIP Base:
After about 1 minute of operation, the information of the station is automatically published by SNIP, from the 2nd minute on, these information will be fully updated…
Insert 1008 message.
You can insert RTCM 1008 message or any RAW data you want to stream , total RAW data ESPrtk can store up to 2000 Bytes ( 500 Byte x 2 HEX x 2 Rover +Base) .
ESPrtk will automatically insert messages with an algorithm that adapts to every user’s RTCM input to ensure the stream is correctly inserted.
Below is a snapshot of when I inserted the 1008 message at 1 Hz, everything worked perfectly.
To configure insert RAW data , see this post : Insert custom RAW data to stream data in RTK applications
To configure auto insert other RTCM , see this post : Profile Tab - Position Antenna
UART Bridge and Radio link. .
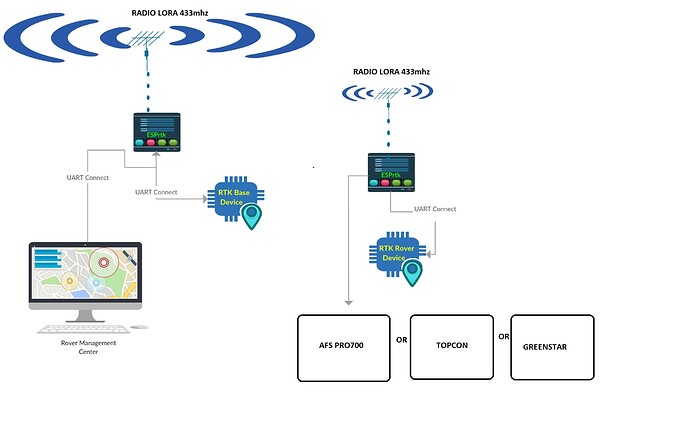
This function is similar to NTRIP Base, however instead of sending RTCM to NTRIP CASTER, data will be output on ESPrtk UART_TX2 port and transmitted from RADIO Base (Transmitter) to RADIO Rover (Receiver).
You can read more about this feature here: UART Base to UART Rover mode
Contribution recognition.
During development, we have received help and advice from many ESPrtk users, including members of the AGOPENGPS forum.
We would like to send a special thanks to:
Darrenjlobb , Torriem , Mdmcurt , THiamu and Barleypicker/Ross .
Ross MC Aulay - ESPrtk TopCon Basestation:


