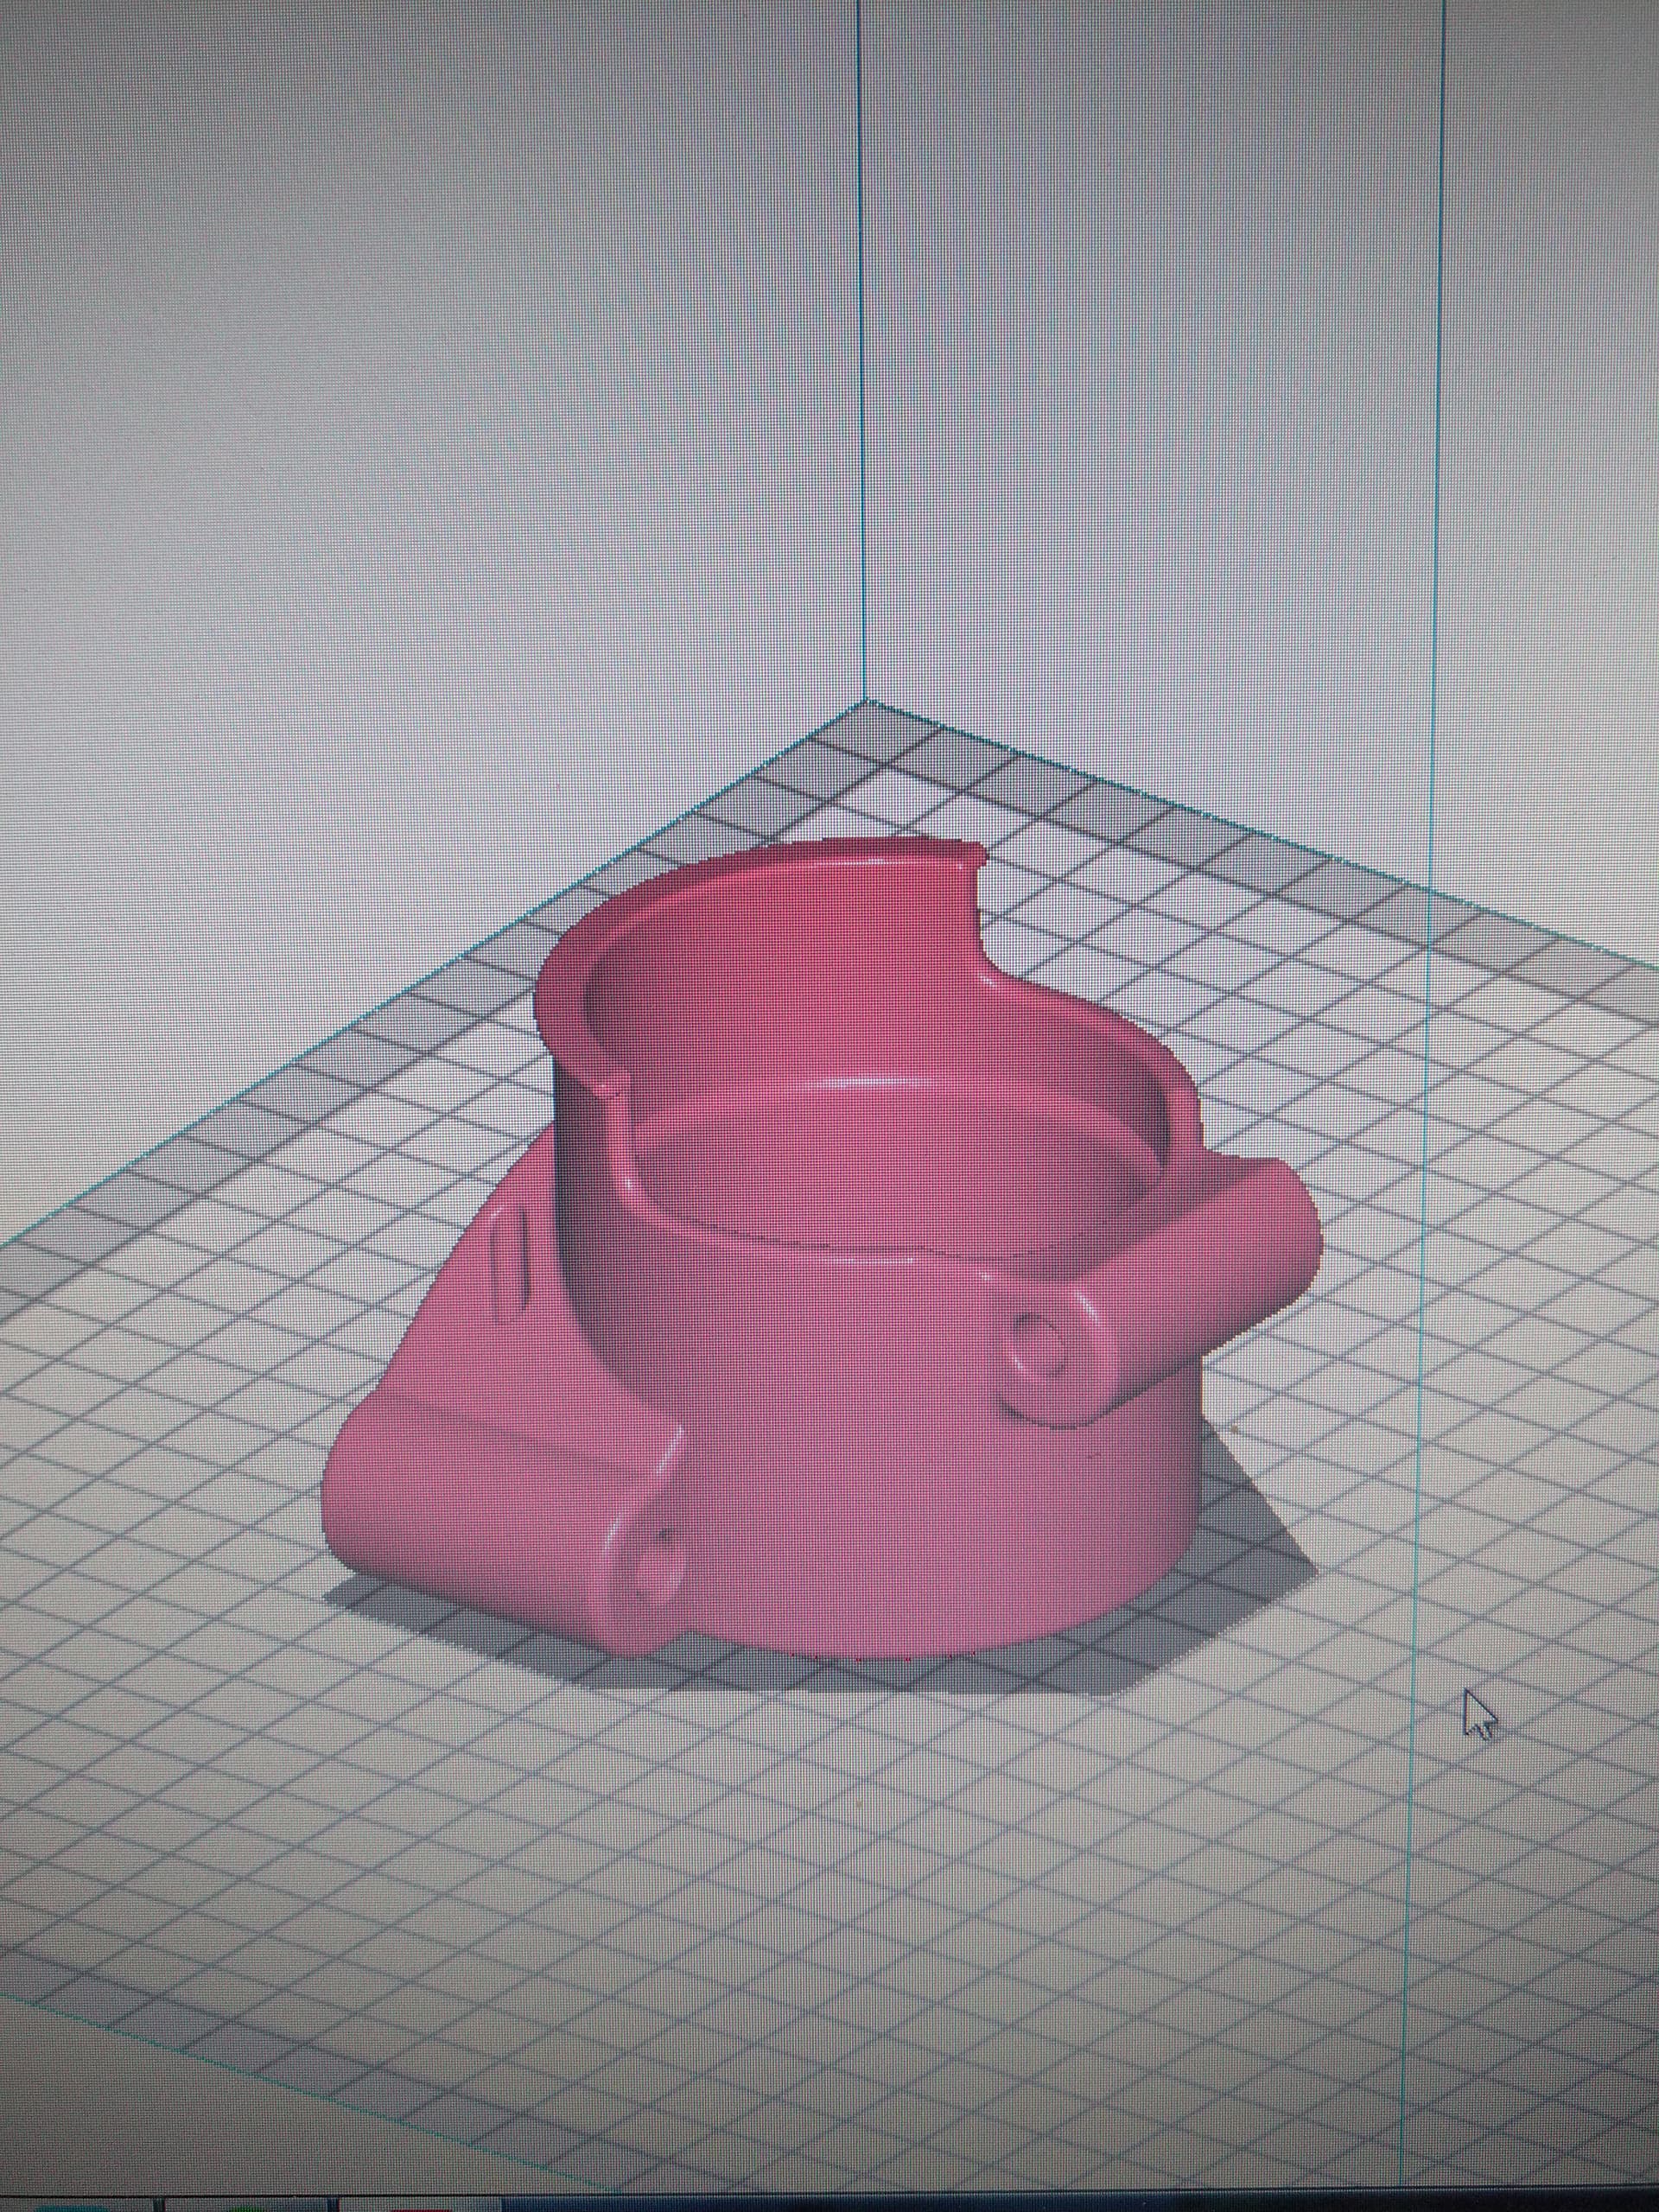
cette position vous parait bonne? je n’est pas la photo de cette piece sur son lit dans word . merci
@PotatoFarmer do you think it would be possible to have a different mounting option for the tension brace? Moving the quick connect 90⁰. On the same side that the bolts come through? I was going to poke at the model but it might be easier for you to do it.
The most limiting factor across multiple machines during design was clearance to dash. Thats why the bracket was put on the side. Also on pedestal mount allows easy bracketry.
The original plan for back mount was to weld the homemade portion of the bracket in an L. This would provided the tightest to dash clearance.
Have been thinking of making the dovetails at a small angle top to bottom make removal even easier and 3D print dimensional accuracy less critical.
I have been printing the parts They look good, all parts are printing well except for the Quick tach Bracket. Using the settings you suggest it falls over about half way complete. The part is starting the print on the small end, I was wondering if you had an STL file that prints on the side so supports would not be needed. I am using a ender 3 v2 printer and Petg material.
These parts are much better than the tire on outside of steering wheel.
Thank you for making them available.
You don’t need a new STL file. Just rotate the part in your slicer to get the orientation you want. Looks to me like it shouldn’t need any supports at all, just as you said.
1 Like
bonjour pour ce qui est du petit pignon l’axe du moteur rentre facilement pour vous? moi le trou est trop petit pour mon moteur Phidget 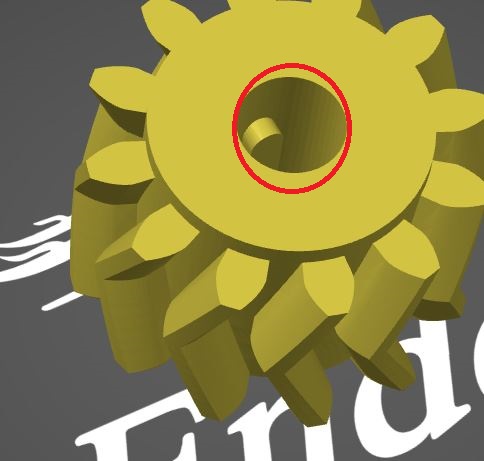
I will try that new to slicers and 3d printing
Thanks
Si c’est pas grand chose chauffe ta pièce
Si c’est du TPU n’hésite pas a forcer.
Si le jeu s’installe c’est mort !
1 Like
What slicer are you using with your 3D printer?
![]()
Si c’est imprimé avec TPU ça va être serré mais ca devrait rentrer avec un peu de force
1 Like
TPU has a tendency to goo out, as it comes out of the nozzle its very runny. You may have to tweak your printer settings for it.
Print a calibration cube in tpu and see if it comes out dimensionally accurate. You may have to adjust your extrusion multiplier.
The small gear fits tight, but still can be put on and removed by hand.
2 Likes
The small gear has a domed top, its all supports all the time with these .stl Supports are also a troubleshooting device, if there is great trouble removing supports or they do not remove cleanly high temp or over extrusion can be determined.
I print it with the F up as described in the manual, currently printing one to get a photo.
For gear teeth brim keeps the bottoms of the teeth from rolling up.
1 Like
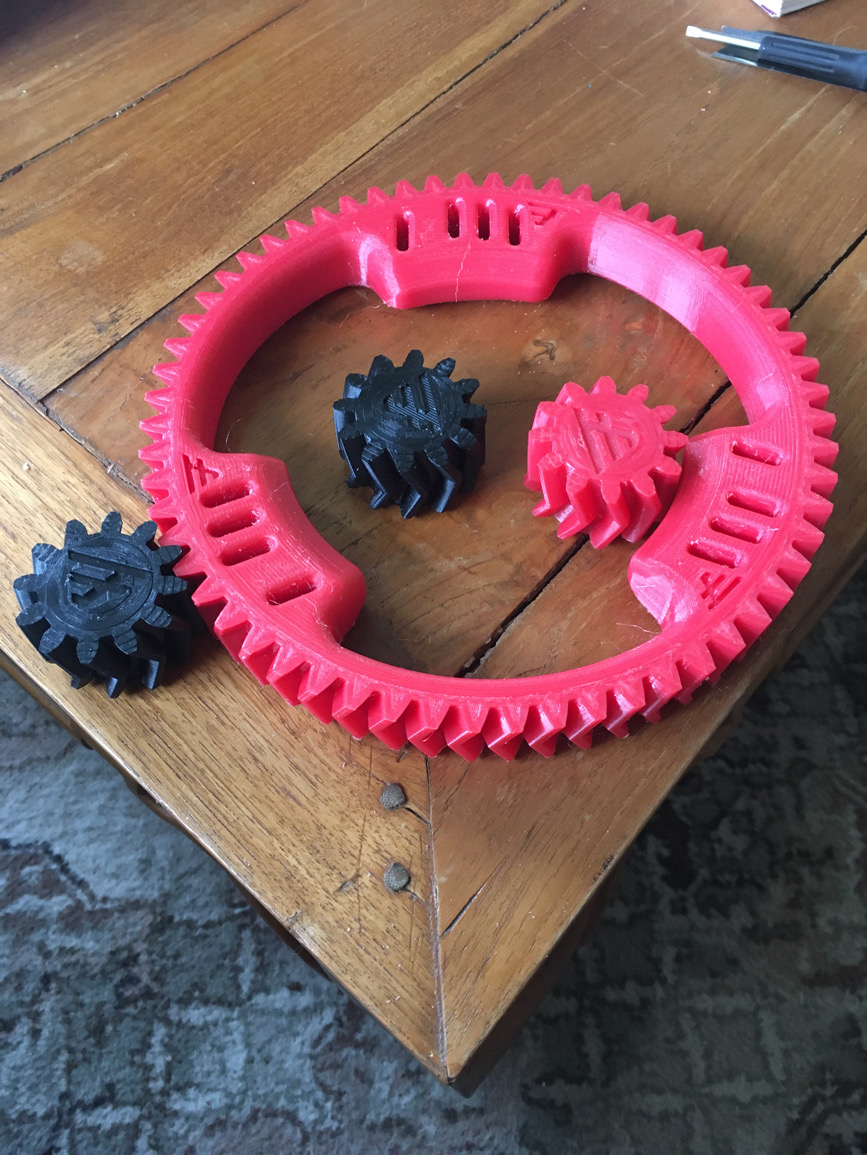
Printed your gears just for a test, came out good really. First time I’ve ever used TPU it’s really nice to use, not super rubbery but just a nice bit of flex rather than rock solid
5 Likes
TPU has really interesting properties, all the way from squishy to hockey puck consistency. And elastic forgiveness, made testing alternate code for the acs712 less stressful.
Thank you for the photo, I still find it very novel seeing the parts appear in some other distant part of the world.
3 Likes
Bonjour sur la vidéo je n’arrive pas a voir comment est votre système pour engagé et désengager le pignon de la grosse couronne svp merci
What motor are you using for this? Thanks
I think it is Phidgets
2 Likes
Have not forgot about the assembly video, just natural gas price and cold weather have made work busy.
It is indeed the phidgets motor on the parts order list. It slides up into the motor holder and is held in place with a single stylish hose clamp.