Hi, what motor did you use?
Reading helps ![]()
1 Like
This one good? 12V/6.6Kg-cm/49RPM 51:1 DC Gear Motor - 3267_1 at Phidgets
depend of your gear ratio
but 49 rpm can be too slow
or ratio 1/1 or 2/1
Recommend getting the 24V phidgets 3269_3 4.25:1 30w motor and 12/24 voltage converter on the parts list or equivalent.
Whoever spec’d this motor must of known what they were doing @BrianTee_Admin and group ![]()
Its much stronger than a Ezsteer.
1 Like
Way to slow with only 36RPM
This is the fitting motor for the Universal Fit Gear System, with Quick Tach Motor Holder
from @PotatoFarmer:
Its all written in this post…
I used an Ezee Steer from an old Trimble system, I thought it worked quite well, quiet, no power booster needed, direct drive.
Most of my complaints with the EZ steer are mostly with the foam wheel. Always slipping, forgetting to release it and having a flat spot, changing ratio as it wears in, blocking the steering wheel, being $30 for one of them.
Also the motor itself was quite large, and the system is very heavy. It always seemed to make just enough power to turn.
AOG’s smaller lighter and higher torque 24V motor is very comparable to the performance jump from a 12v to 18v power drill.
I’m running this one with out the 24v boost and it works as well.
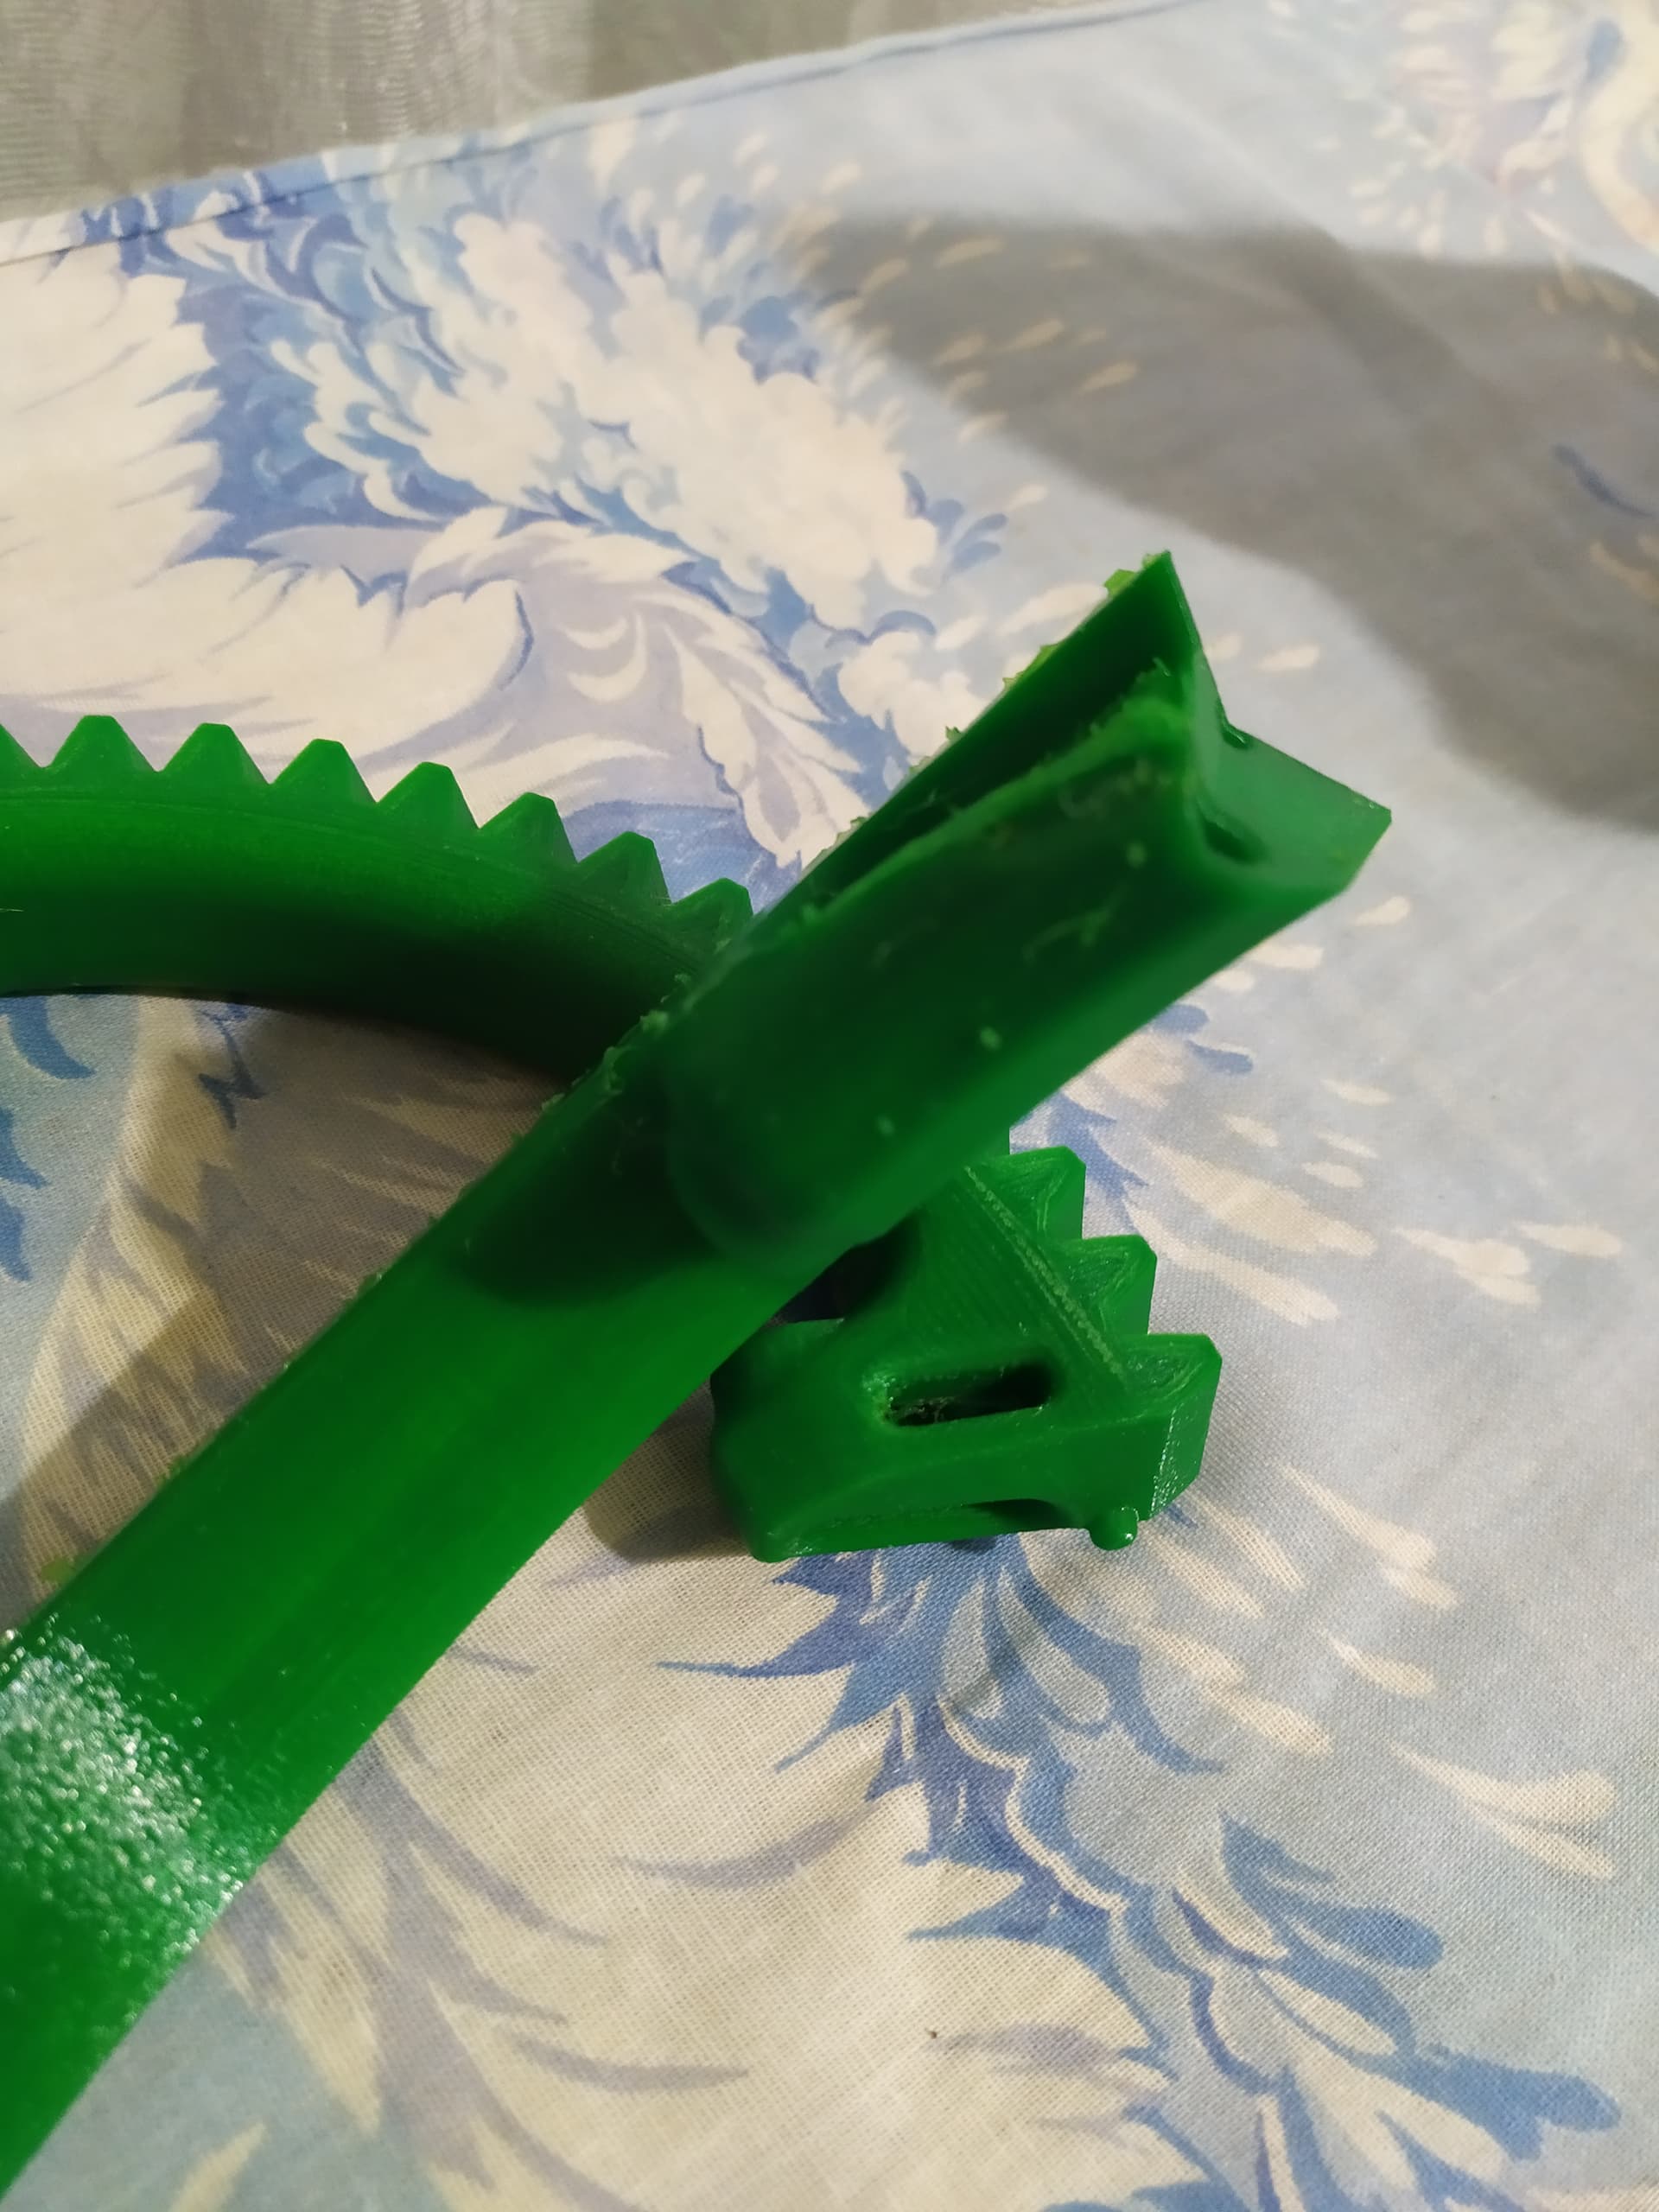
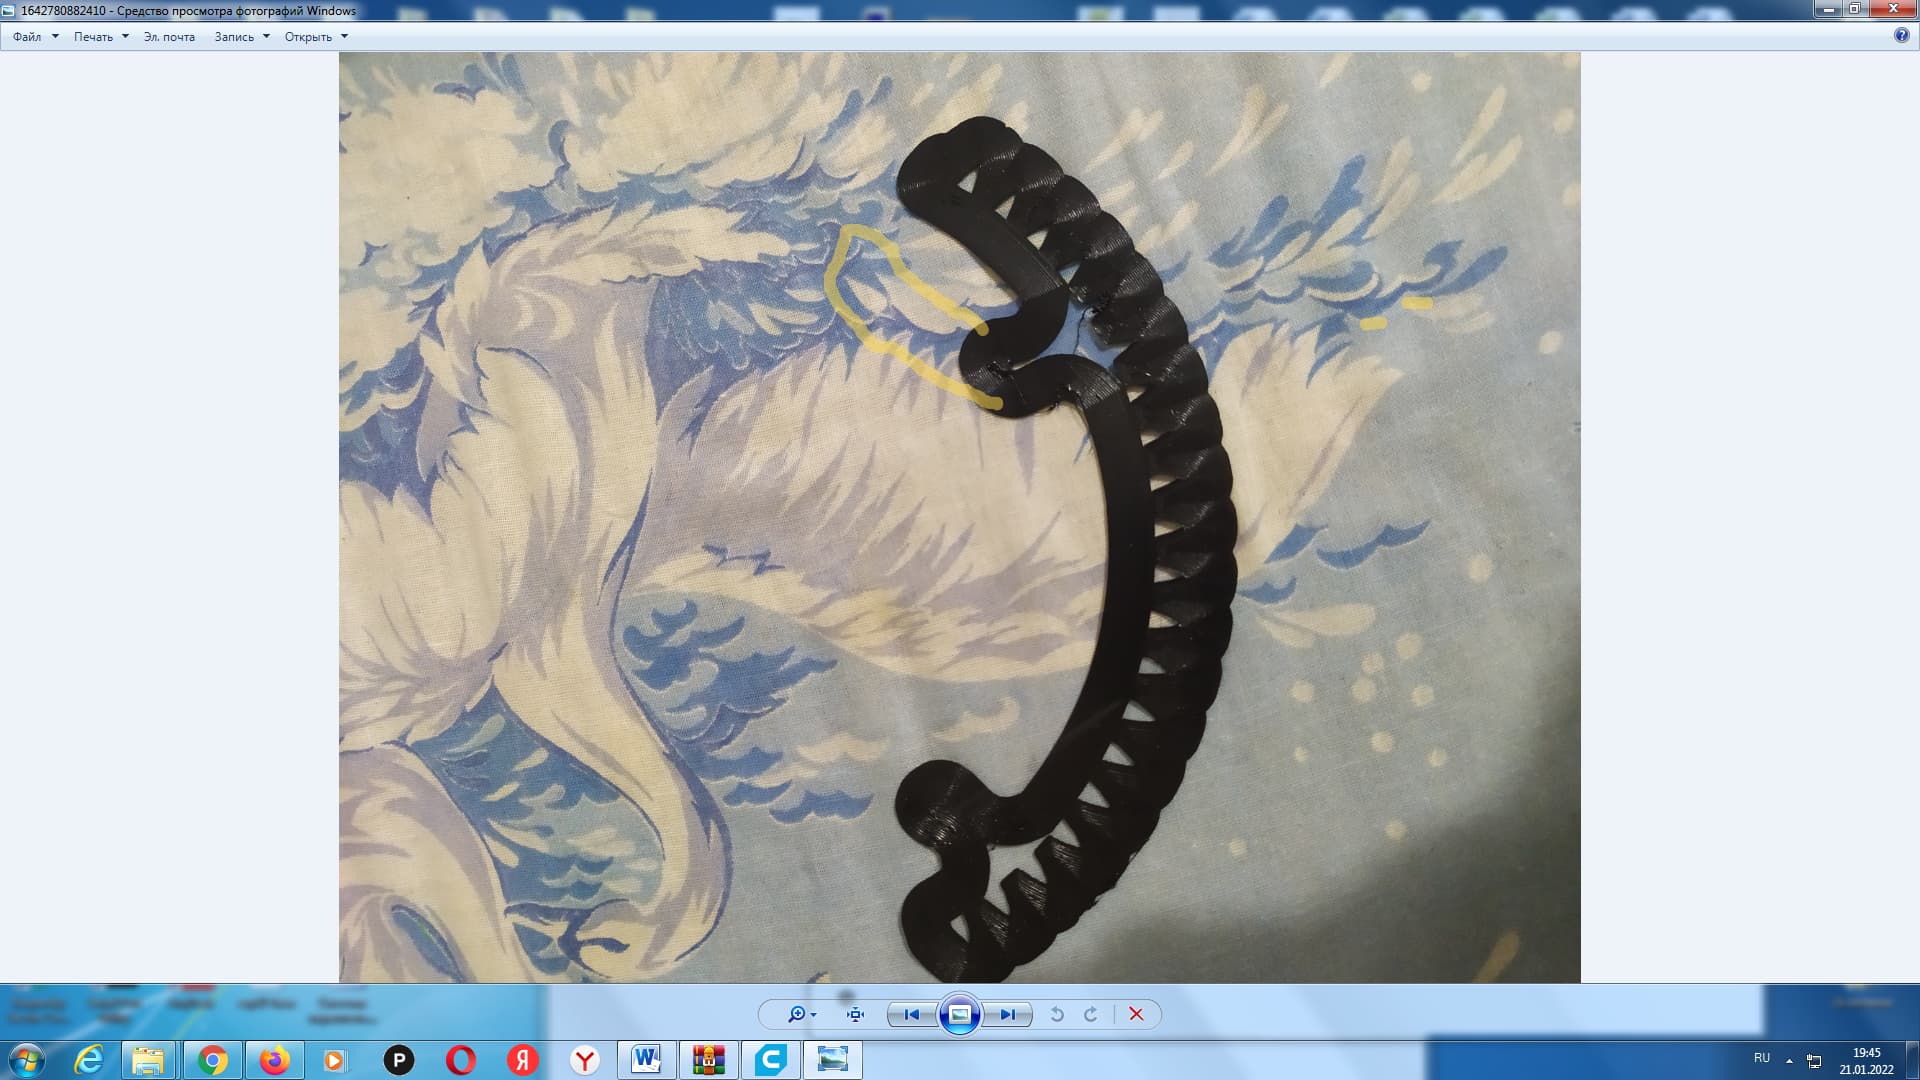
Hello. I’m trying to print gears. I used the files PotatoFarmer. For which many thanks to him. It seems to be not bad, although I print for the first time. But there are some problems. When I start printing the gear sector, the border, so that the part is held tighter, is not immediately printed on one edge during printing. It is printed only after several layers. But then she does not stick to the table and lifts herself up, since nothing is holding her back. Maybe I missed something in the settings, that I can do it this way.
Problem with marked place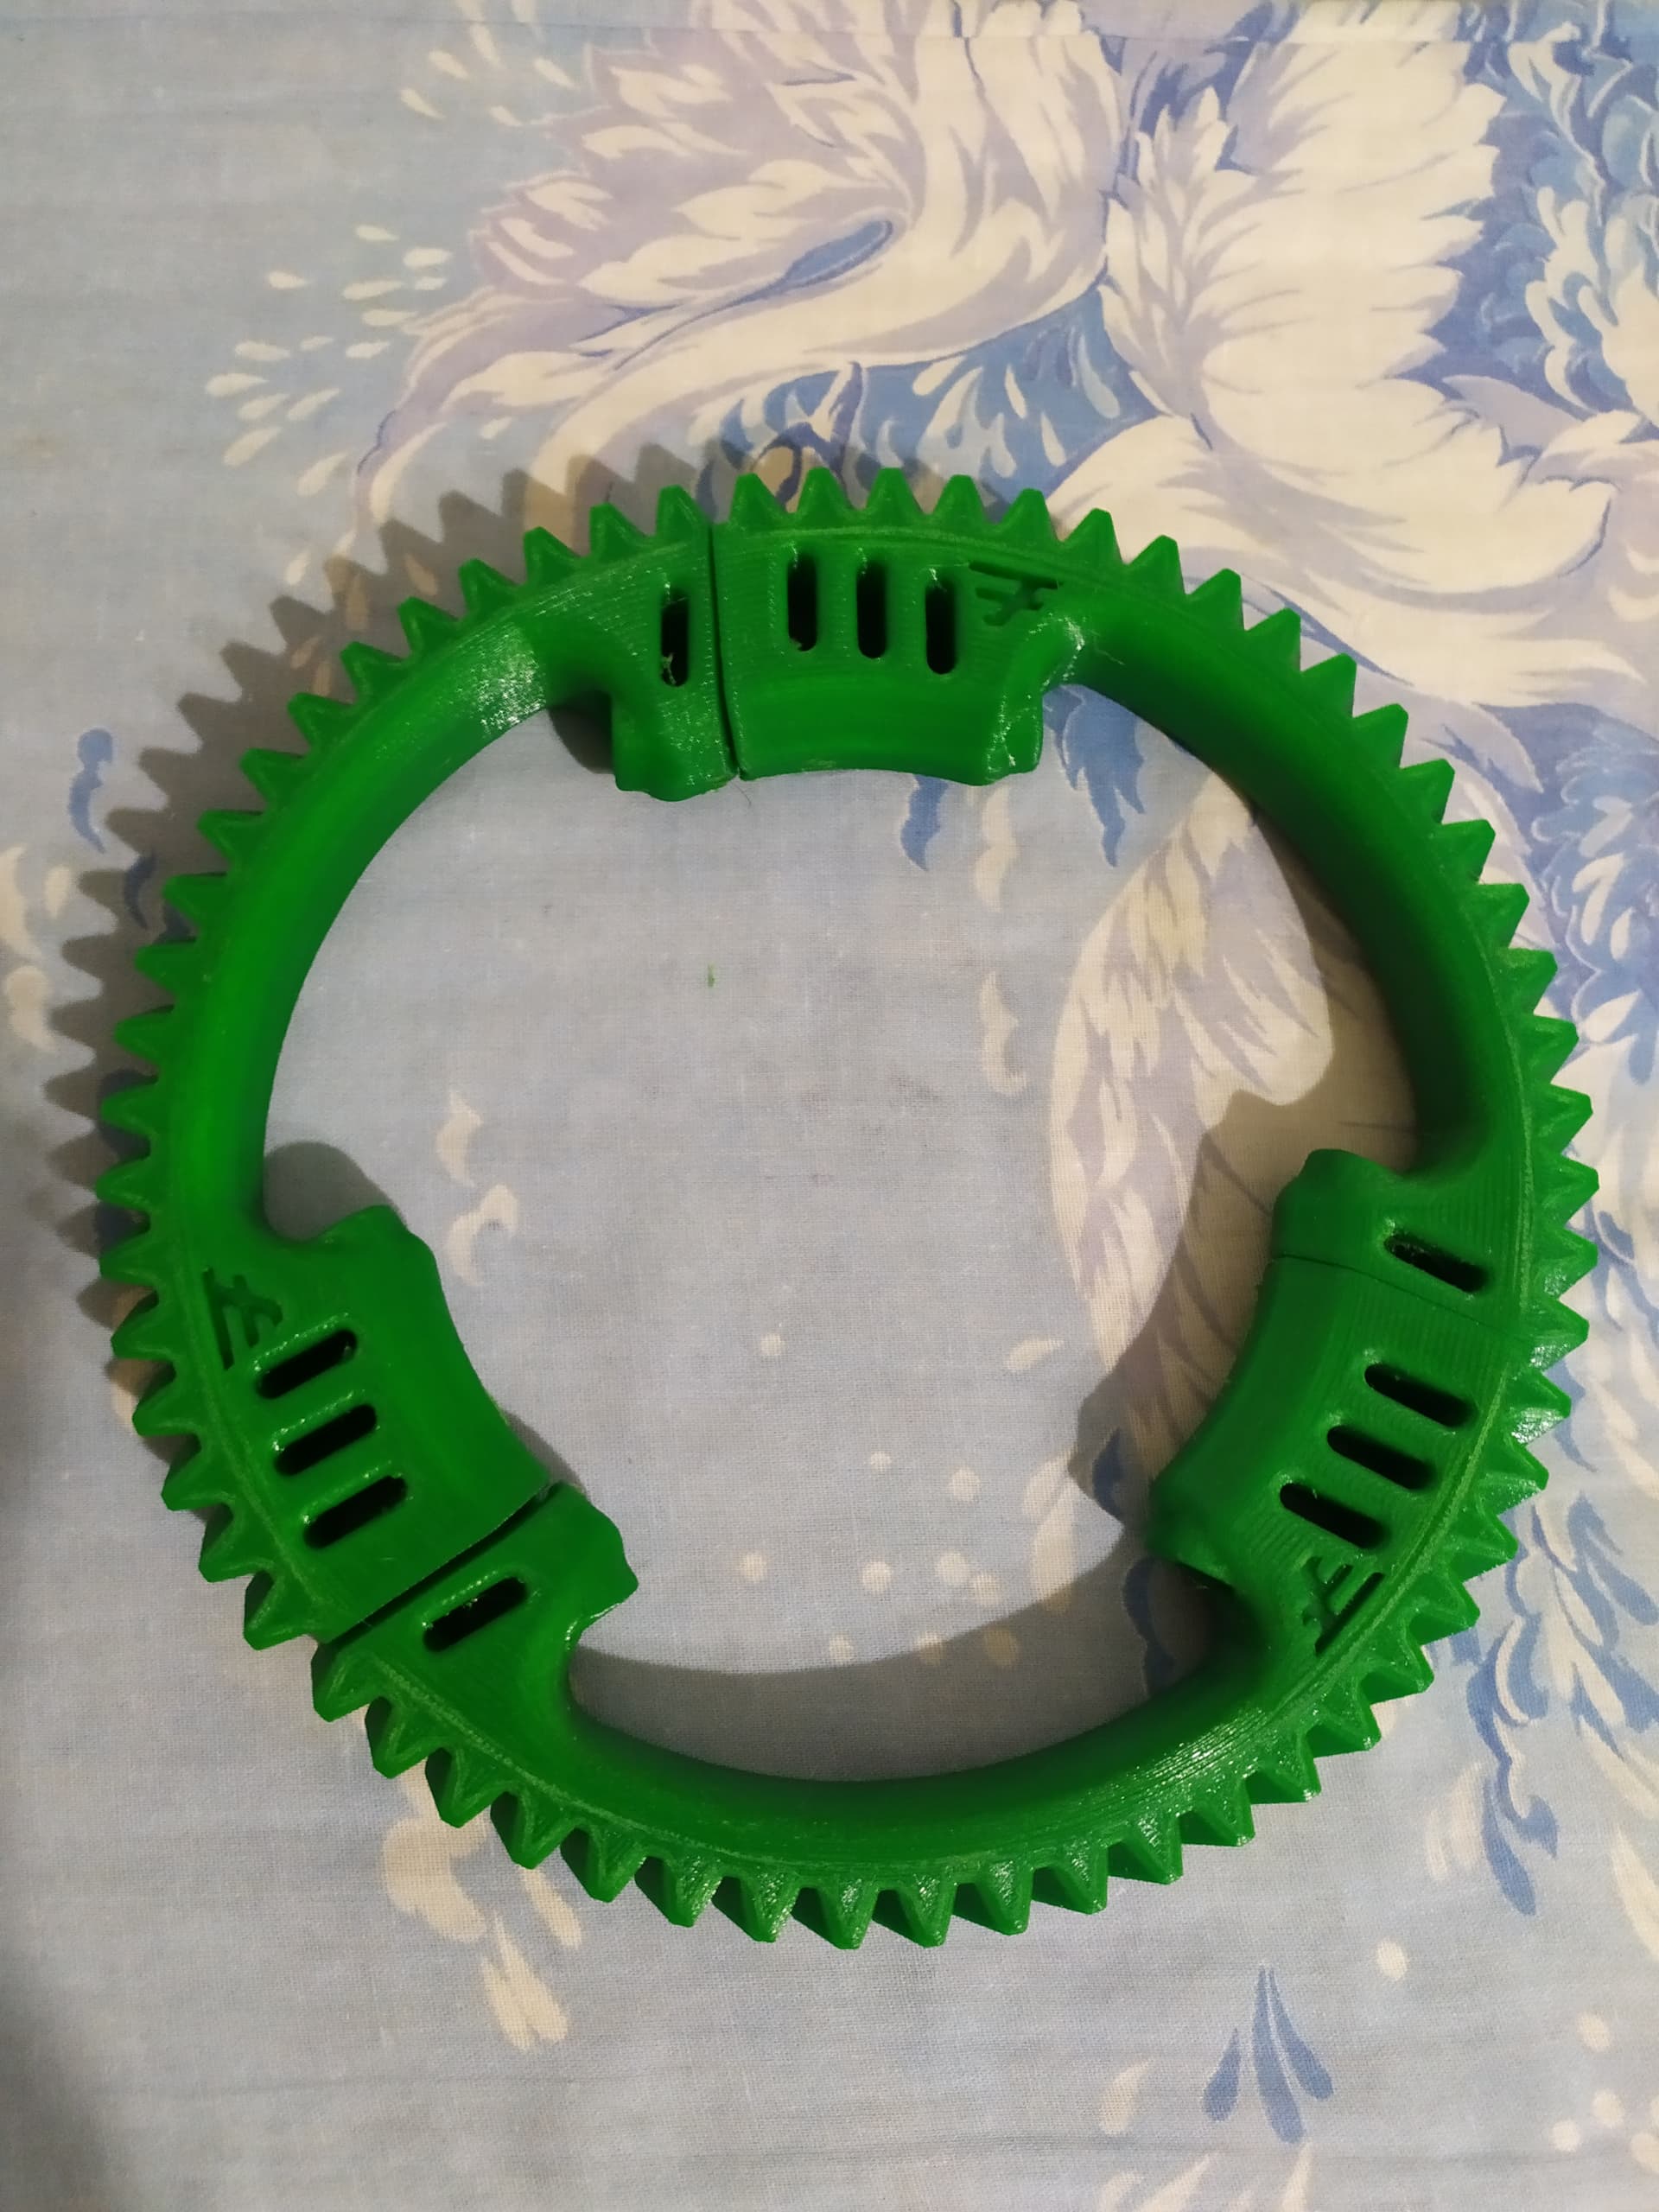

Your printer table must be clean, clean it with a napkin using pure alcohol, do not touch the table with your hands, the surface must be clean, the table must be flat at every point, the distance between the nozzle and the table must be adjusted, the space between the nozzle and the table at each point must be an A4 paper thick. You can also print layers for support on the base, ie the first few layers, the adhesion will be good.
Thank you. The area that I selected, the layers for support are not printed immediately. And after several layers. The printer is currently busy. When I get free, I’ll take a photo where the layers for support are not immediately finished.
1 Like
bonjour tu peut mettre un peut de laque sur le plateau pour que cela accroche .
Print with a brim as outlined in the instructions, it does a few extra laps before it starts the main print. I had just the tips gear rolling up before using brim. Also try increasing your bed temperature slightly.
Thanks everyone for the replies. I will study further how to print correctly.
In the place where I noted, it is still necessary to make a border, so that it would be applied with this first layer. This is where I have a problem. As I said, where I noted it is printed, but already when printing several layers. And of course, she no longer sticks to the table. How to do it, I don’t know.
I just tried slicing that part and it looks like it needs printing with support material. Try slicing it again with support material turned on.
Is there a reason why that part of the ring gear was designed to not touch the bed for printing without supports?
1 Like
Hello i was wondering why i can’t load most picture on this site. Could some one possibly help me out?
Could be picture format, size or just a limit on new members posting?
You could always use and image hosting site to upload the pictures and then paste a link to the pictures here.
Edit: Sorry, I misunderstood the question.