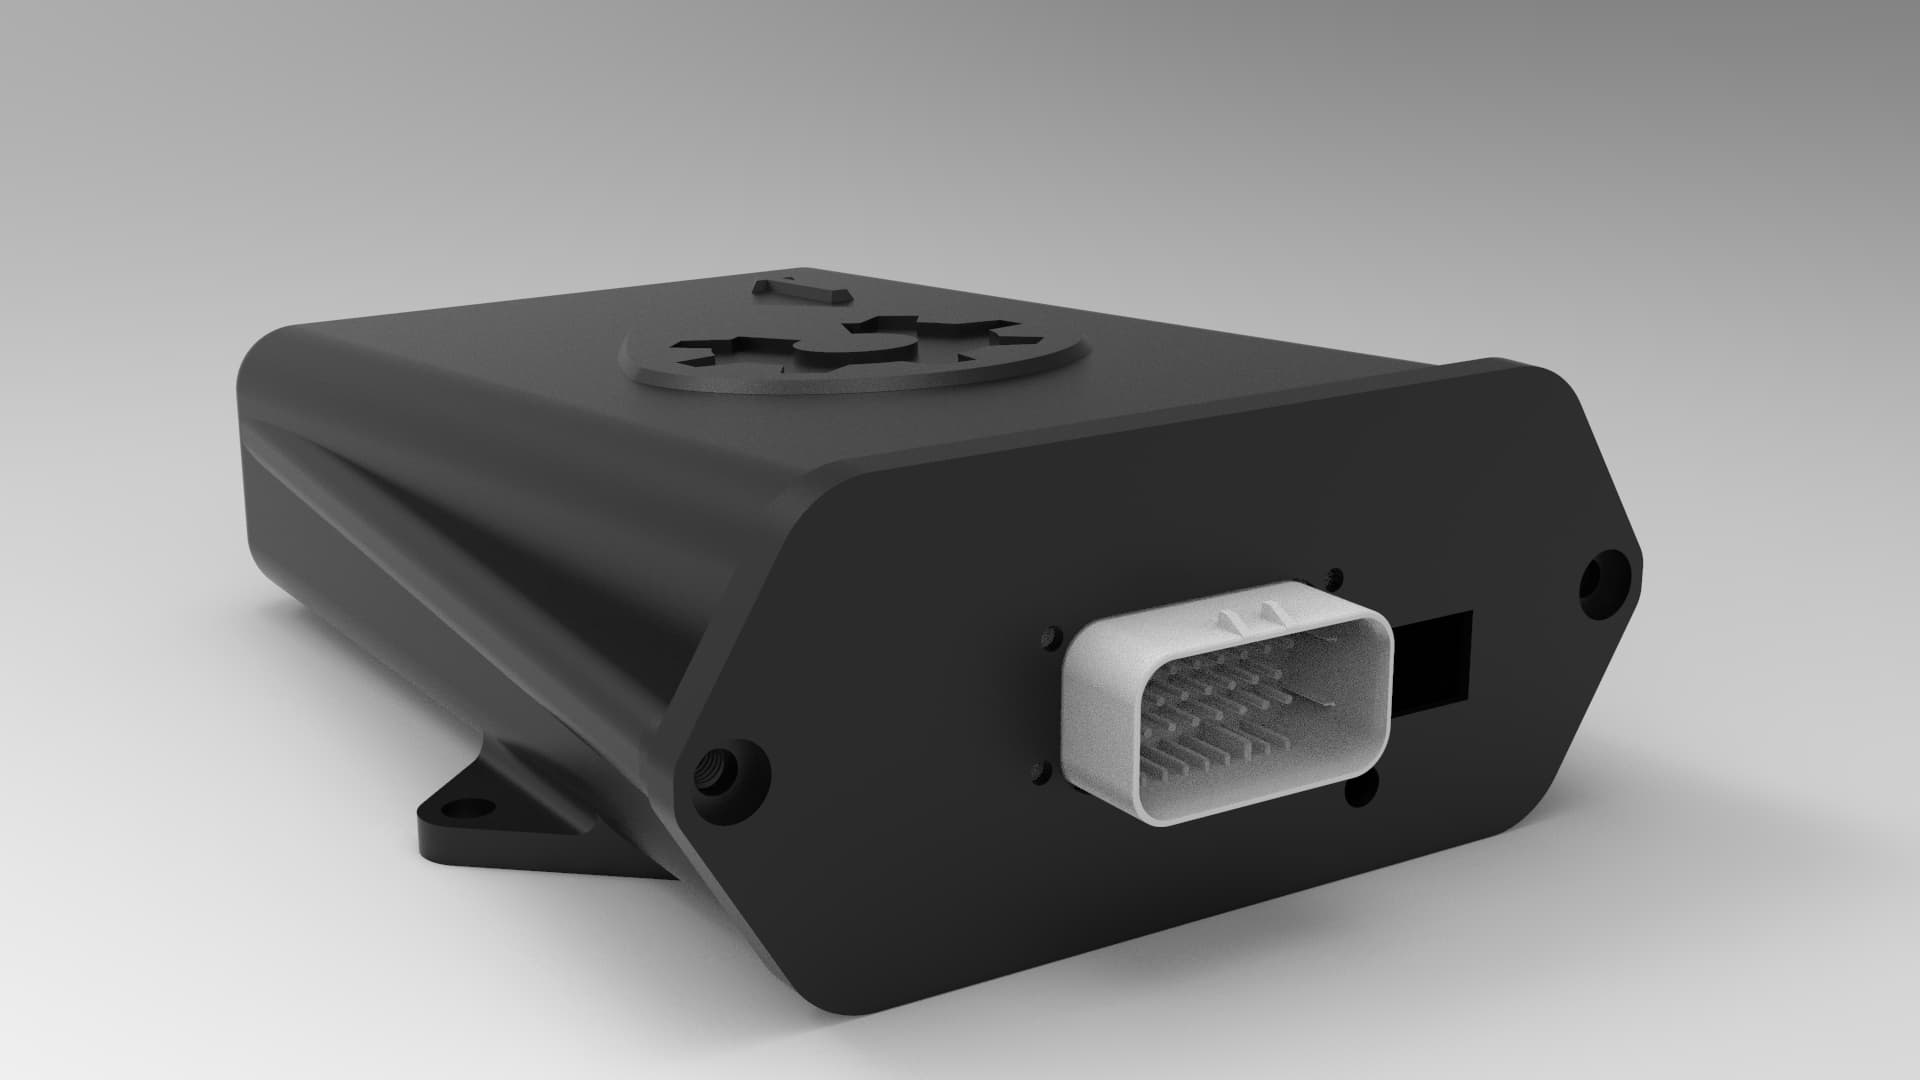
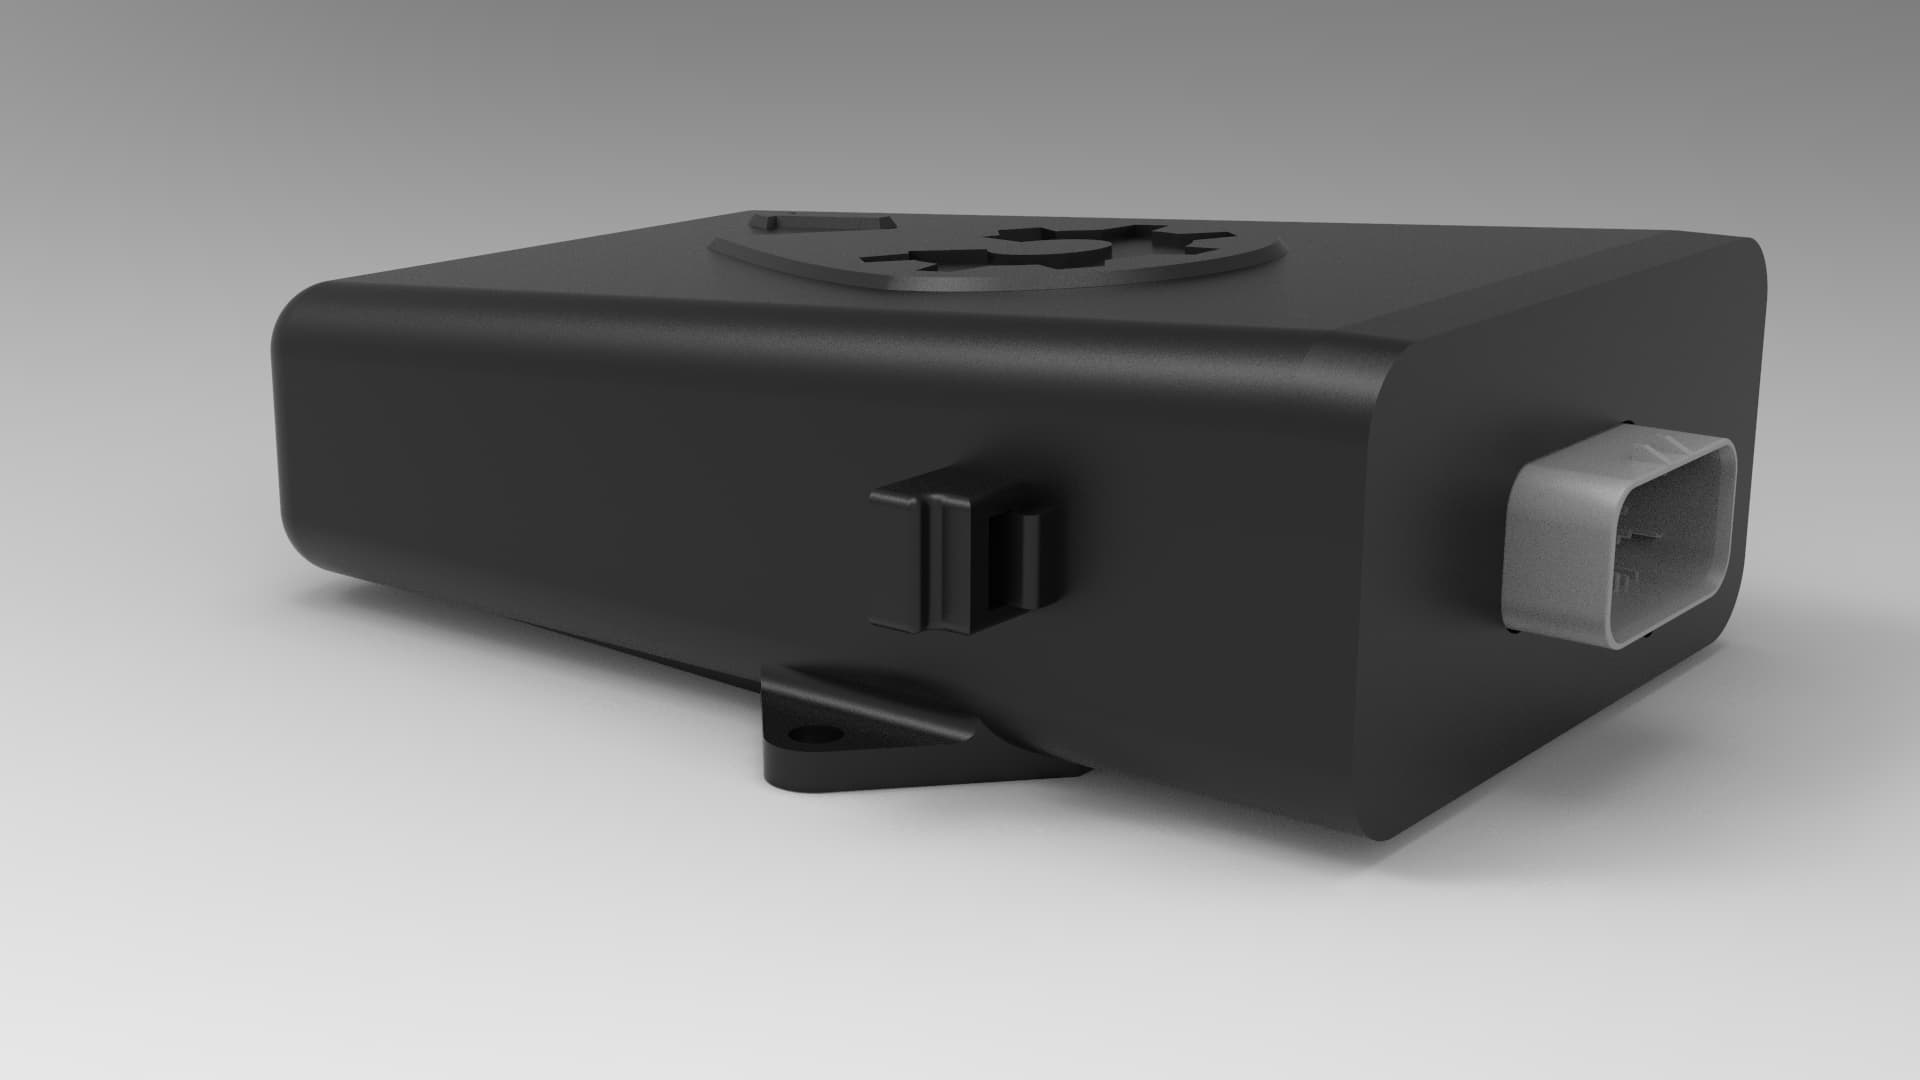
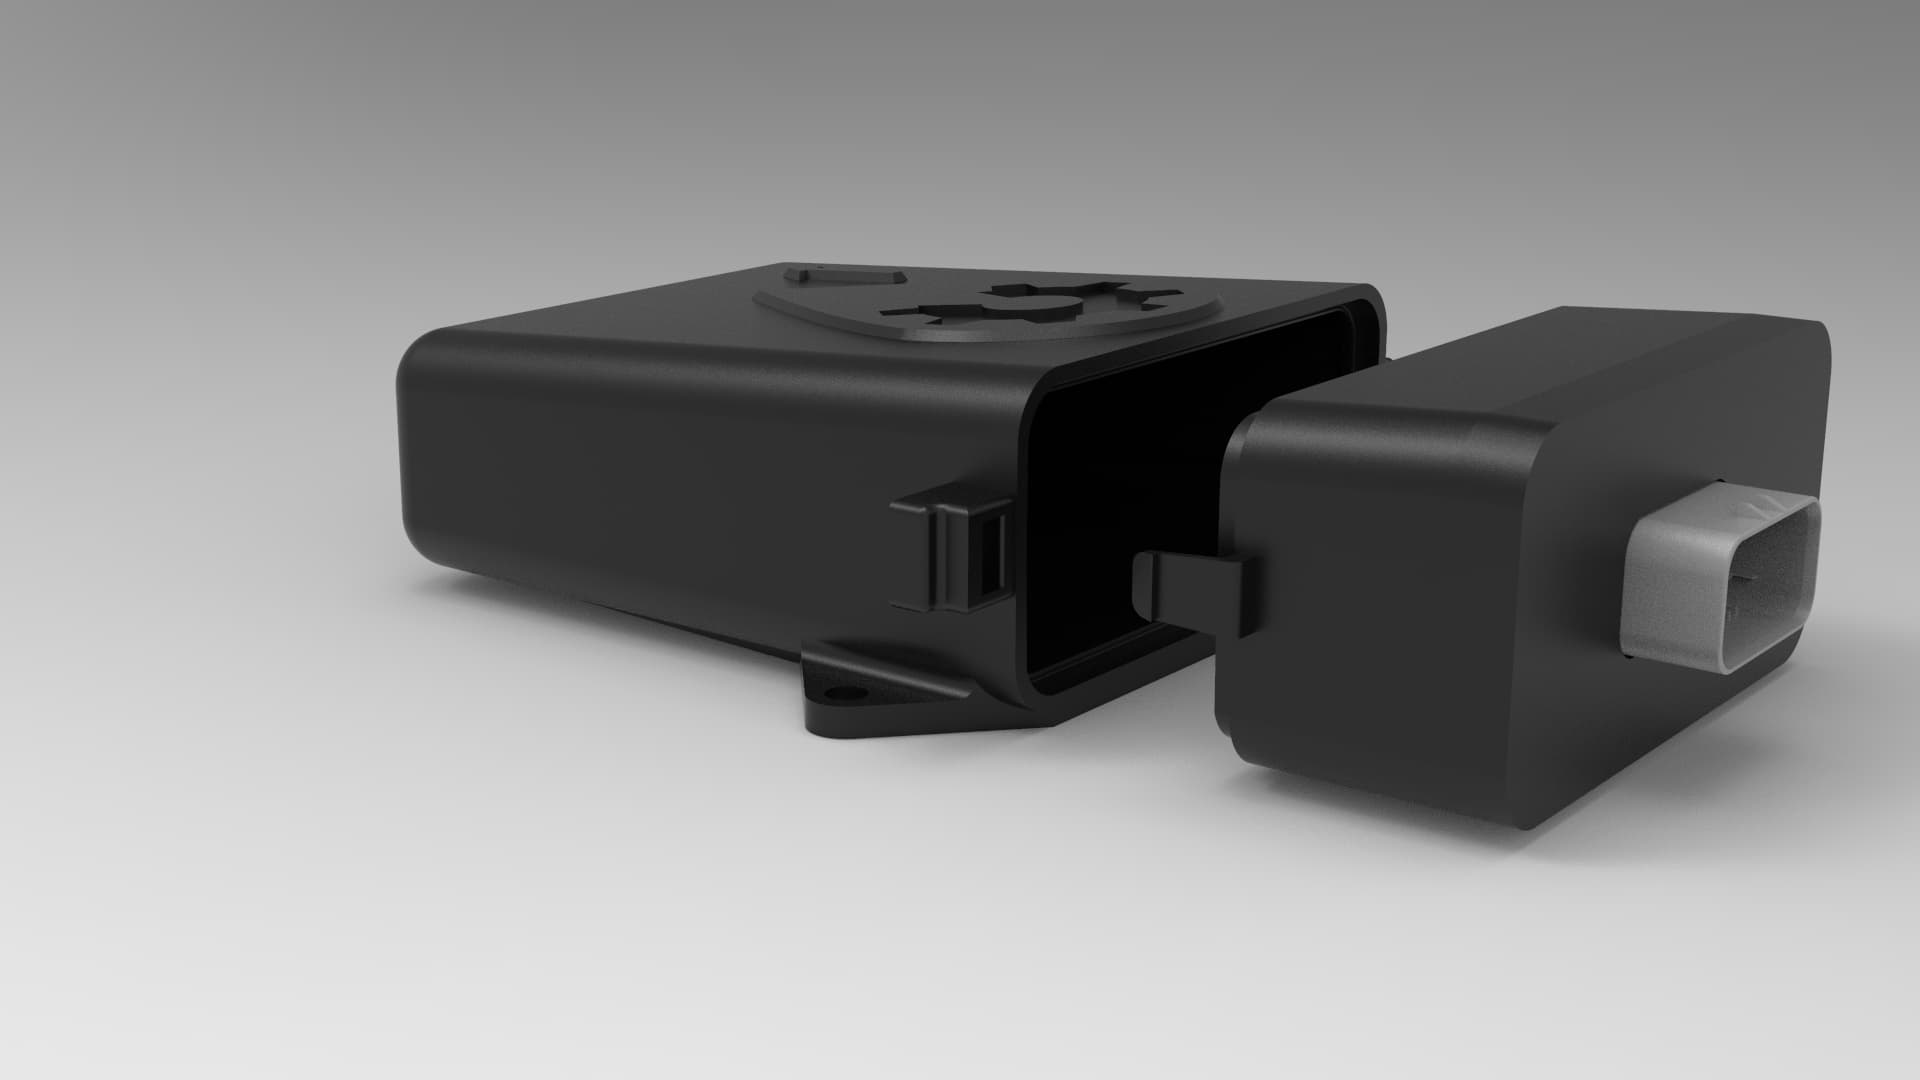
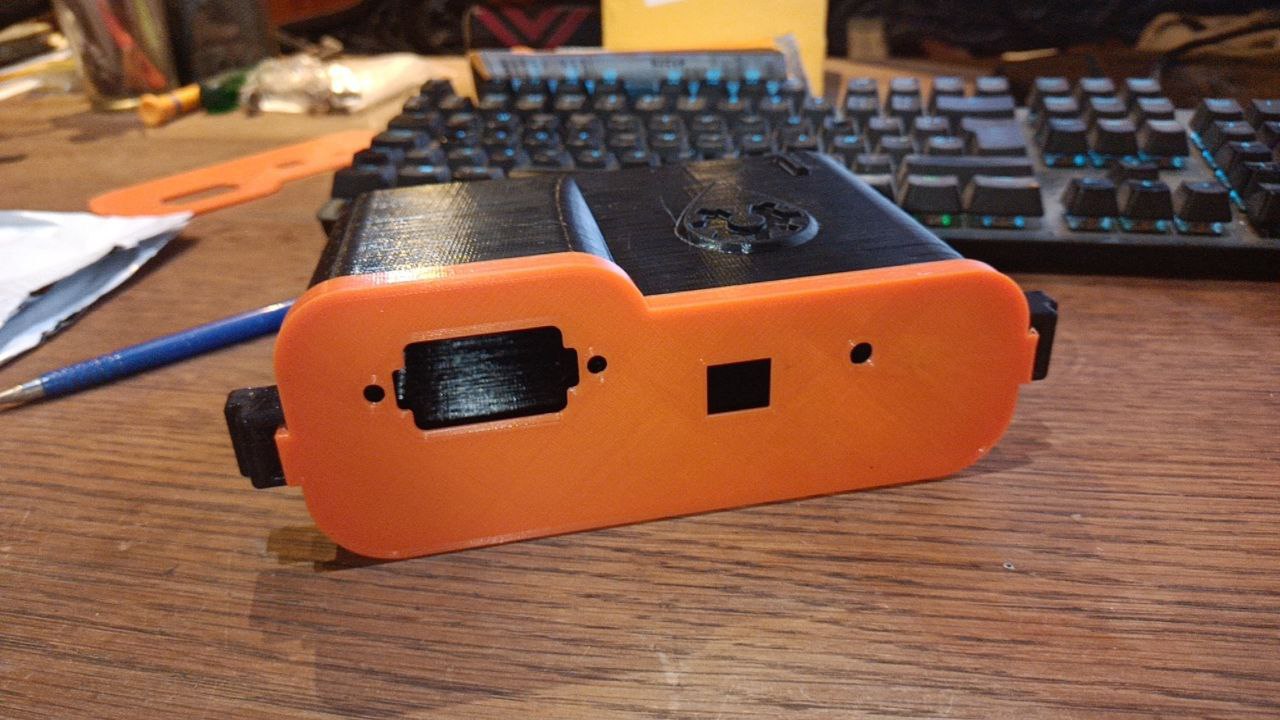
3D print Box
MICRO Version
Micro_3Dprint_V4.zip (1,9 MB)
Standard_3DPrint.zip (1,2 MB)

STANDARD Version
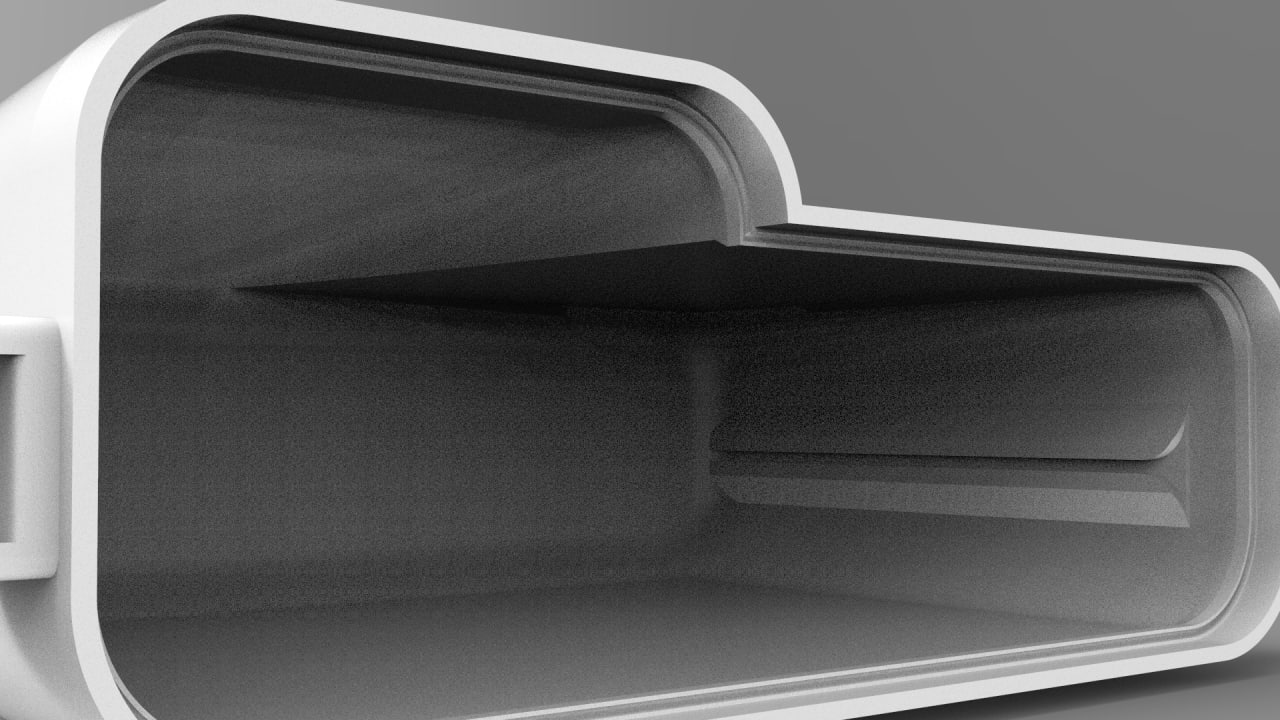
How to print Box?

All boxes can use 1mm diameter silicone gasket
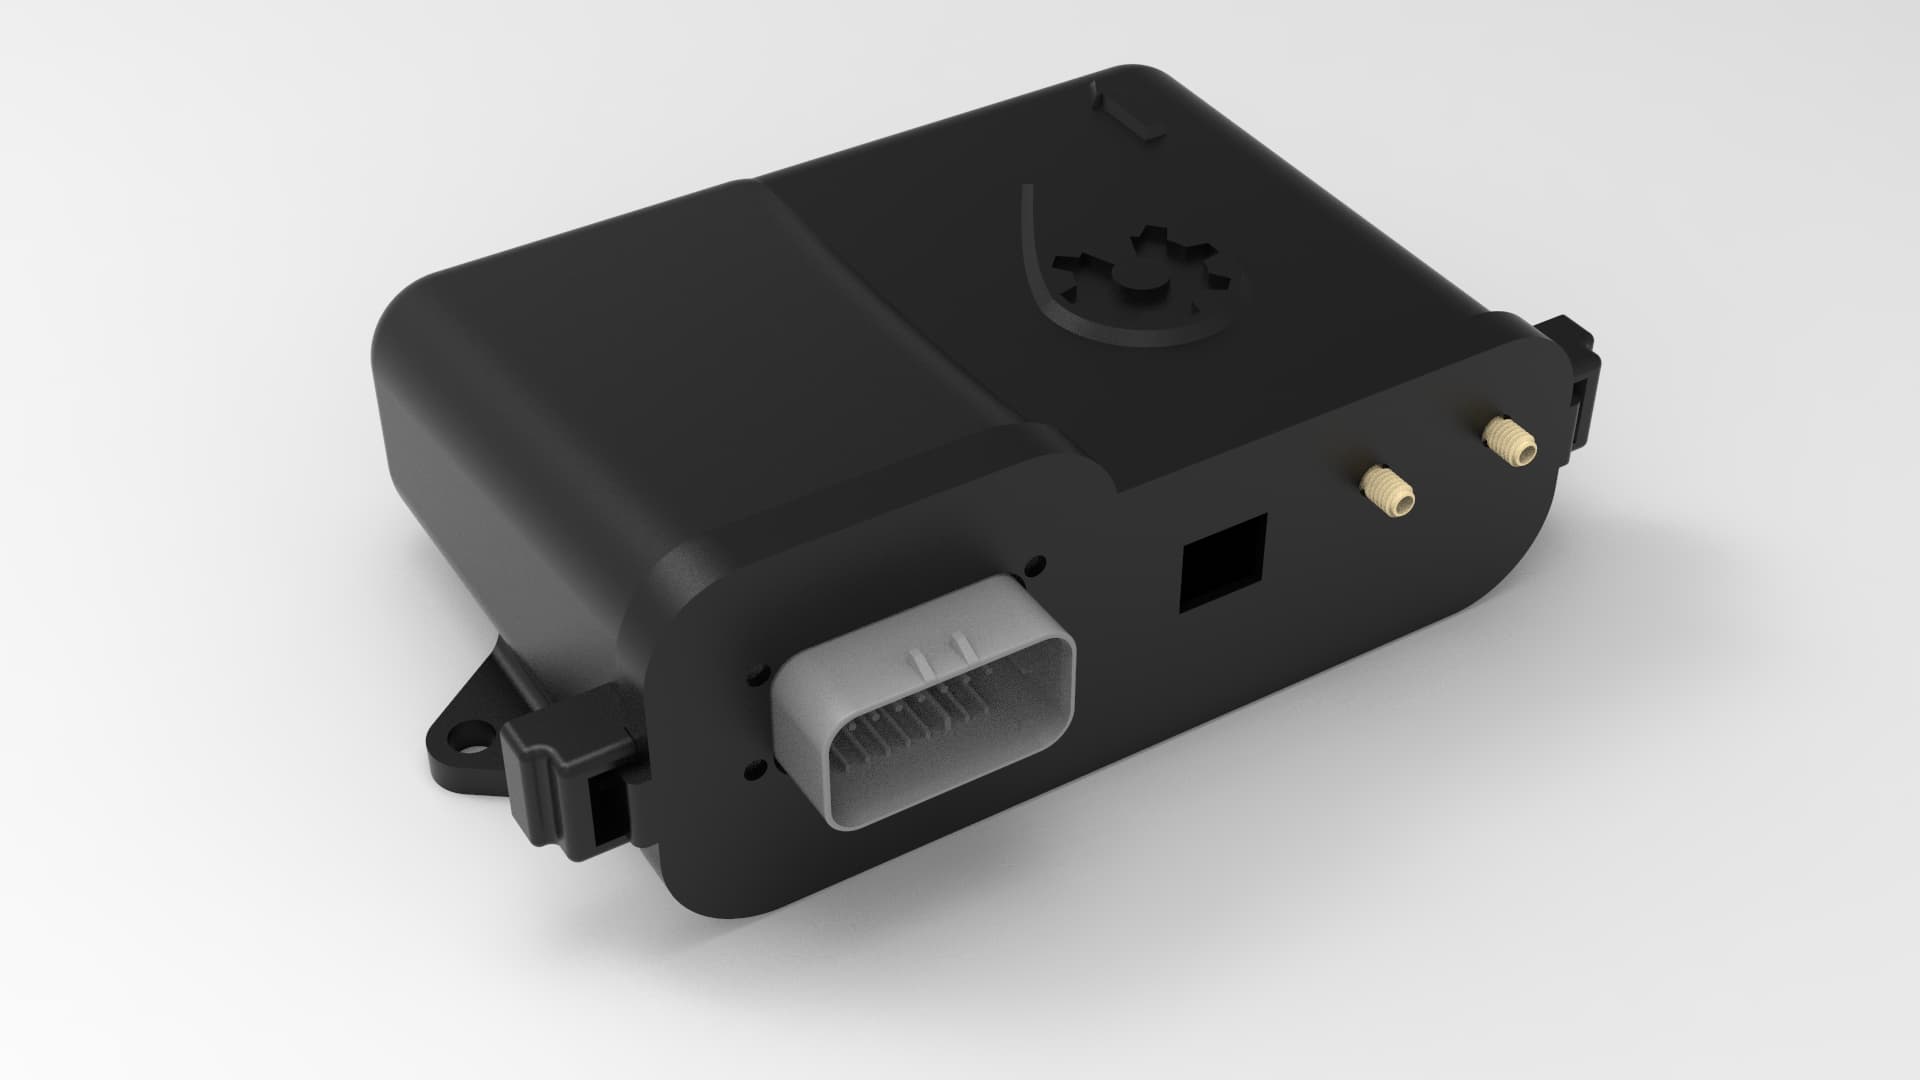
Special Standard Box
StandardSpecialV2.zip (1,3 MB)
Standard_Special_AMP_Screws.zip (718,0 KB)

Added screws options