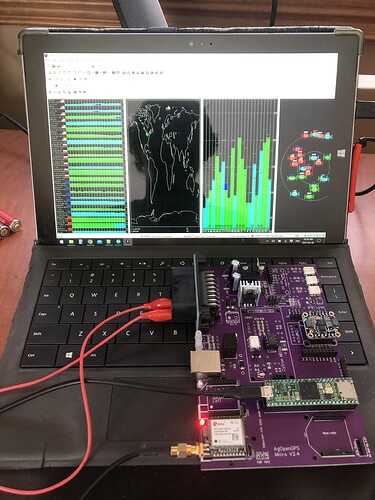
I know some have complained about poor soldering of the micro F9P USB ports on the AIO Micro boards and have had to carefully swap boards around to get their Micro F9P programmed. I wanted to share this workaround that I found.
You’ll need to power the AIO board with 12v and you’ll need a Teensy. You should cut the power trace on the bottom of the Teensy because you will be connecting USB to the Teensy while the board is powered by external 5v. Described here: electrical testing and validation · farmerbriantee/AgOpenGPS_Boards Wiki · GitHub
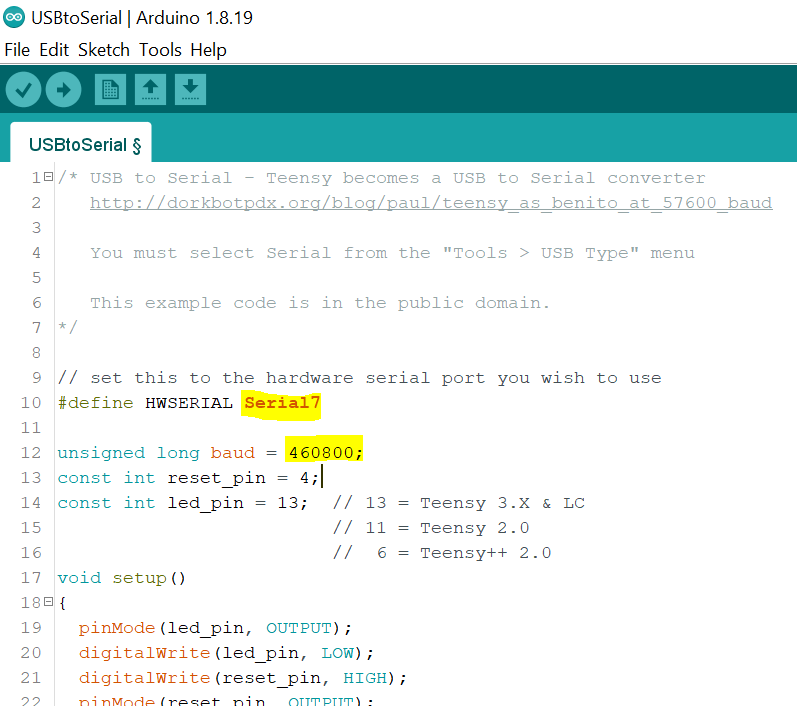
The Teensy can be used as a virtual serial port. You can think of it as a USB-Serial adapter. It just takes a little bit of code, which is already in the arduino IDE examples folder File->Examples->Teensy->USB_Serial->USBtoSerial
You will have to change two things, the serial port and the baud rate. Use Serial2 to connect to the Left F9P and use Serial7 to connect to the right F9P. The baud rate I think has to be set to 460,800 for a Micro F9P that is fresh out of the box. I was only able to test with a Micro F9P that had been previously set to 115,200, so I had to use a baud rate of 115,200.
Upload the code to the Teensy. When complete you can use the COM port and baud rate in U-Center to connect to the Micro F9P. U-Center seems to not always recognize COM ports added after U-Center was opened, so make sure to boot the AIO board before opening U-Center. From there you can view connections, flash firmware, etc.
When finished with the boards you will want to upload the Autosteer_gps_teensy_vX.X ino file to the Teensy to use AgOpenGPS.
I hope that can help someone in the future.

