First of all thank you so much to @BrianTee_Admin and the rest of the development team as well as all you regulars on the forum. If you haven’t replied to me directly to help, I would bet I’ve found some of your posts helpful at some point during my searching. Such a cool community. This is not something I ever thought was feasible for a smaller farmer like myself, and it has been an incredibly satisfying and fun project to work on. Prior to beginning, I would have called myself a complete beginner so I hope I can give some hope and help to others who are in those shoes.
I did start quite a while ago and not being confident in my skills decided to keep my investment small and continue to get the more expensive components as I got things working. I ordered the V2 boards and all the little components, as well as a phidgets motor and a land rover WAS and was thrilled the first time I had them hooked up on my desk and moving with an old laptop I had around. It was a huge confidence booster. @wilberttalen and @darrenjlobb, your YouTube videos were tremendously helpful, thank you guys.
Next I ordered a Panasonic tough book off of eBay and splurged for the most expensive component, the ardusimple LR base/rover kit. The GPS part of this was overwhelming to me but it really shouldn’t have been. I realize I was hitting the easy button going with the ardusimple kit but to the other beginners out there, it was worth the money and I had it up and running with an RTK fix in one evening of messing with it and now it’s pretty standard on the new AIO boards anyway.
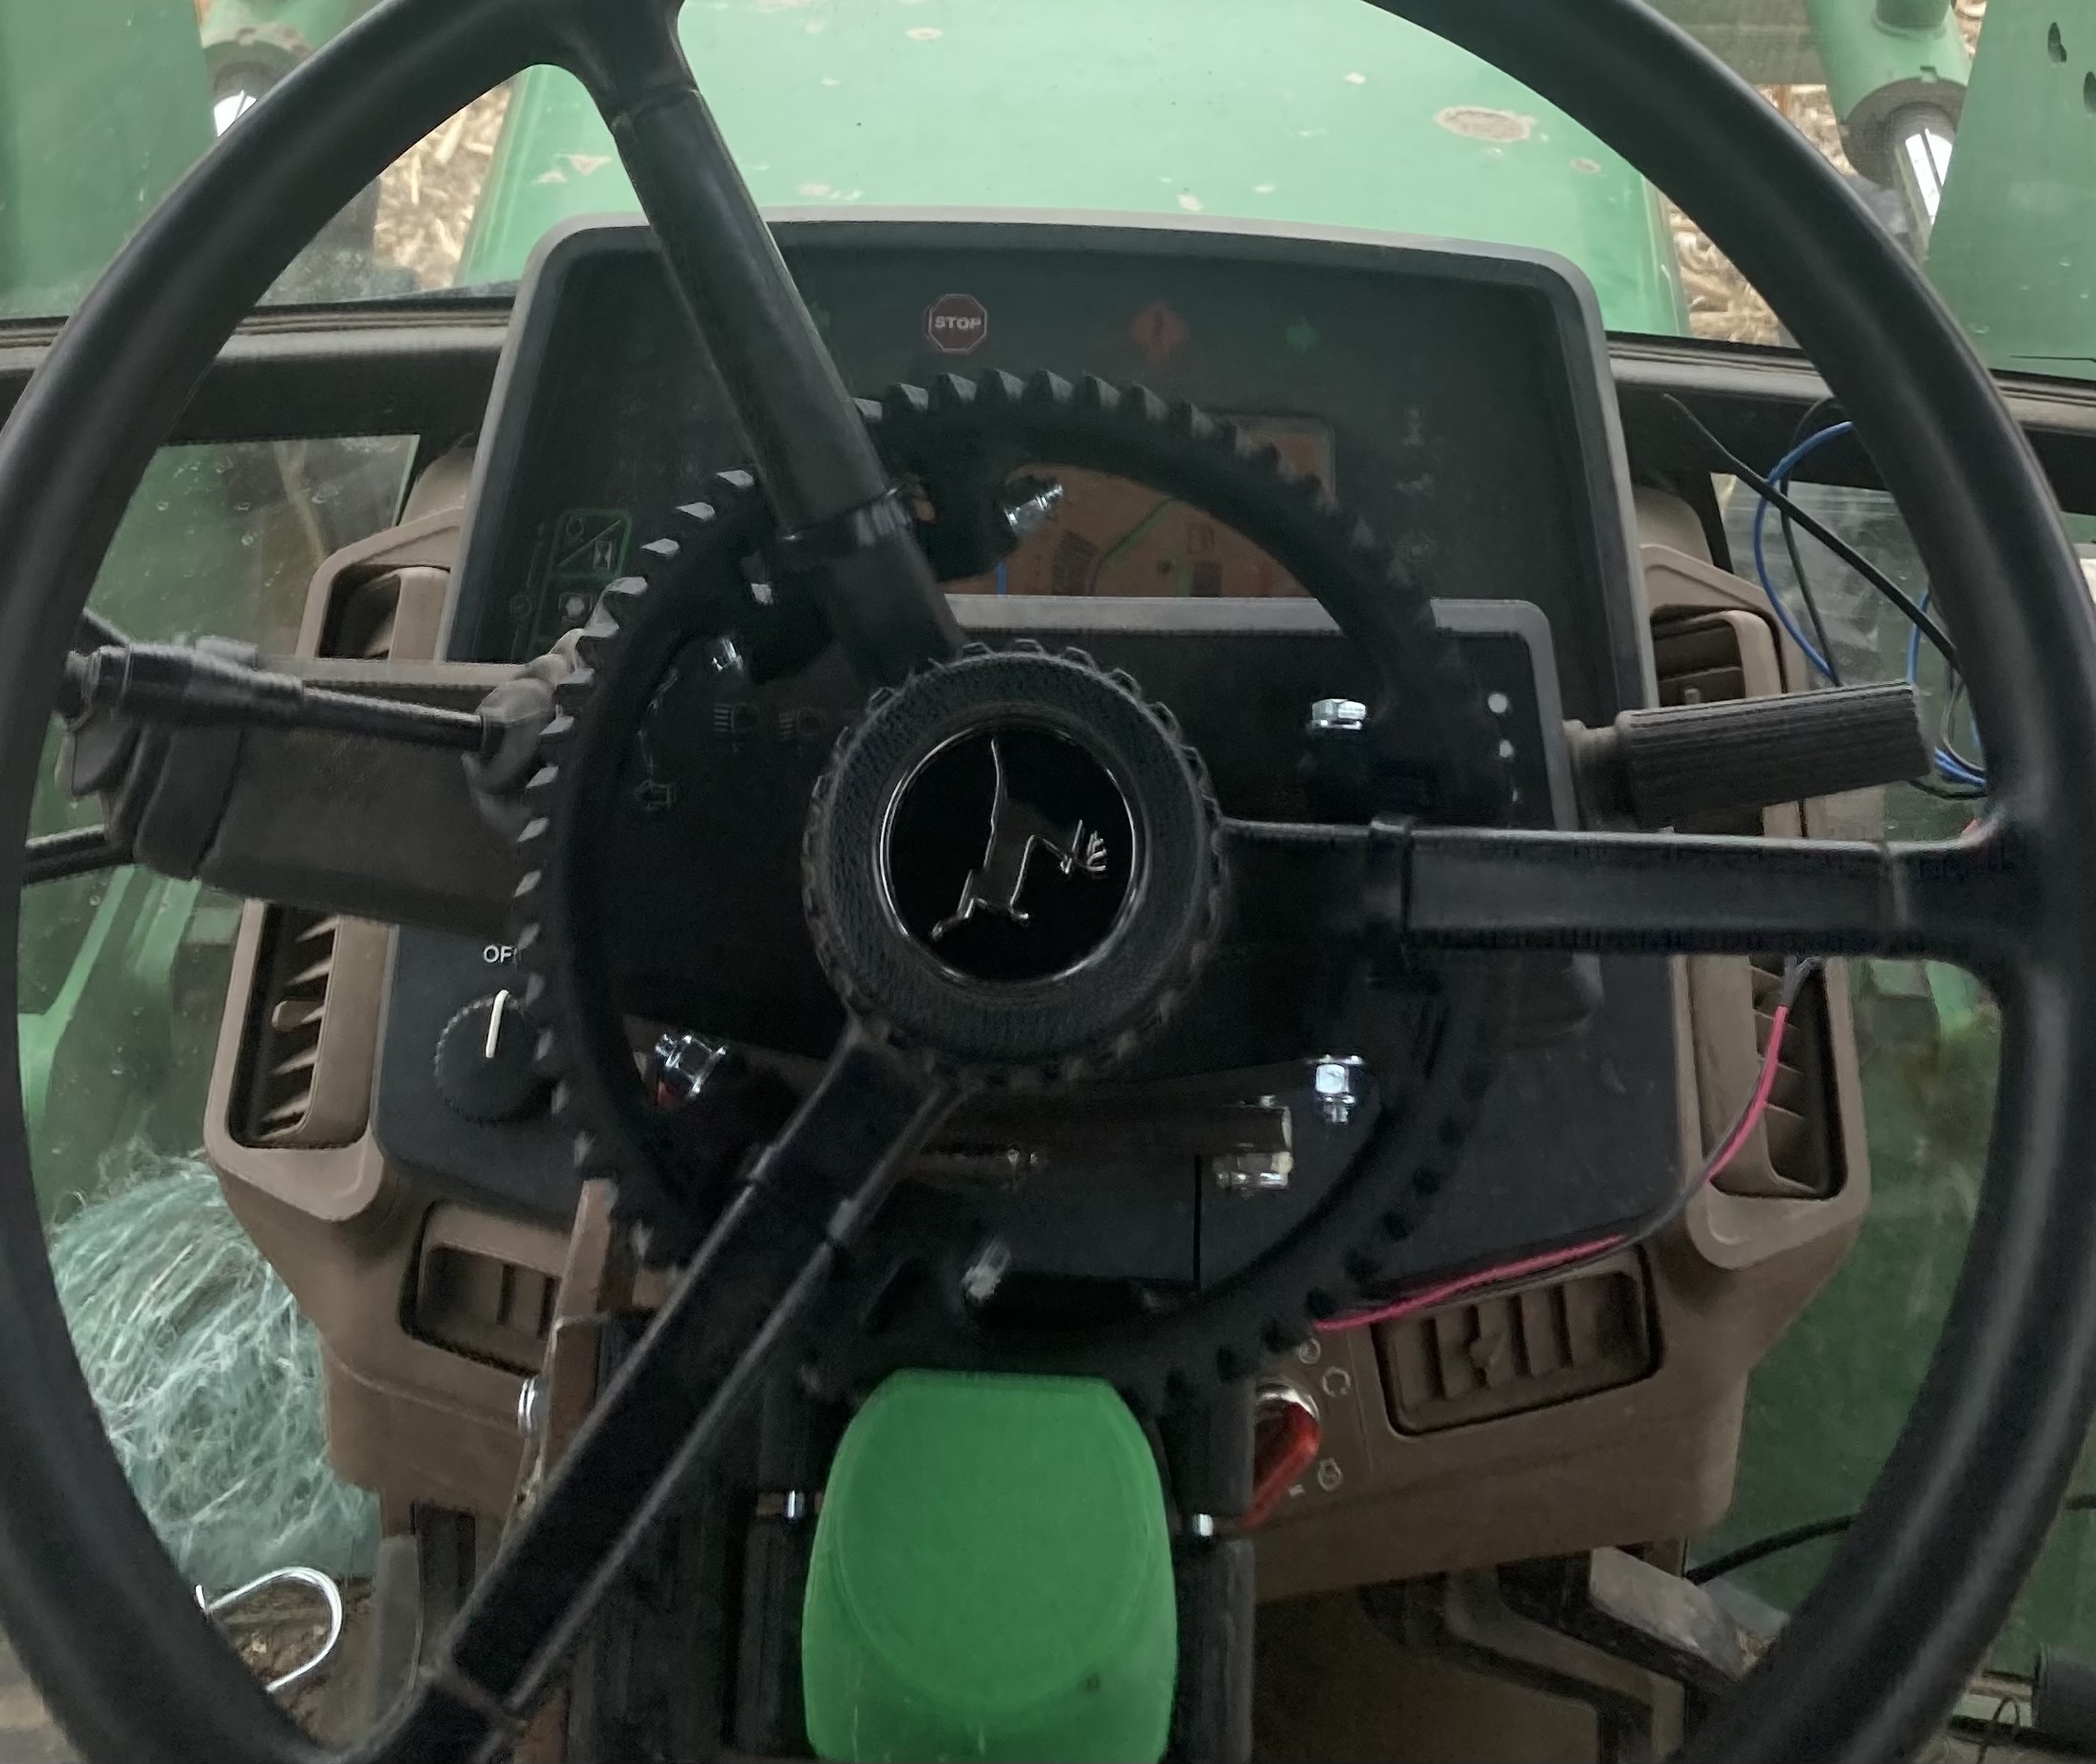
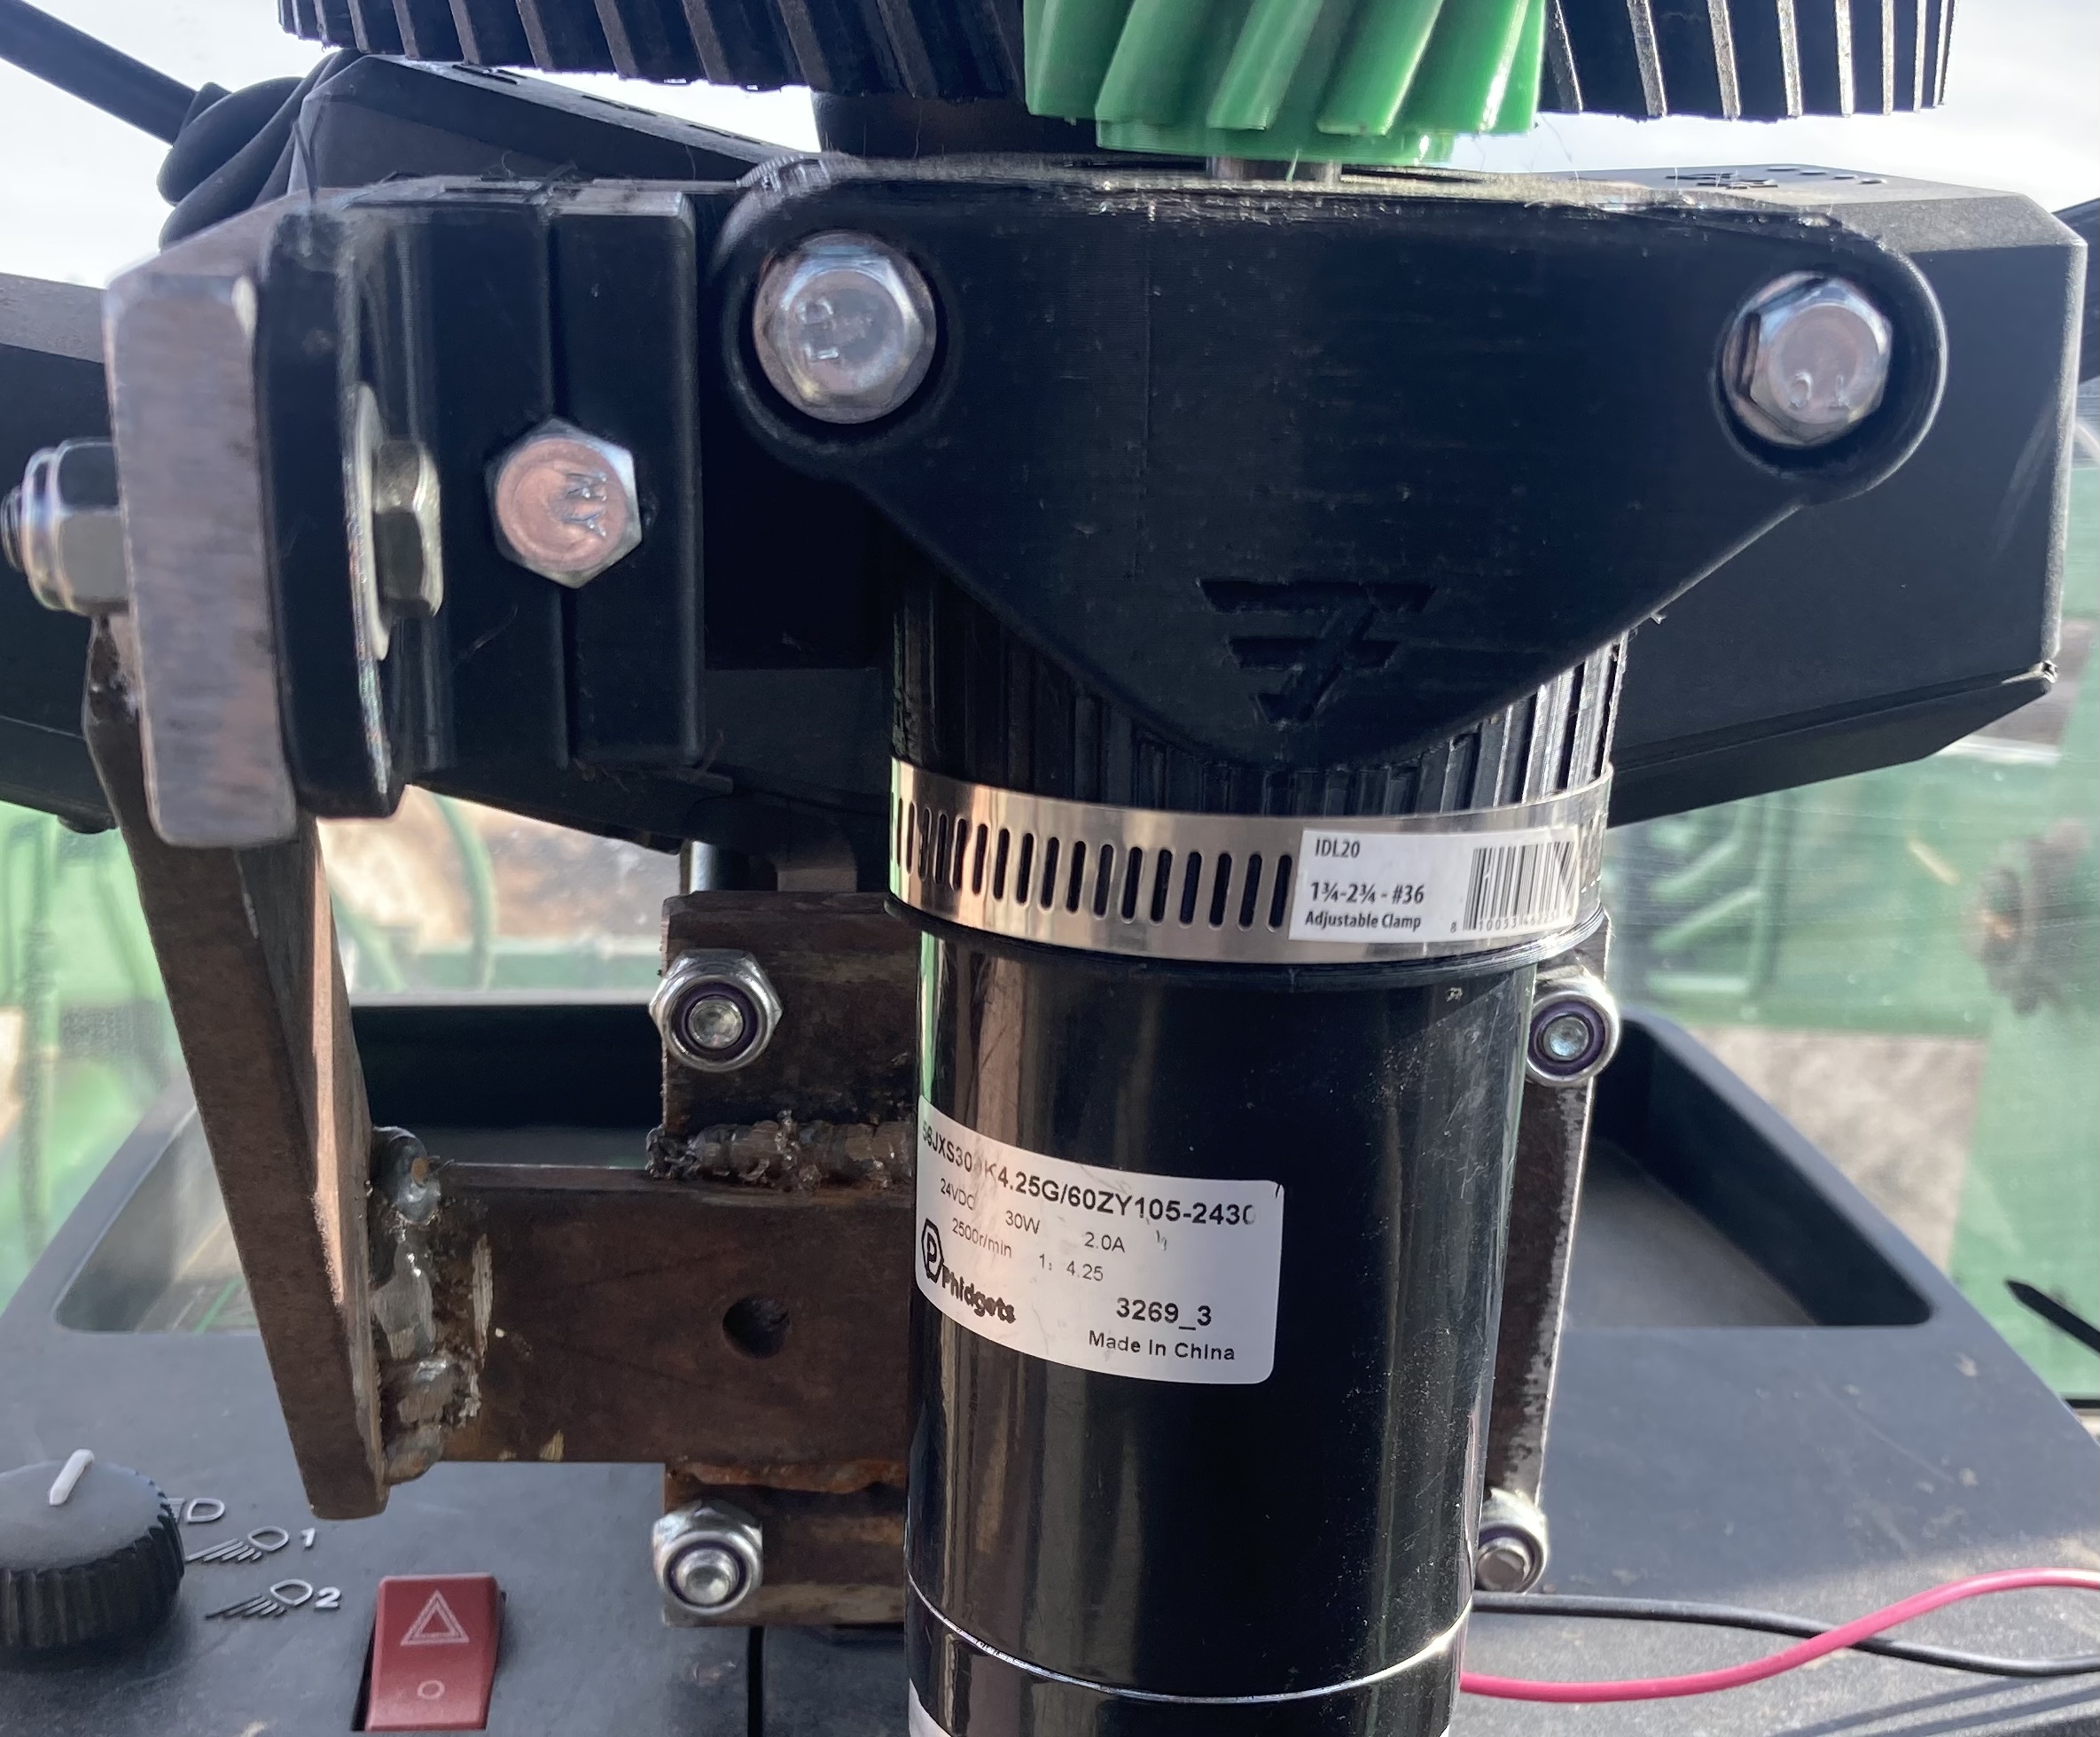
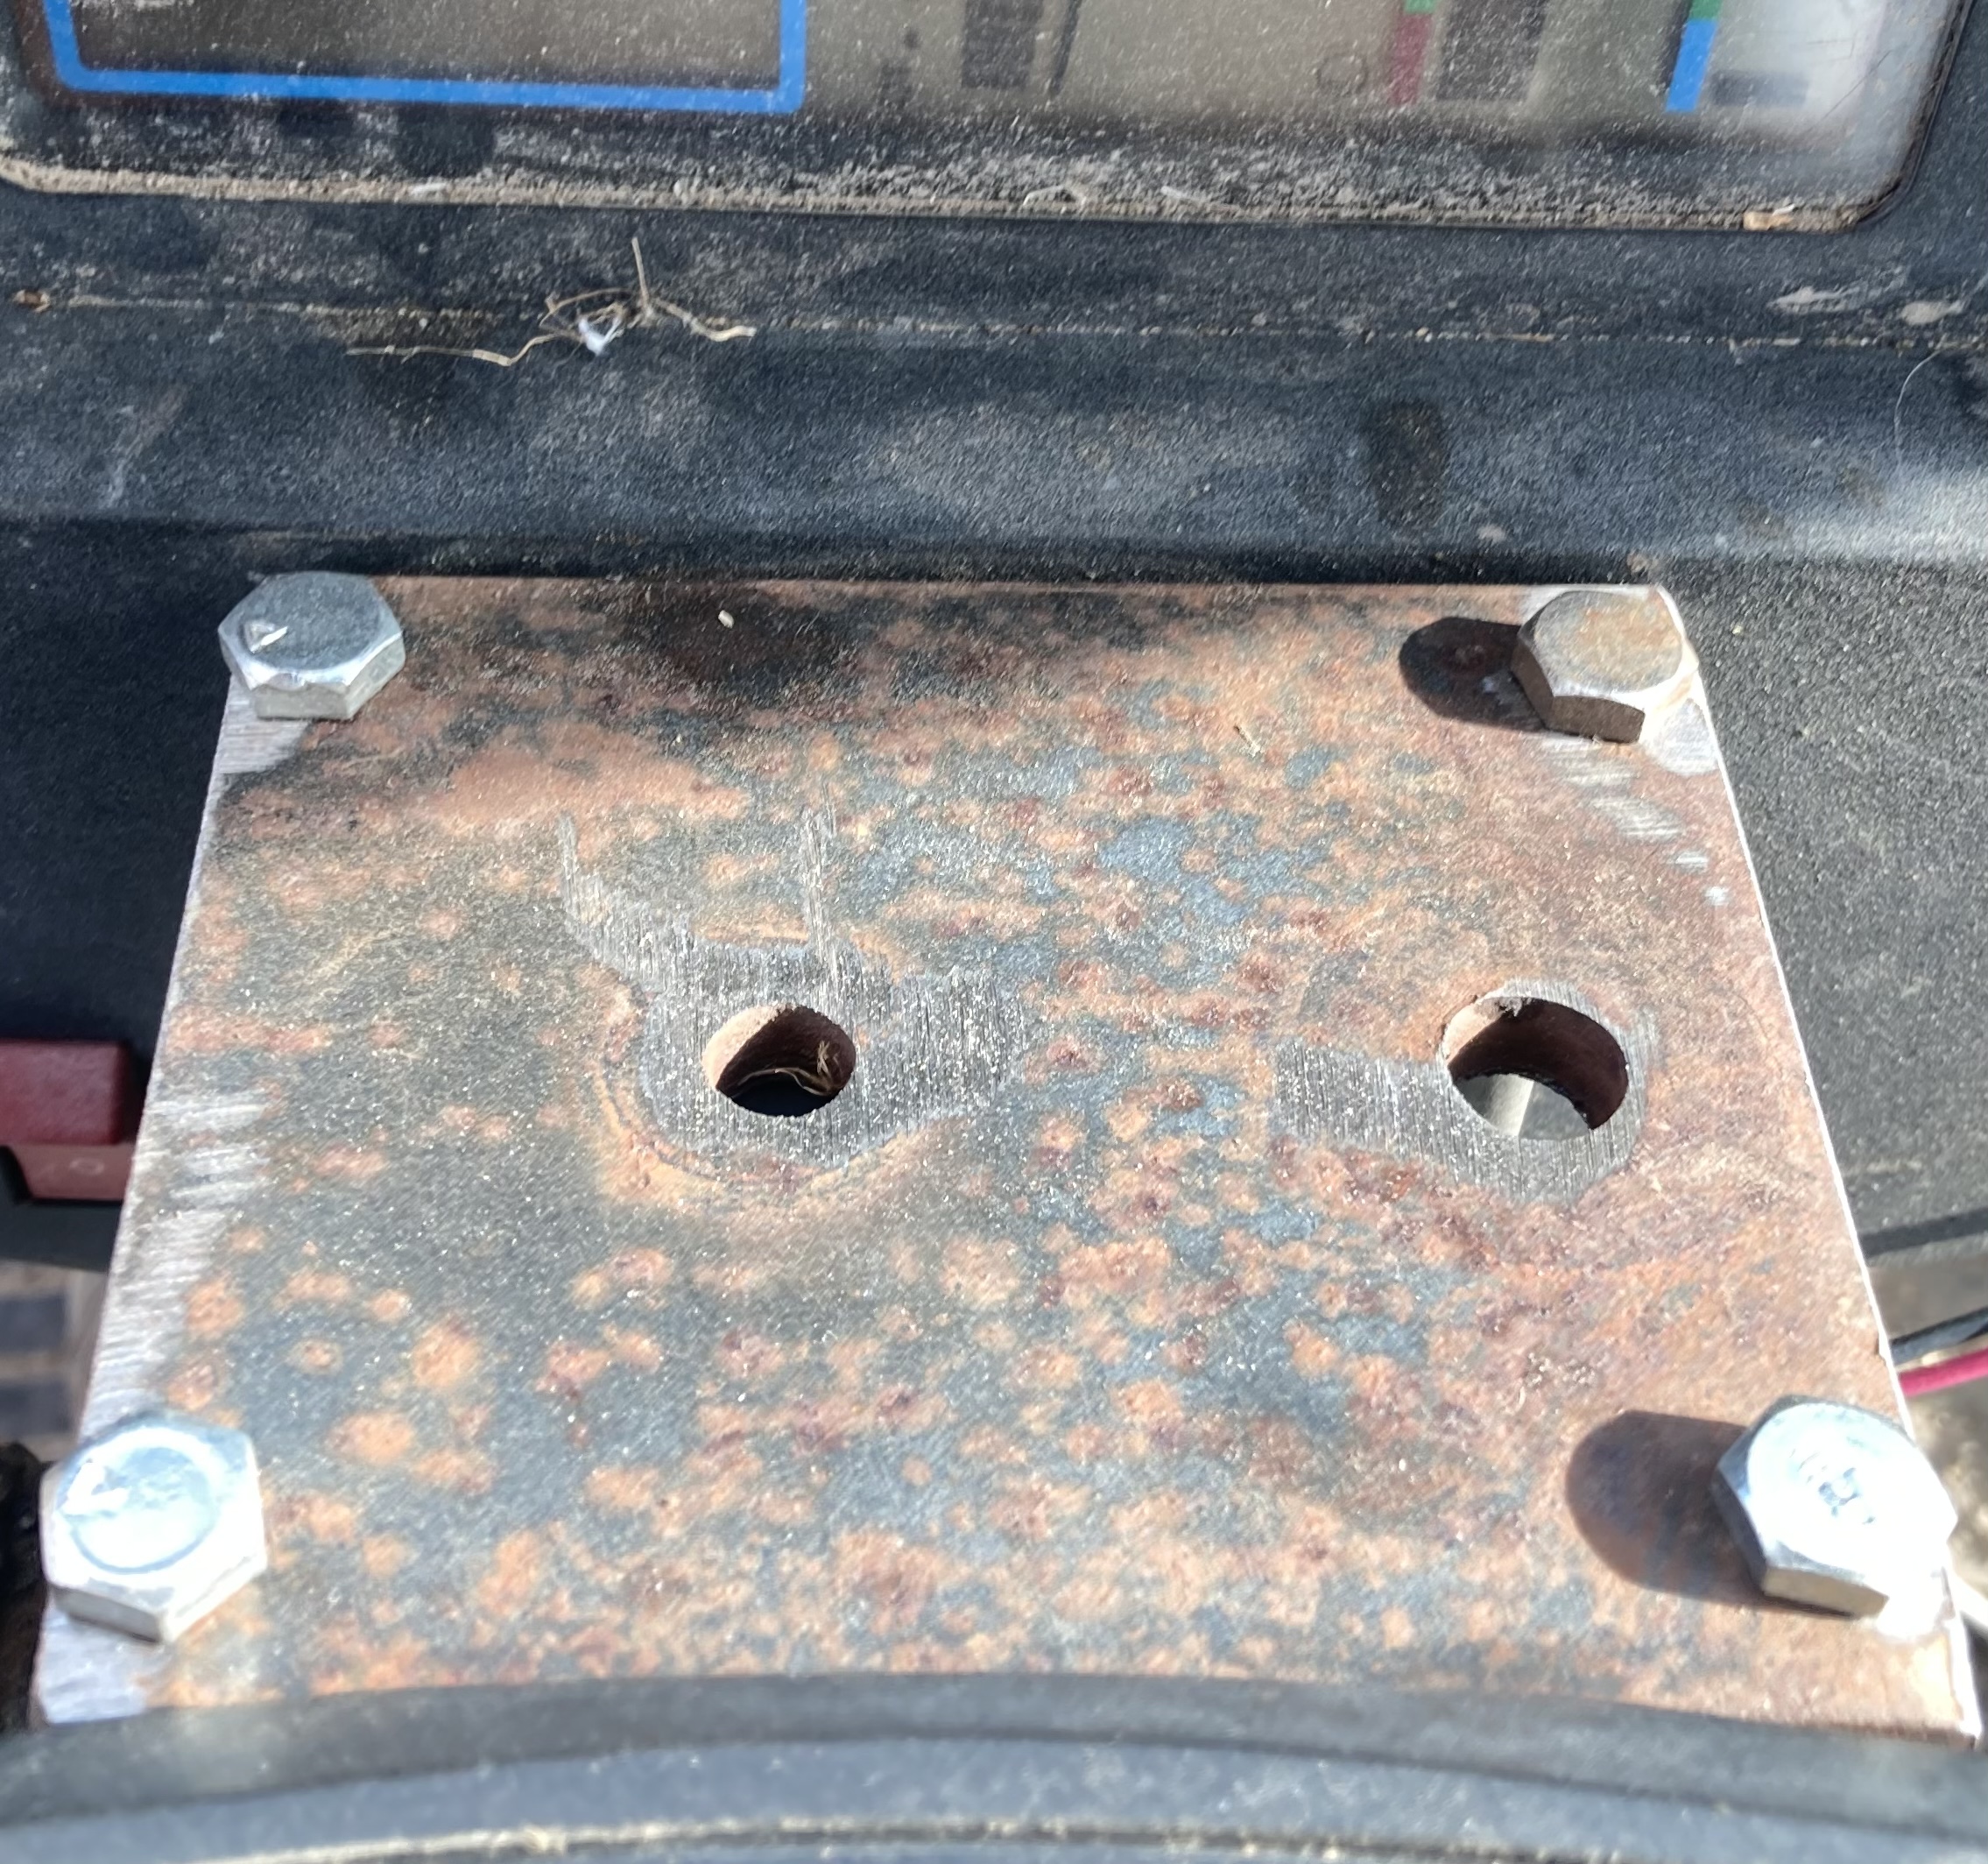
There was still a fair amount of fiddling around mounting everything in my tractor. In addition to being a beginner in electronics, all that I can say about my welding and fabrication skills is that I usually manage to get the job done. Mounting the WAS ended up being probably the most frustrating part. I had a difficult time finding the sweet spot where I could still turn my wheels their full range of motion and that the fenders wouldn’t get into the sensor. An STL file for a 3D print from @alexandr made it much easier to get the sensor in the right place without relying on my fabrication skill. I also spent time trying to figure out a friction wheel, but once I decided to get a 3D printer, @PotatoFarmer gears and motor mounts were a much cooler and simpler solution. Thanks to you guys as well.
Yesterday and today were the first days I actually got to test things in my tractor. All I can say is wow. I went through Brian’s most recent steer settings video and quickly had the wiggle woggle sorted out. It is also wild to have it making u-turns and coming back to the line so smoothly. Just unreal. My only previous experience with an auto steer system was a EZ Steer 500 running off Waas and it is SO much better than that already. My experience with that was that I spent most of my time driving with the nudge buttons rather than the steering wheel. I’m sure I’ve still got tons of tweaks and improvements to make and I welcome your suggestions. I’ll try posting pictures and explanations of my setup below but I’m sure you can also expect more beginner questions from me in return.
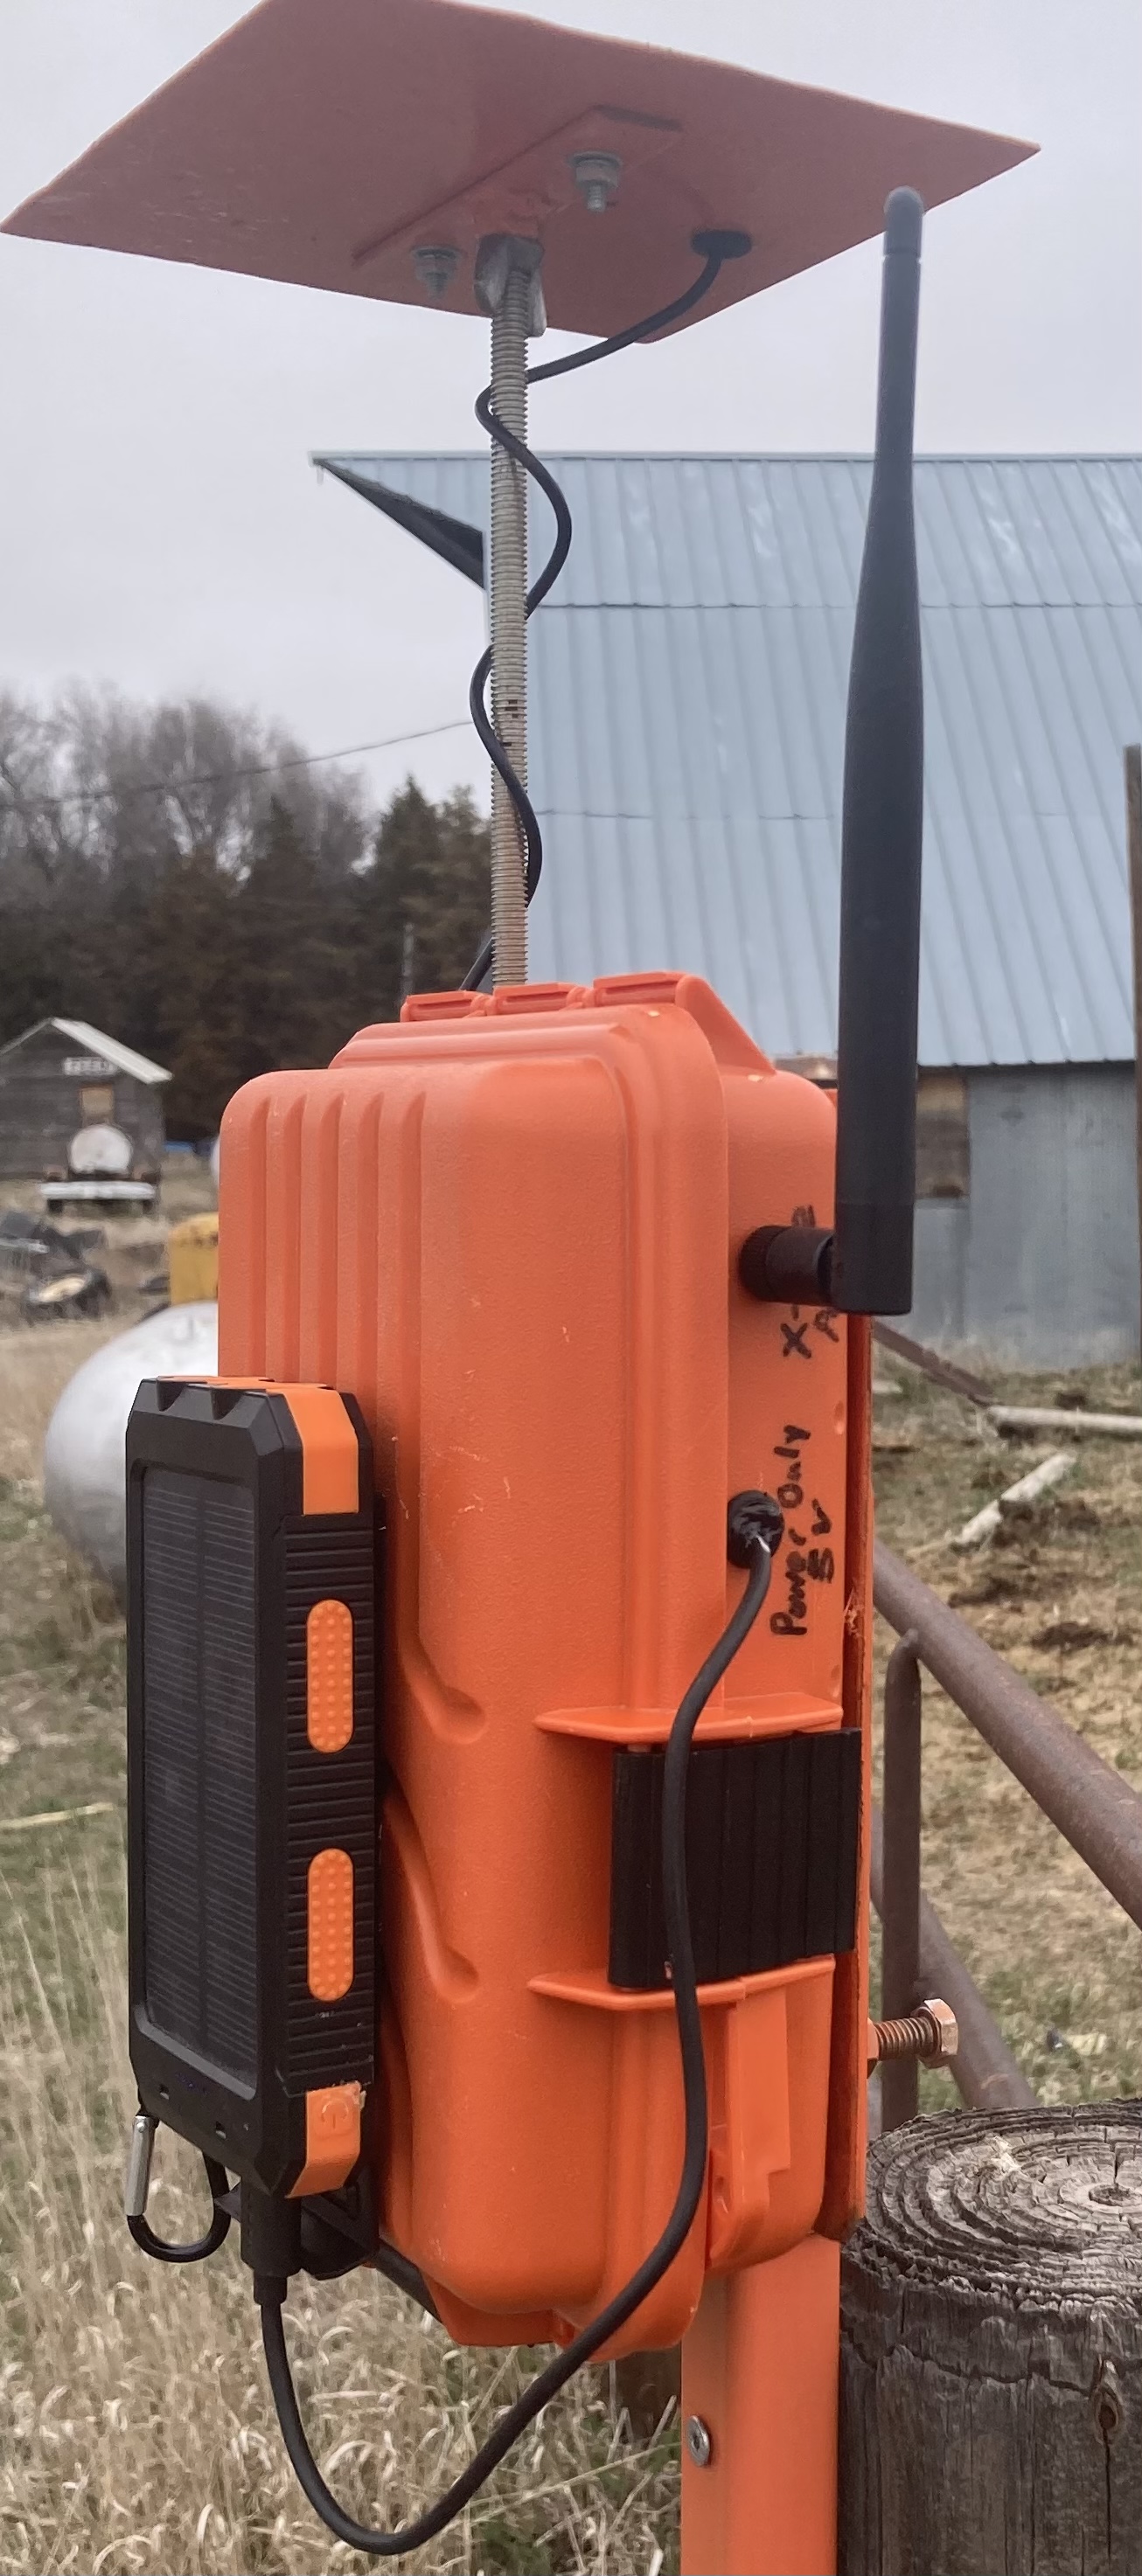
Here is my base station. Like I mentioned above, I hit the easy button here. I am still using 1.13 firmware and @CommonRail configuration files (thank you!). I farm where cell reception is poor and though most of my fields are pretty flat, there are a lot of hills around making line of sight challenging. My base is mobile so I can set it up on a piece of square tubing that can stay at that location near each field and all I have to do is power it up and wait 5 minutes. I power it with a weatherproof power bank that I think will last about 3 days if I need it to.
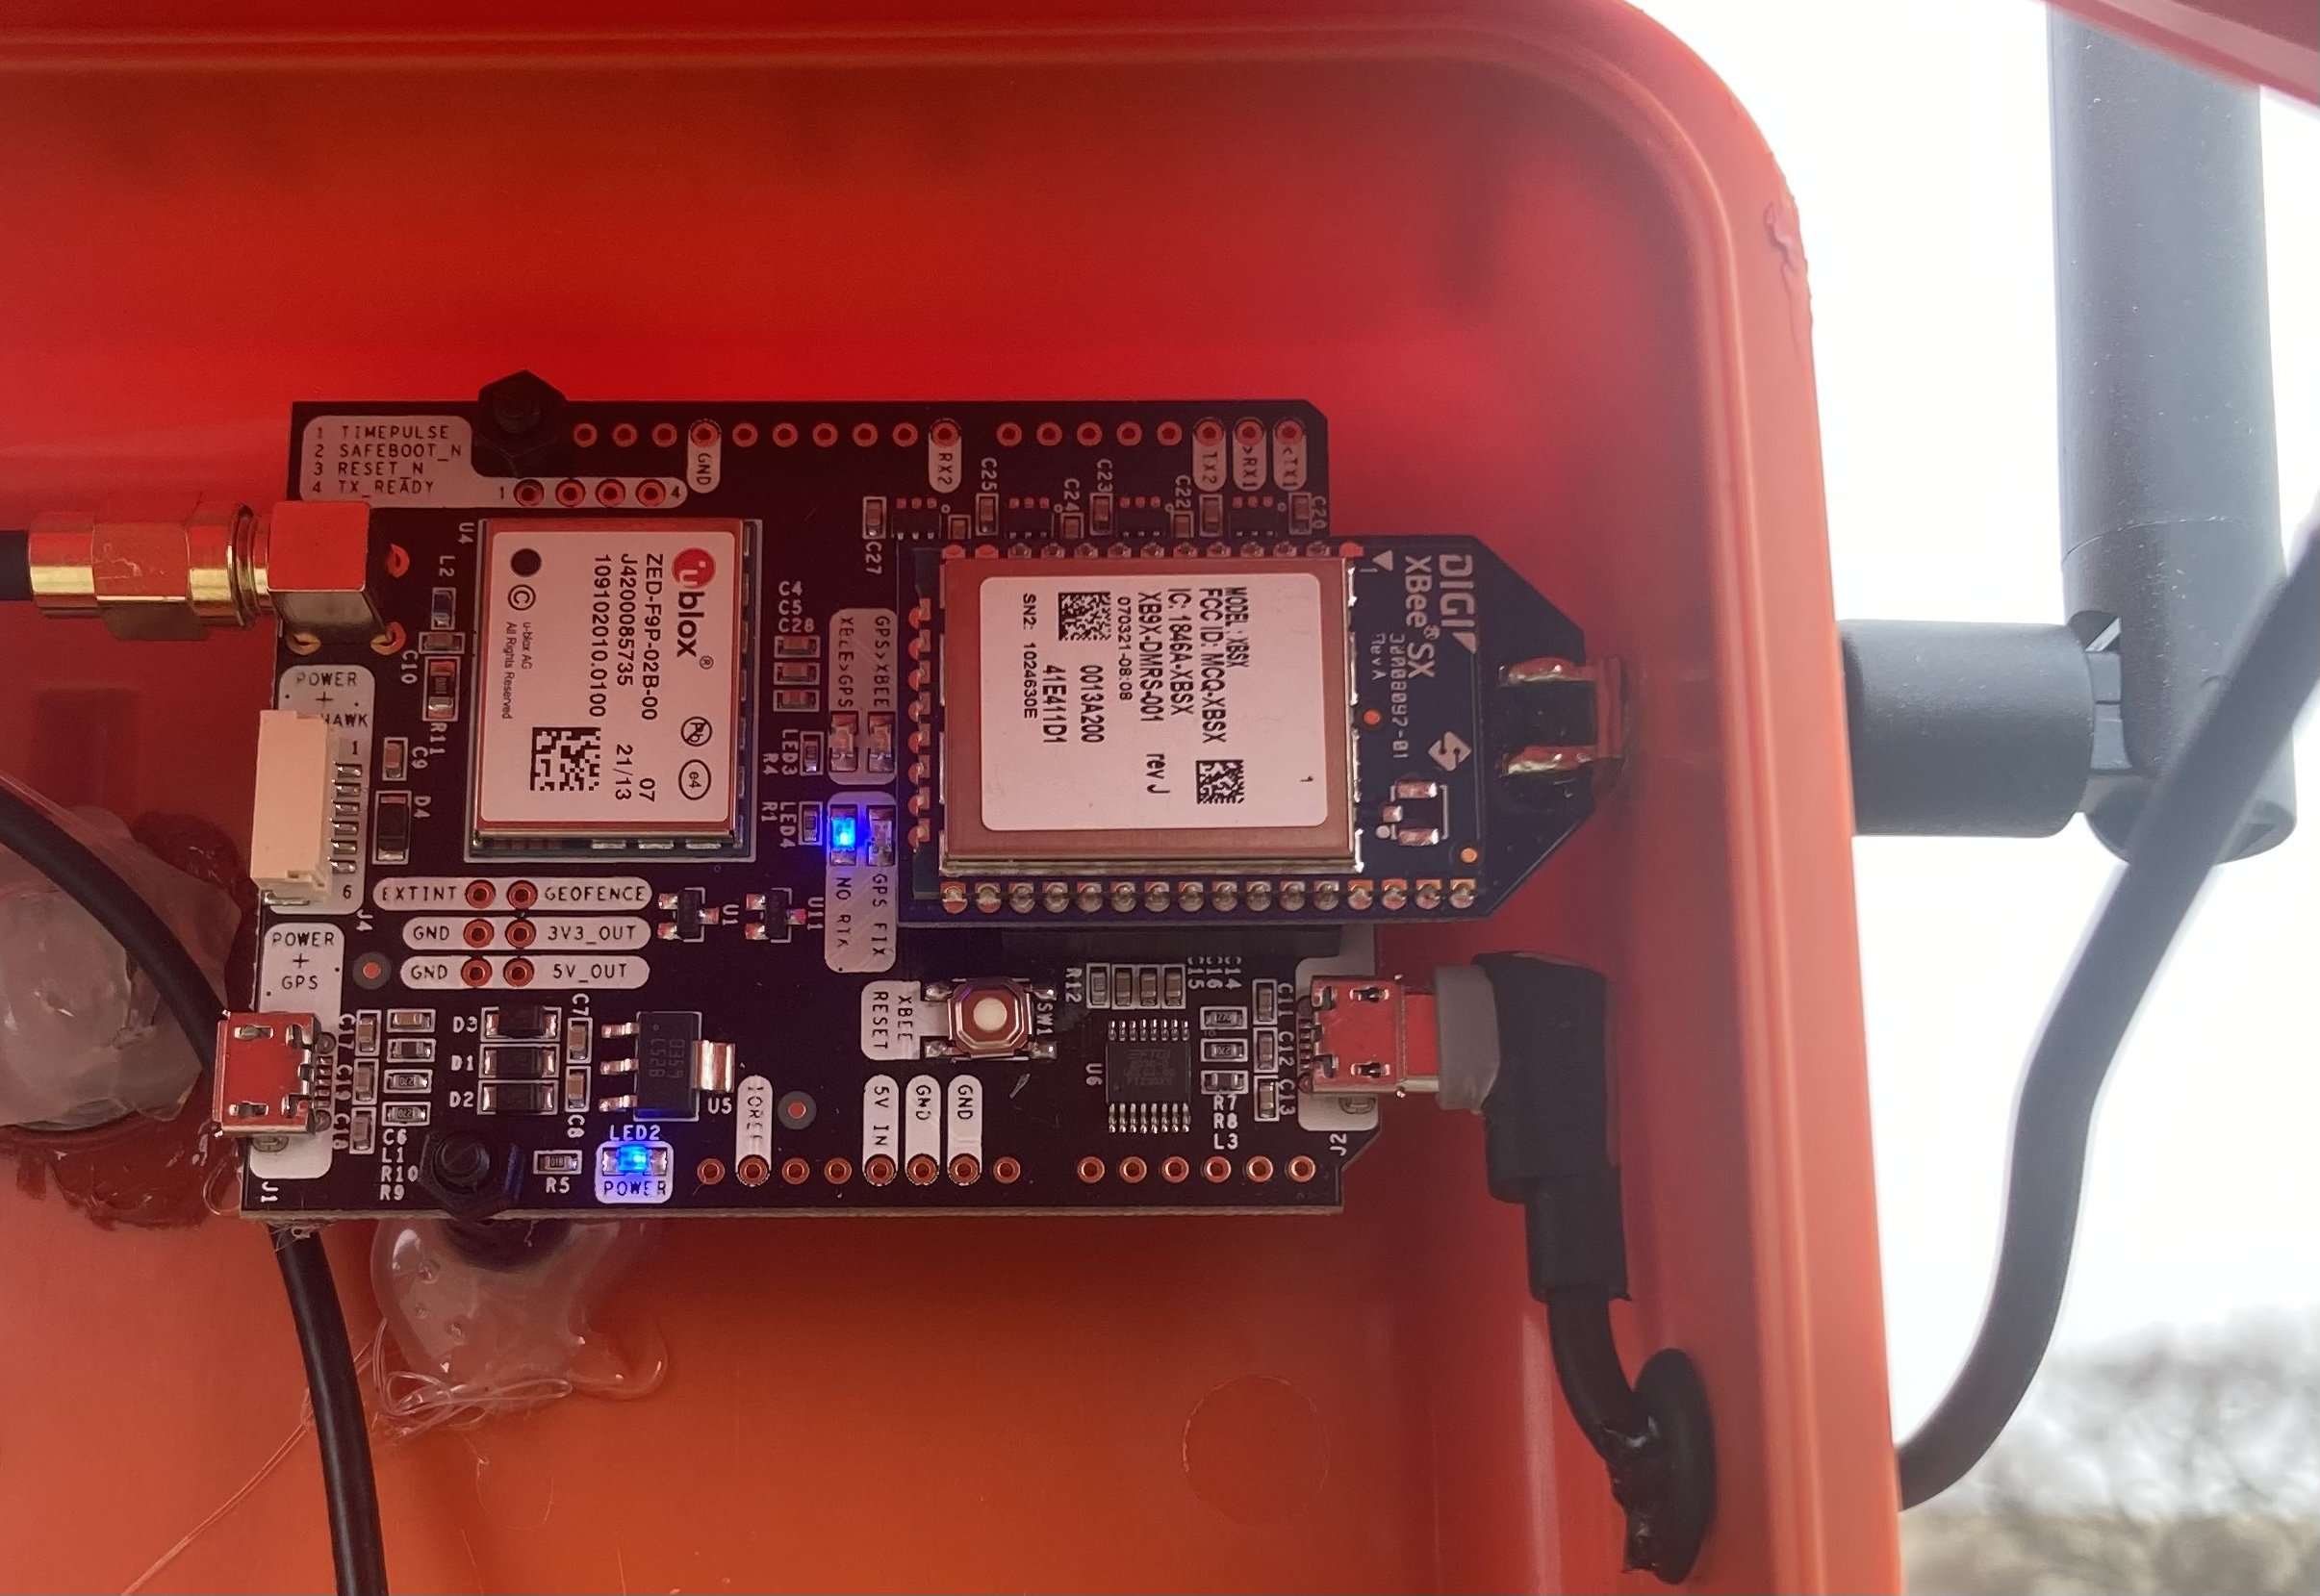
Here is my V2 board. I did manage to get my board working over UDP. The orange case on top has my ardusimple rover which is still over USB. UDP really is so much nicer once it’s set up. I have the boards and parts to get PANDA going over UDP which I am also excited to figure out but it will probably have to wait till later this year for me.
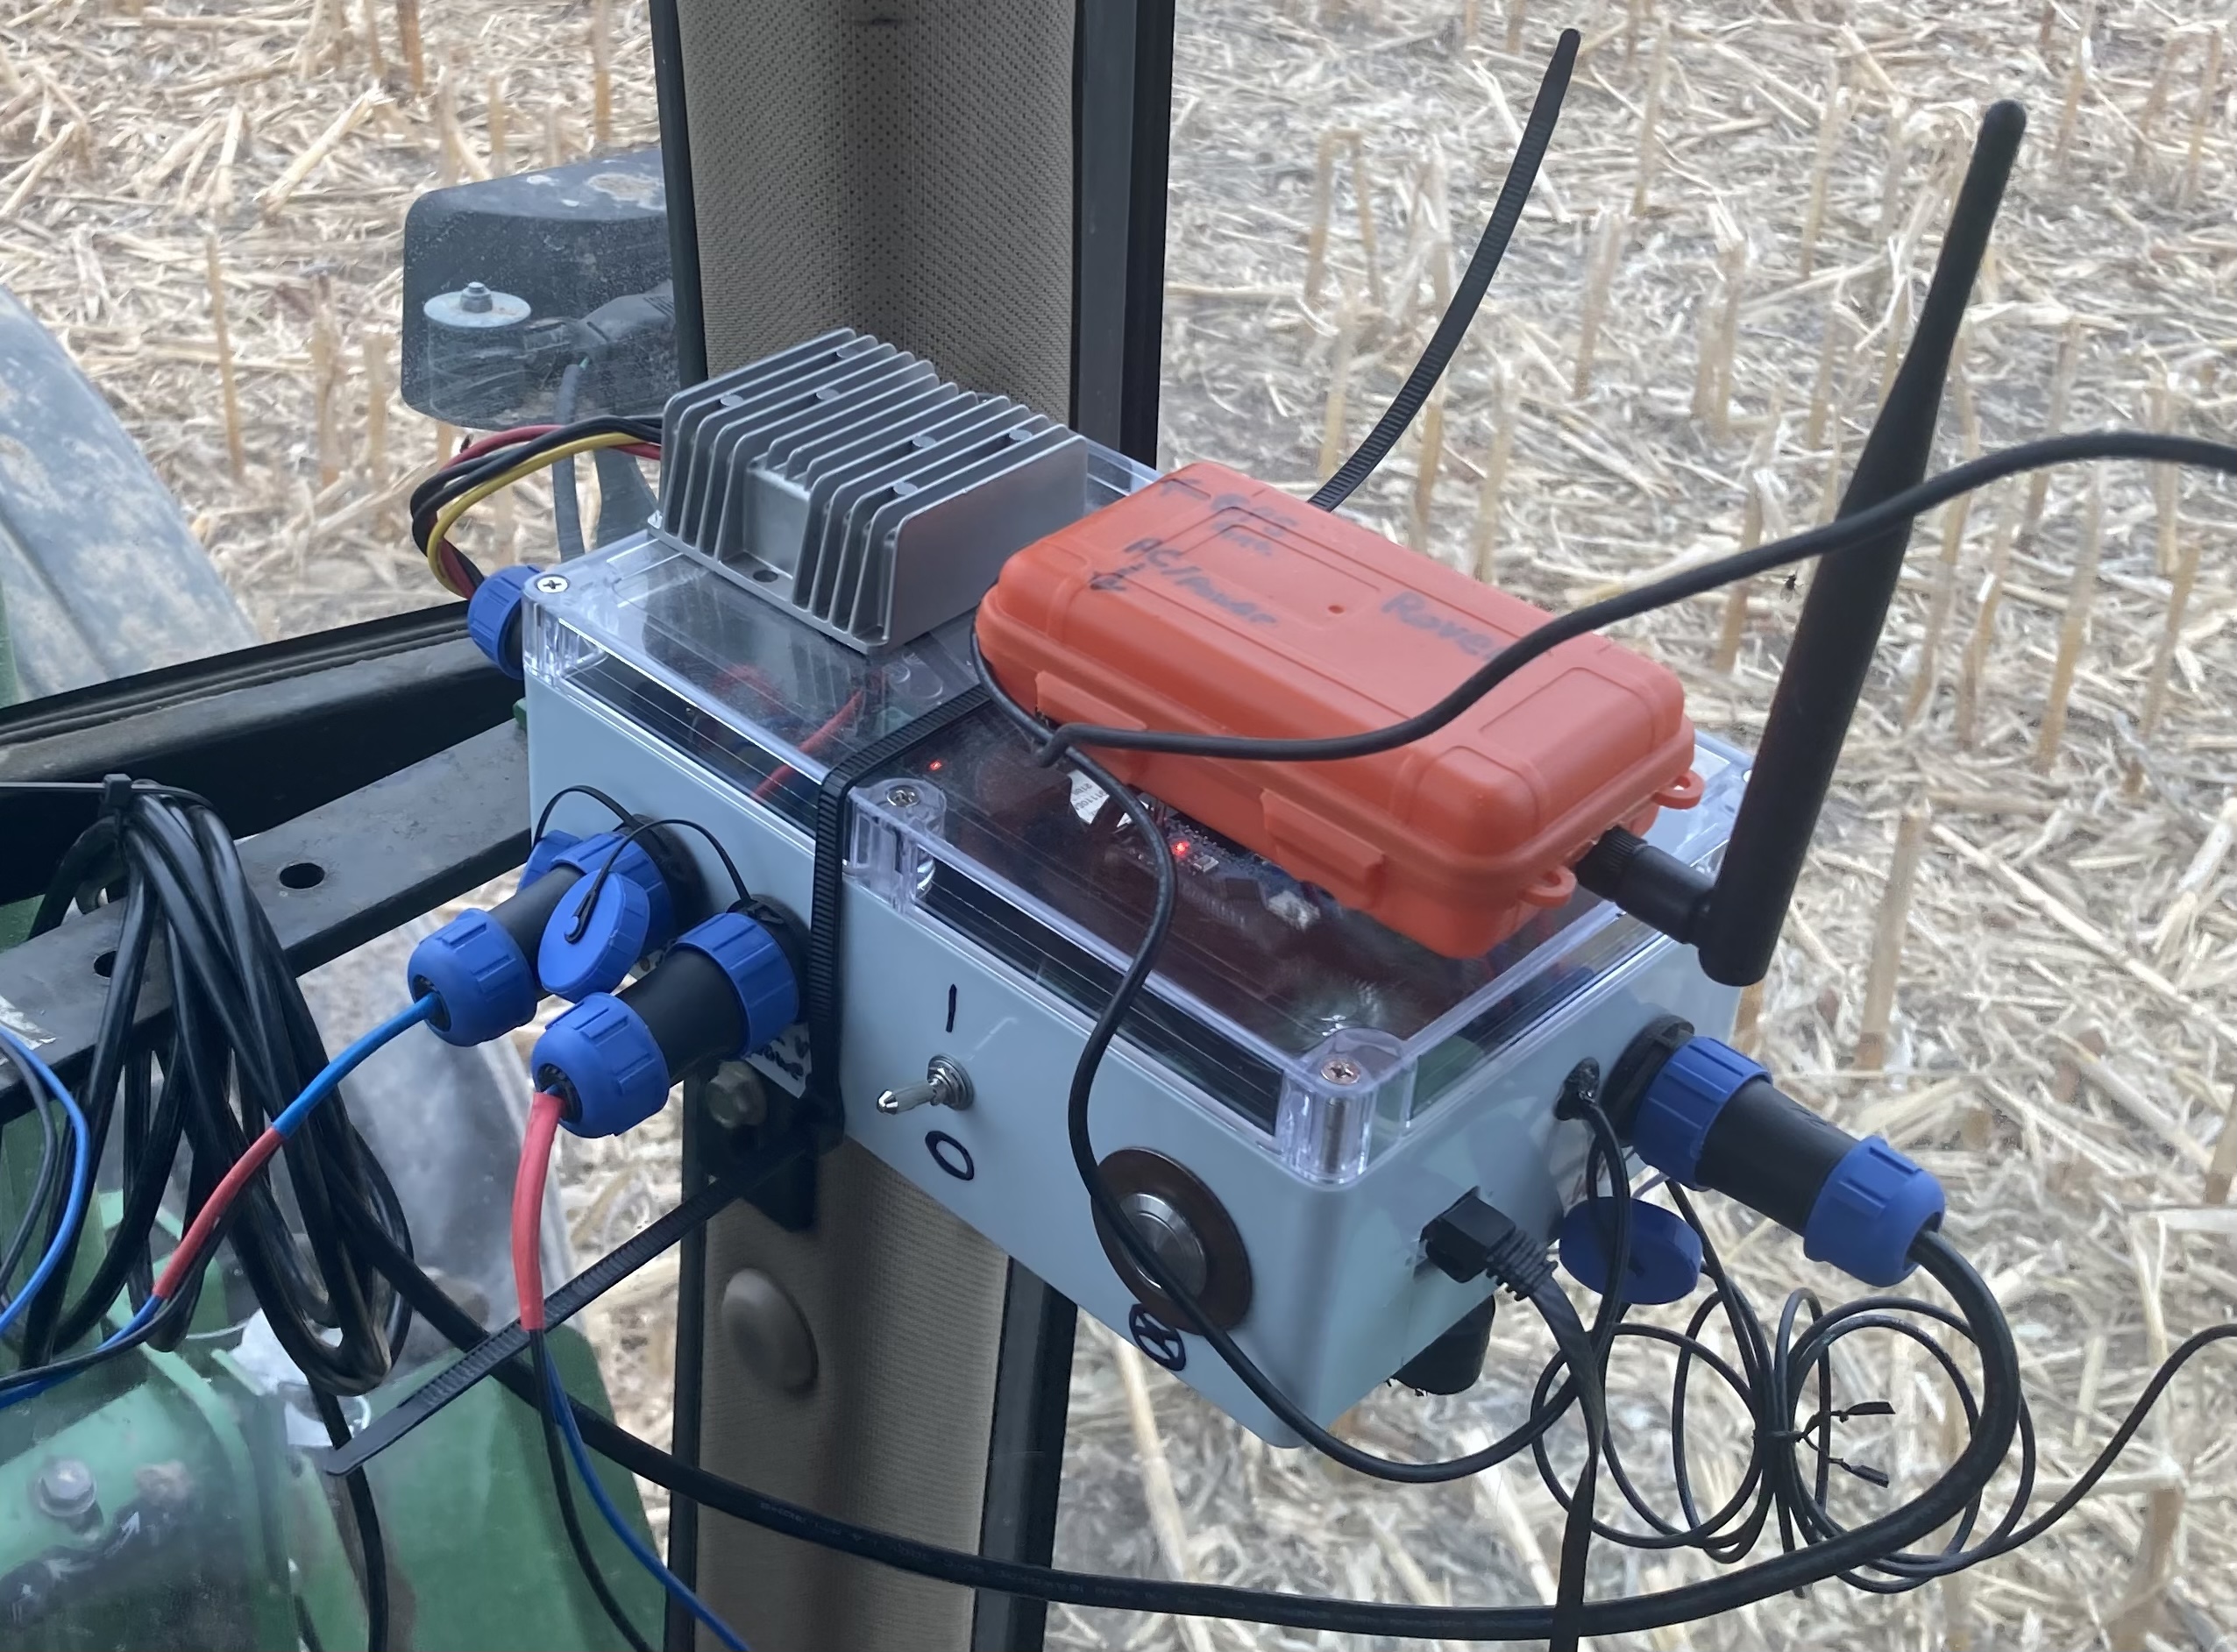
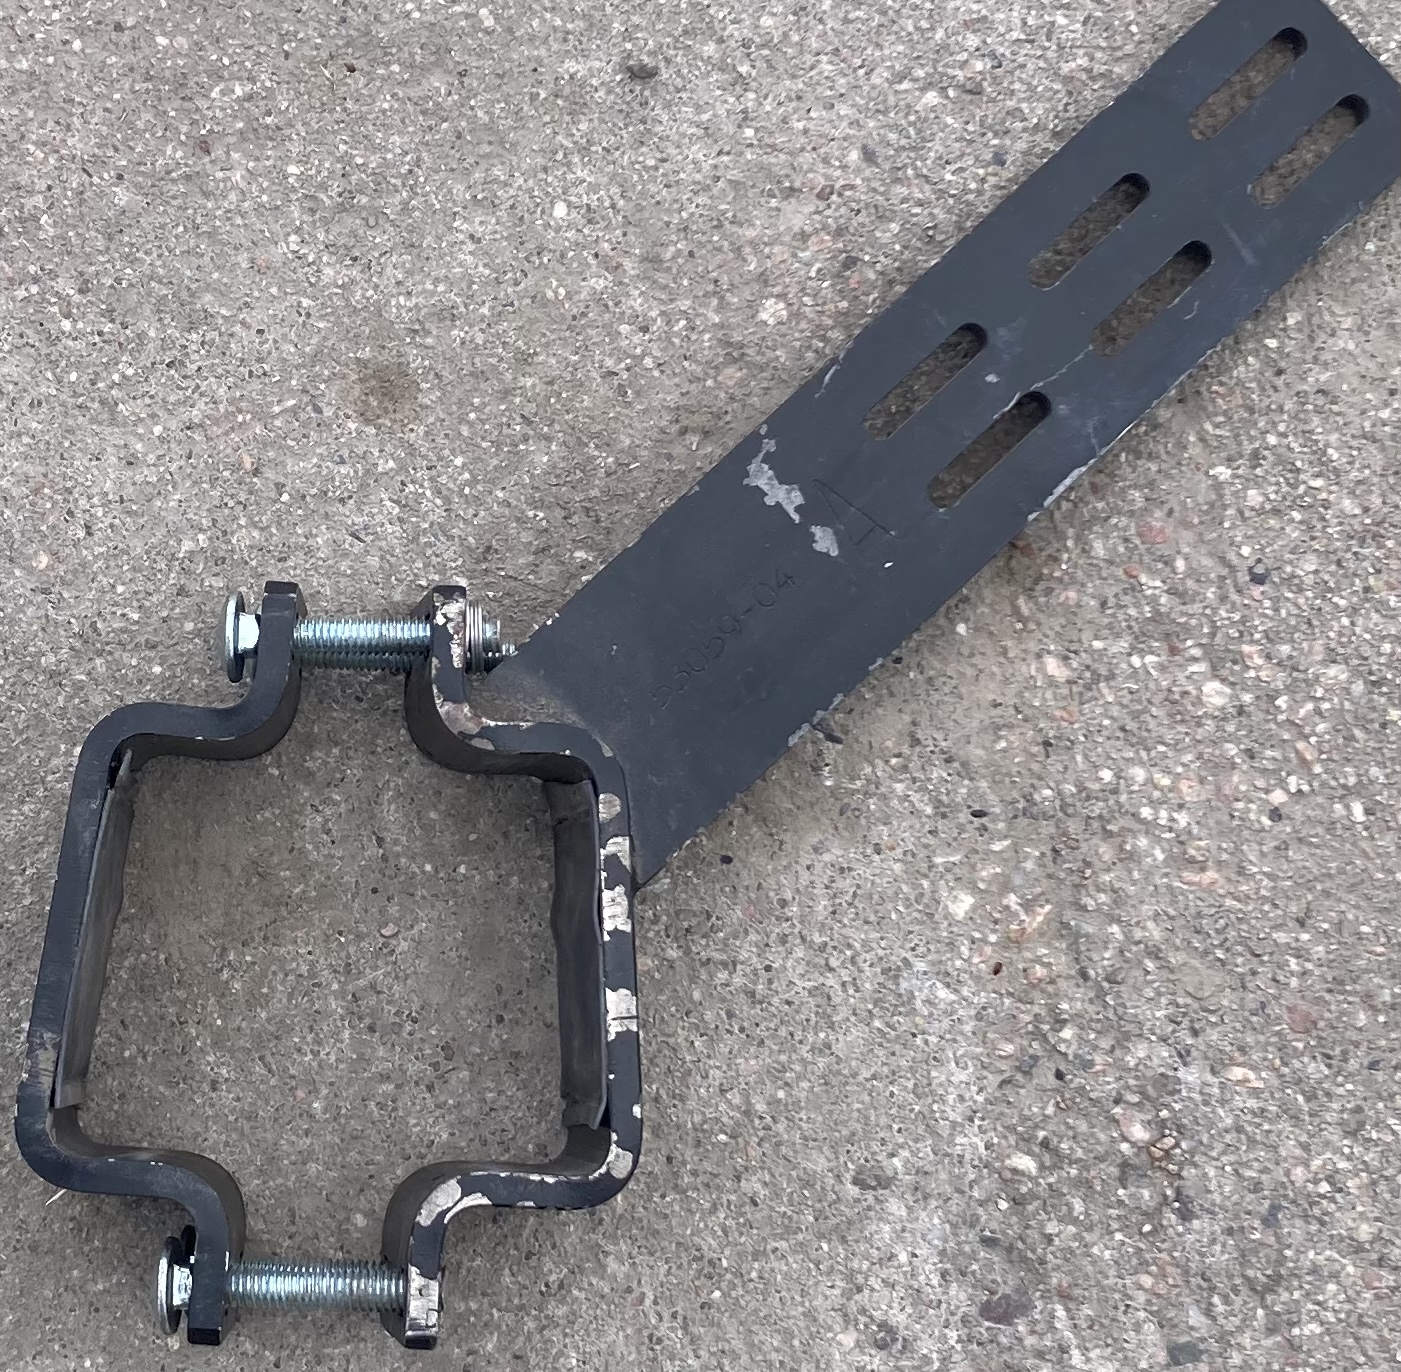
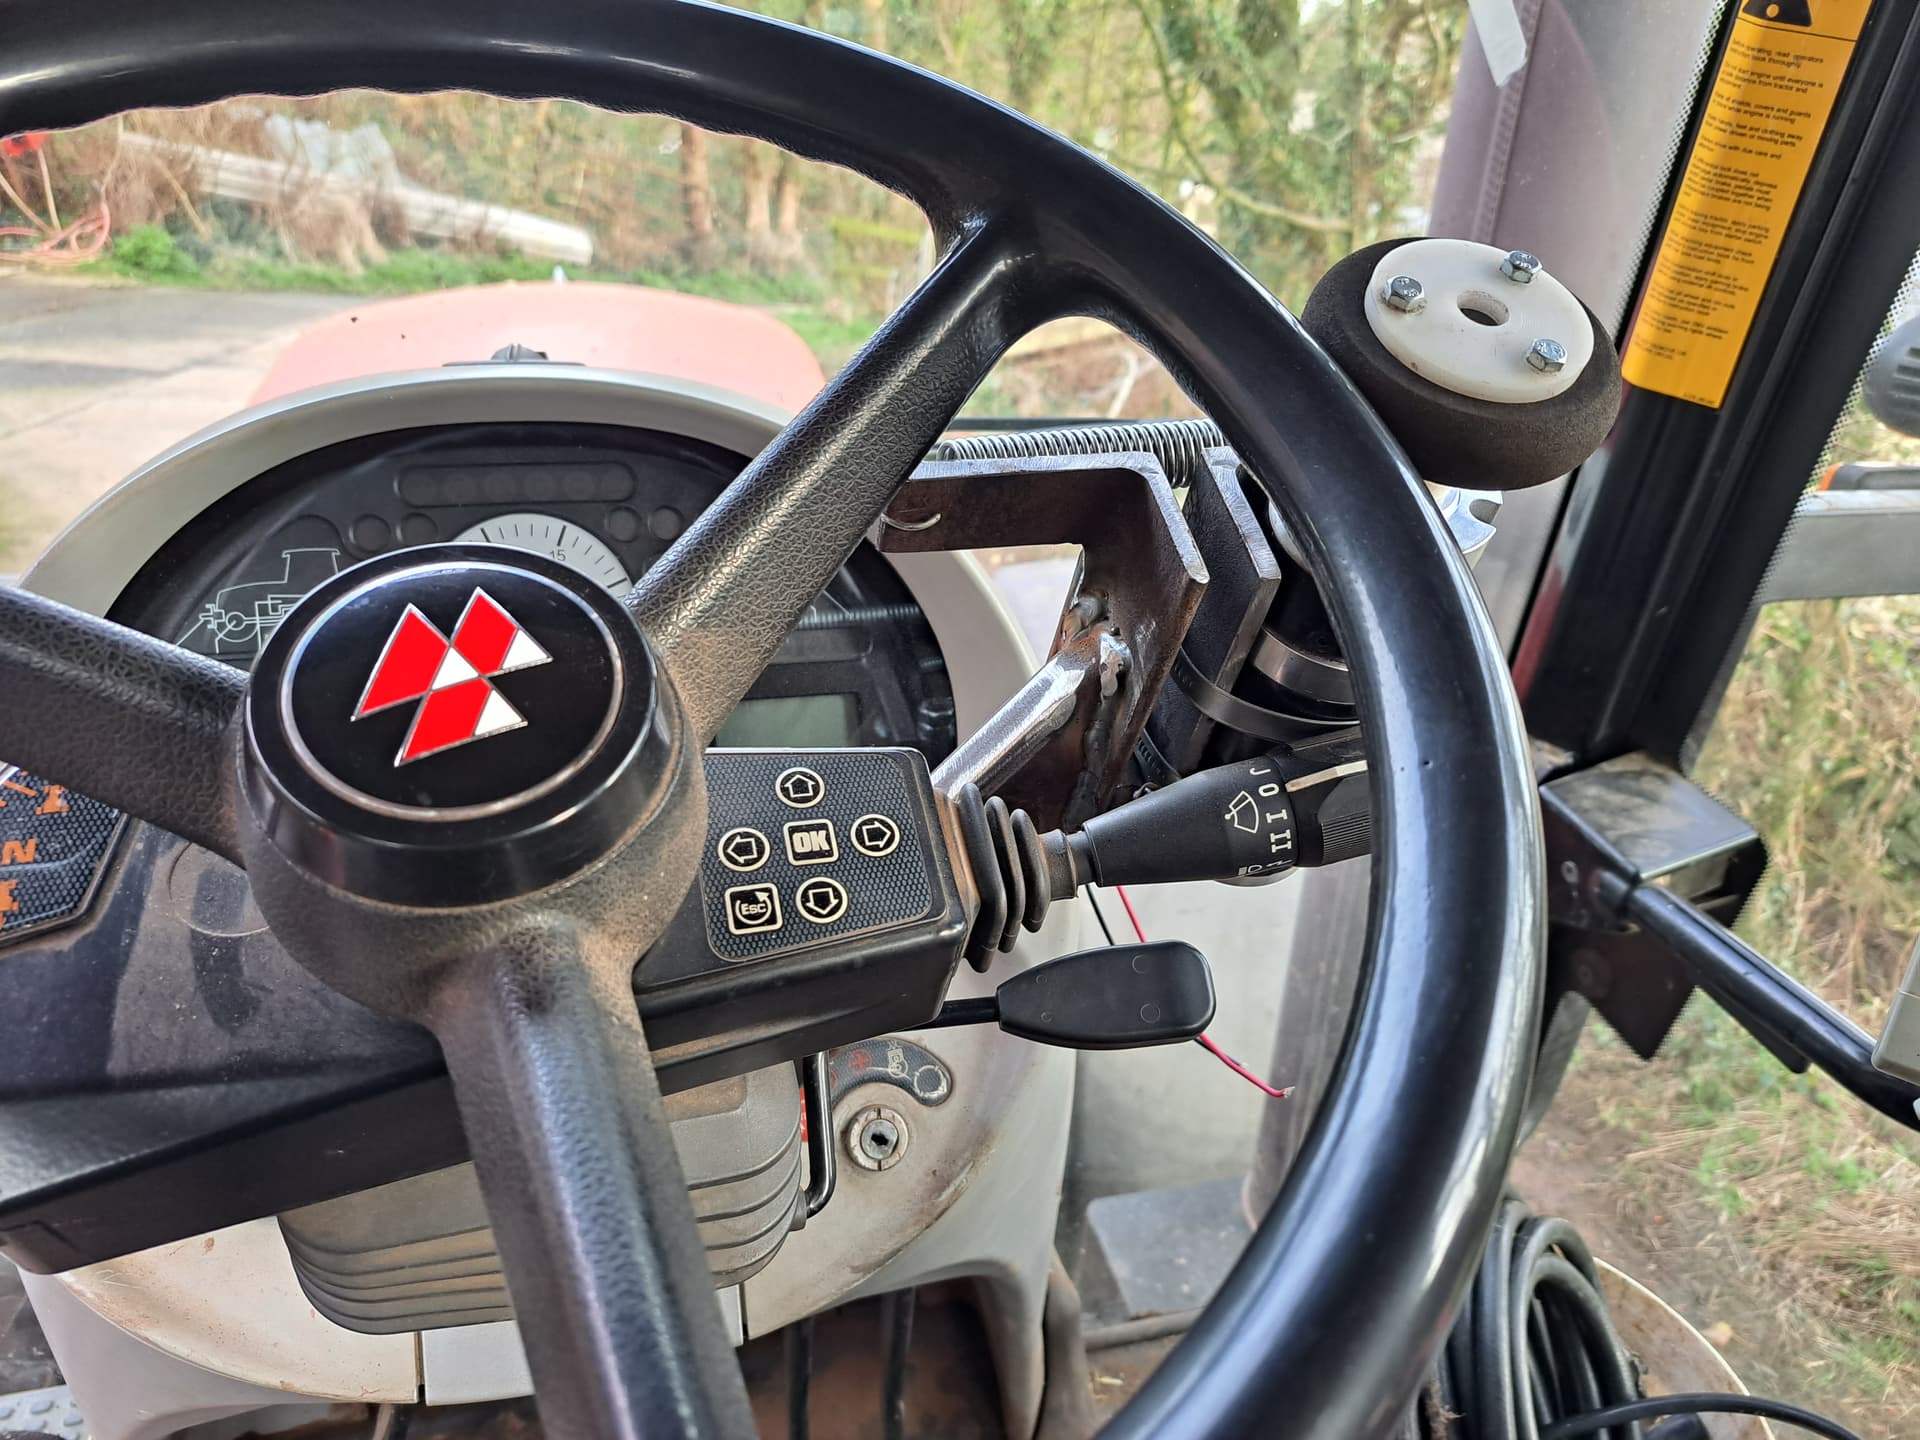
Here is my WAS. Again, I used the land rover sensor and 3D printed a case for it. It’s actually just stuck down with heavy-duty double-sided auto trim tape so I’ll see how that lasts but it is stuck good for now. Don’t mind the baling wire holding the other side. I lost the U-bolt I had and was anxious to get moving.
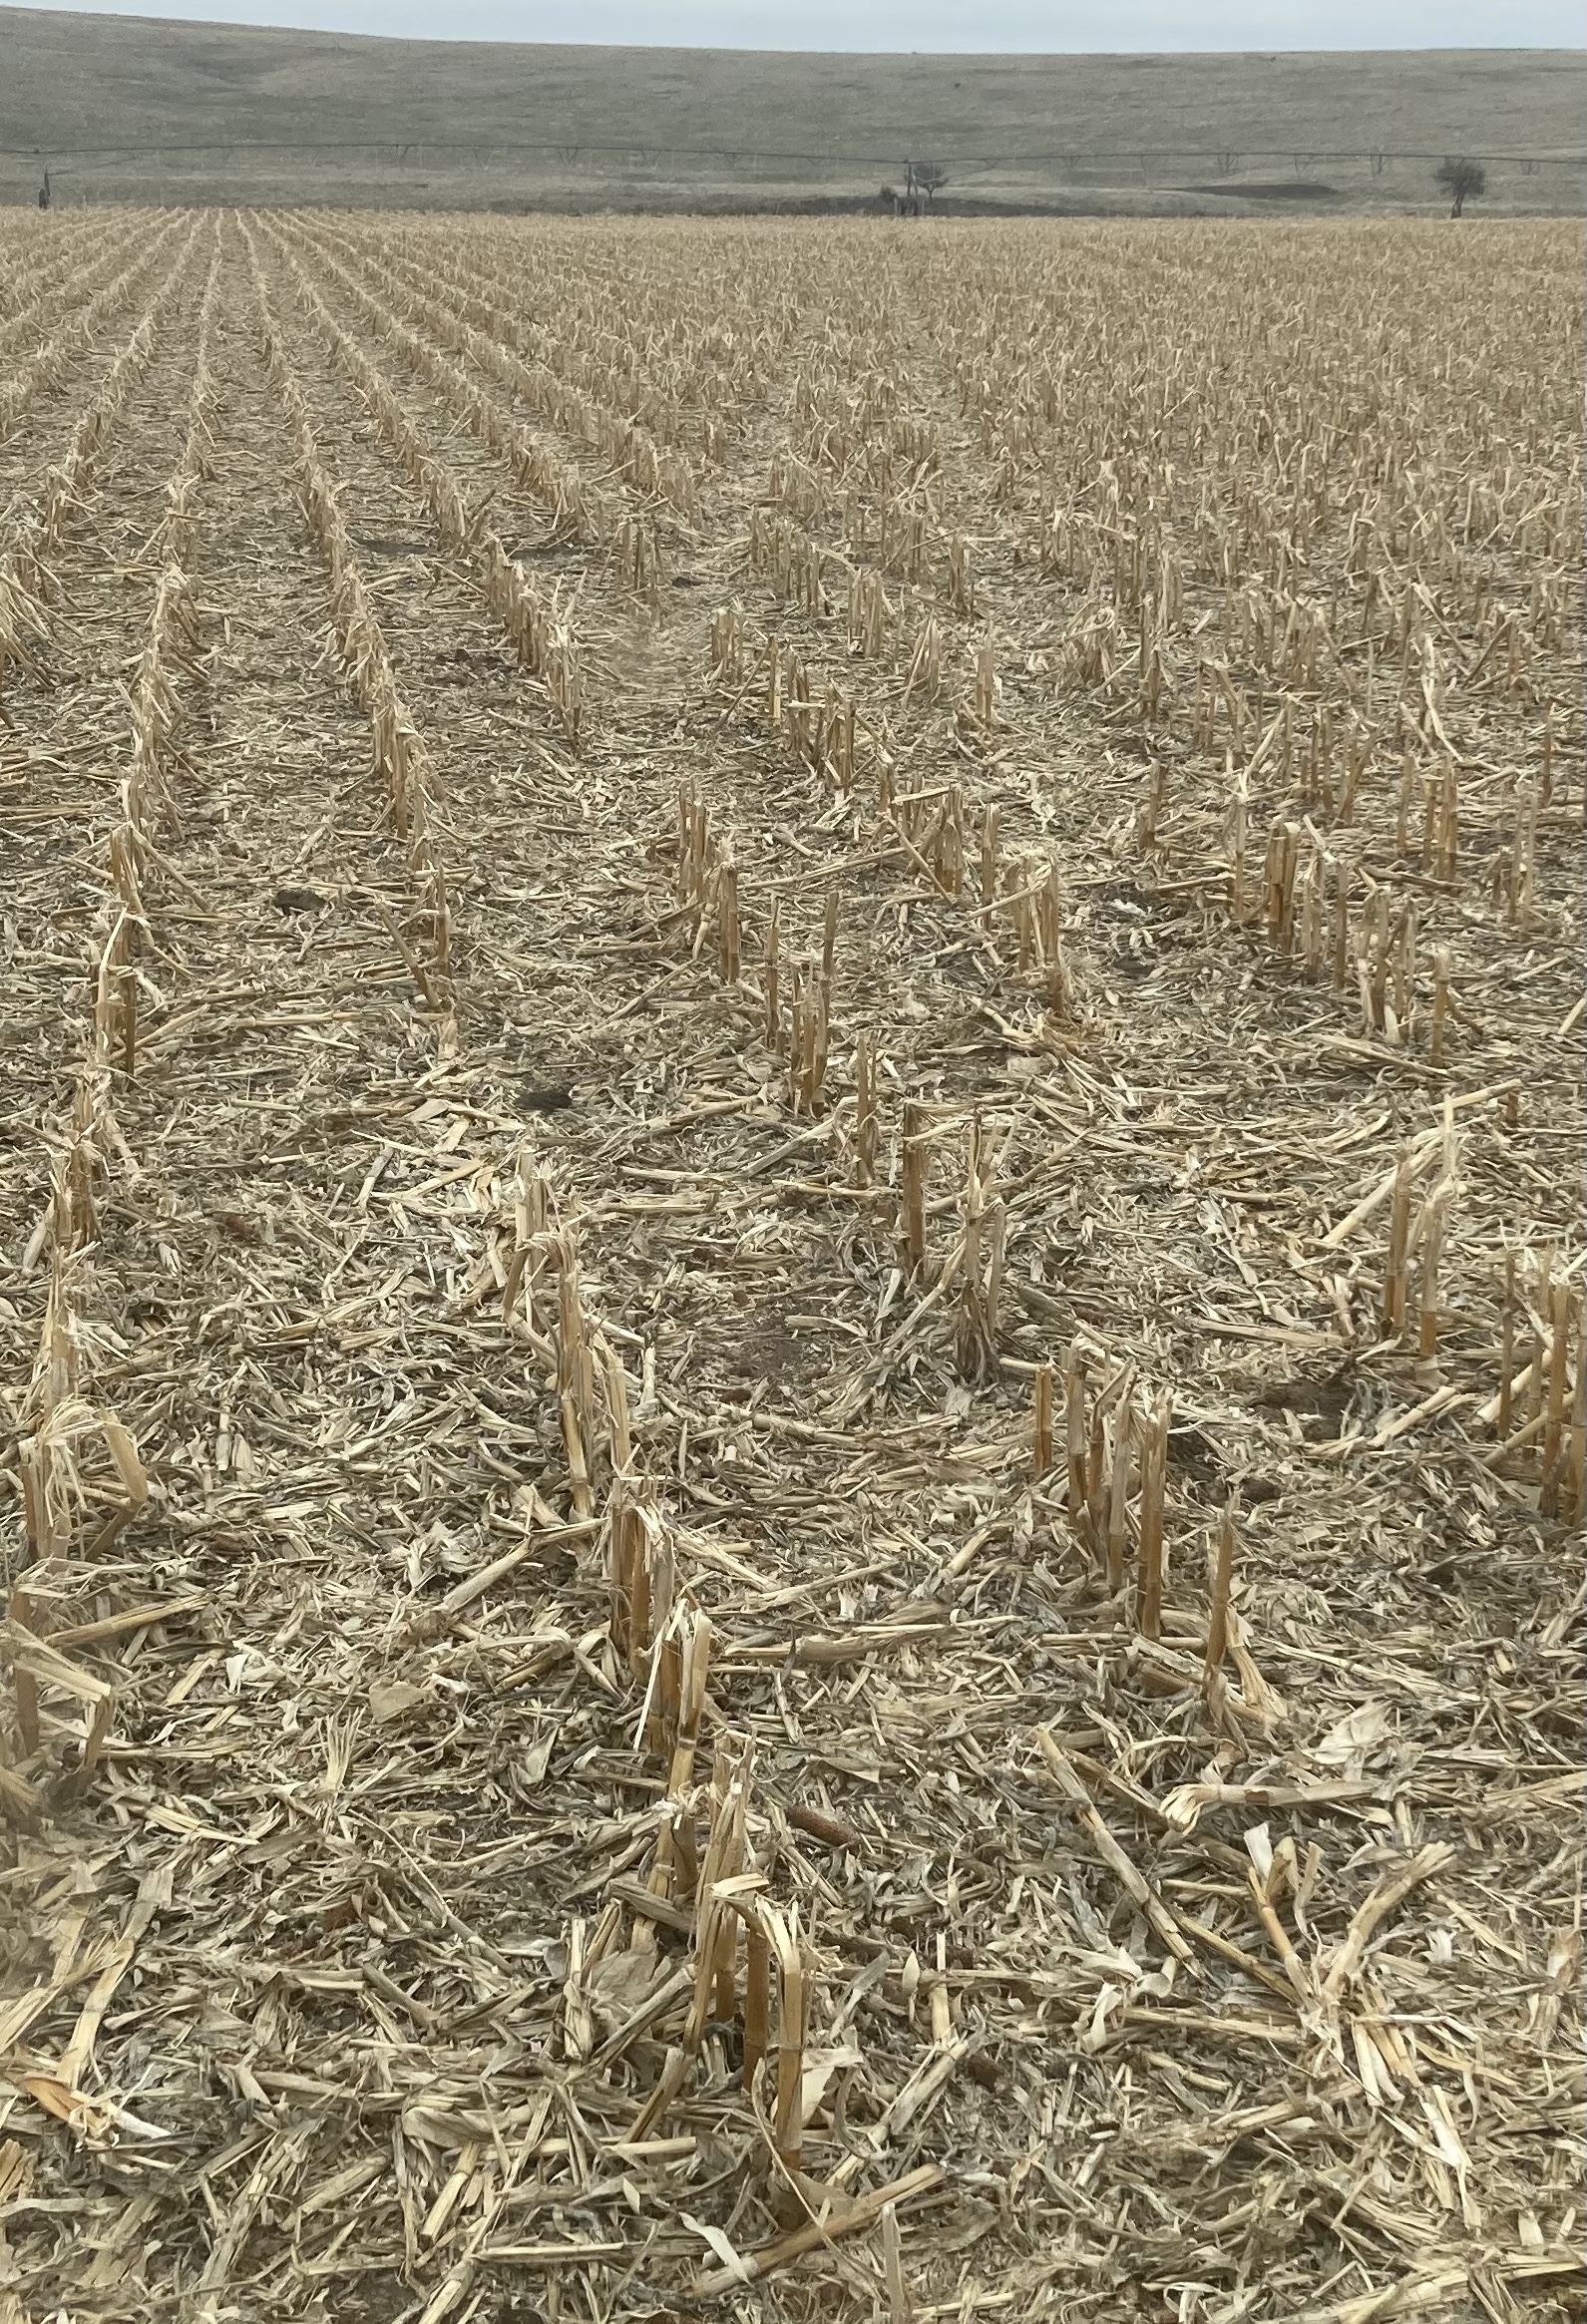
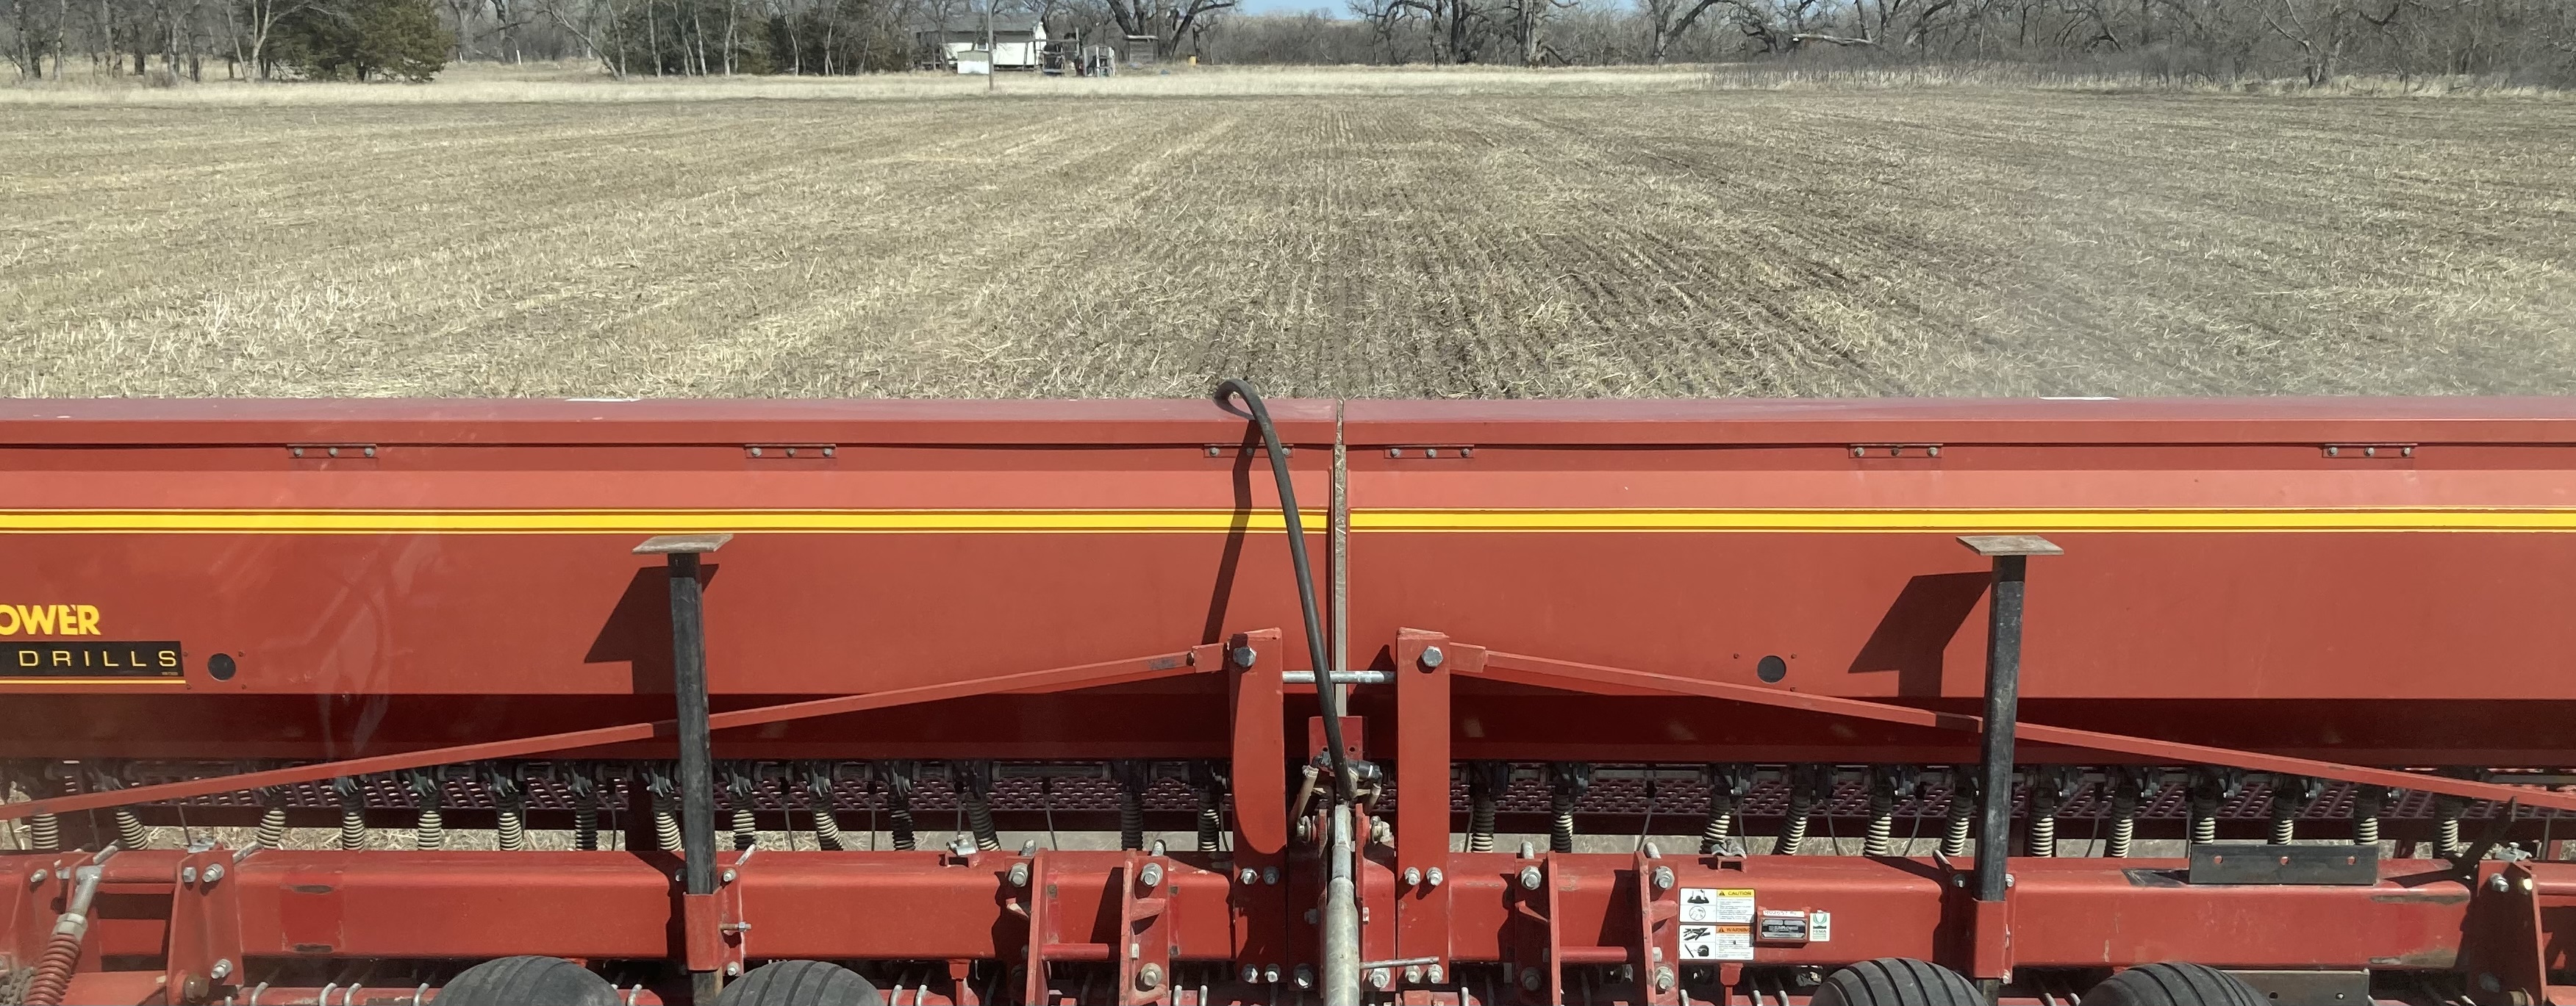
It’s a bit hard to see the tracks out the back window but I promise it’s way straighter than I could drive. I’m hoping to do some drilling in the next couple days and hopefully if everything continues to work good I can get some better pictures.
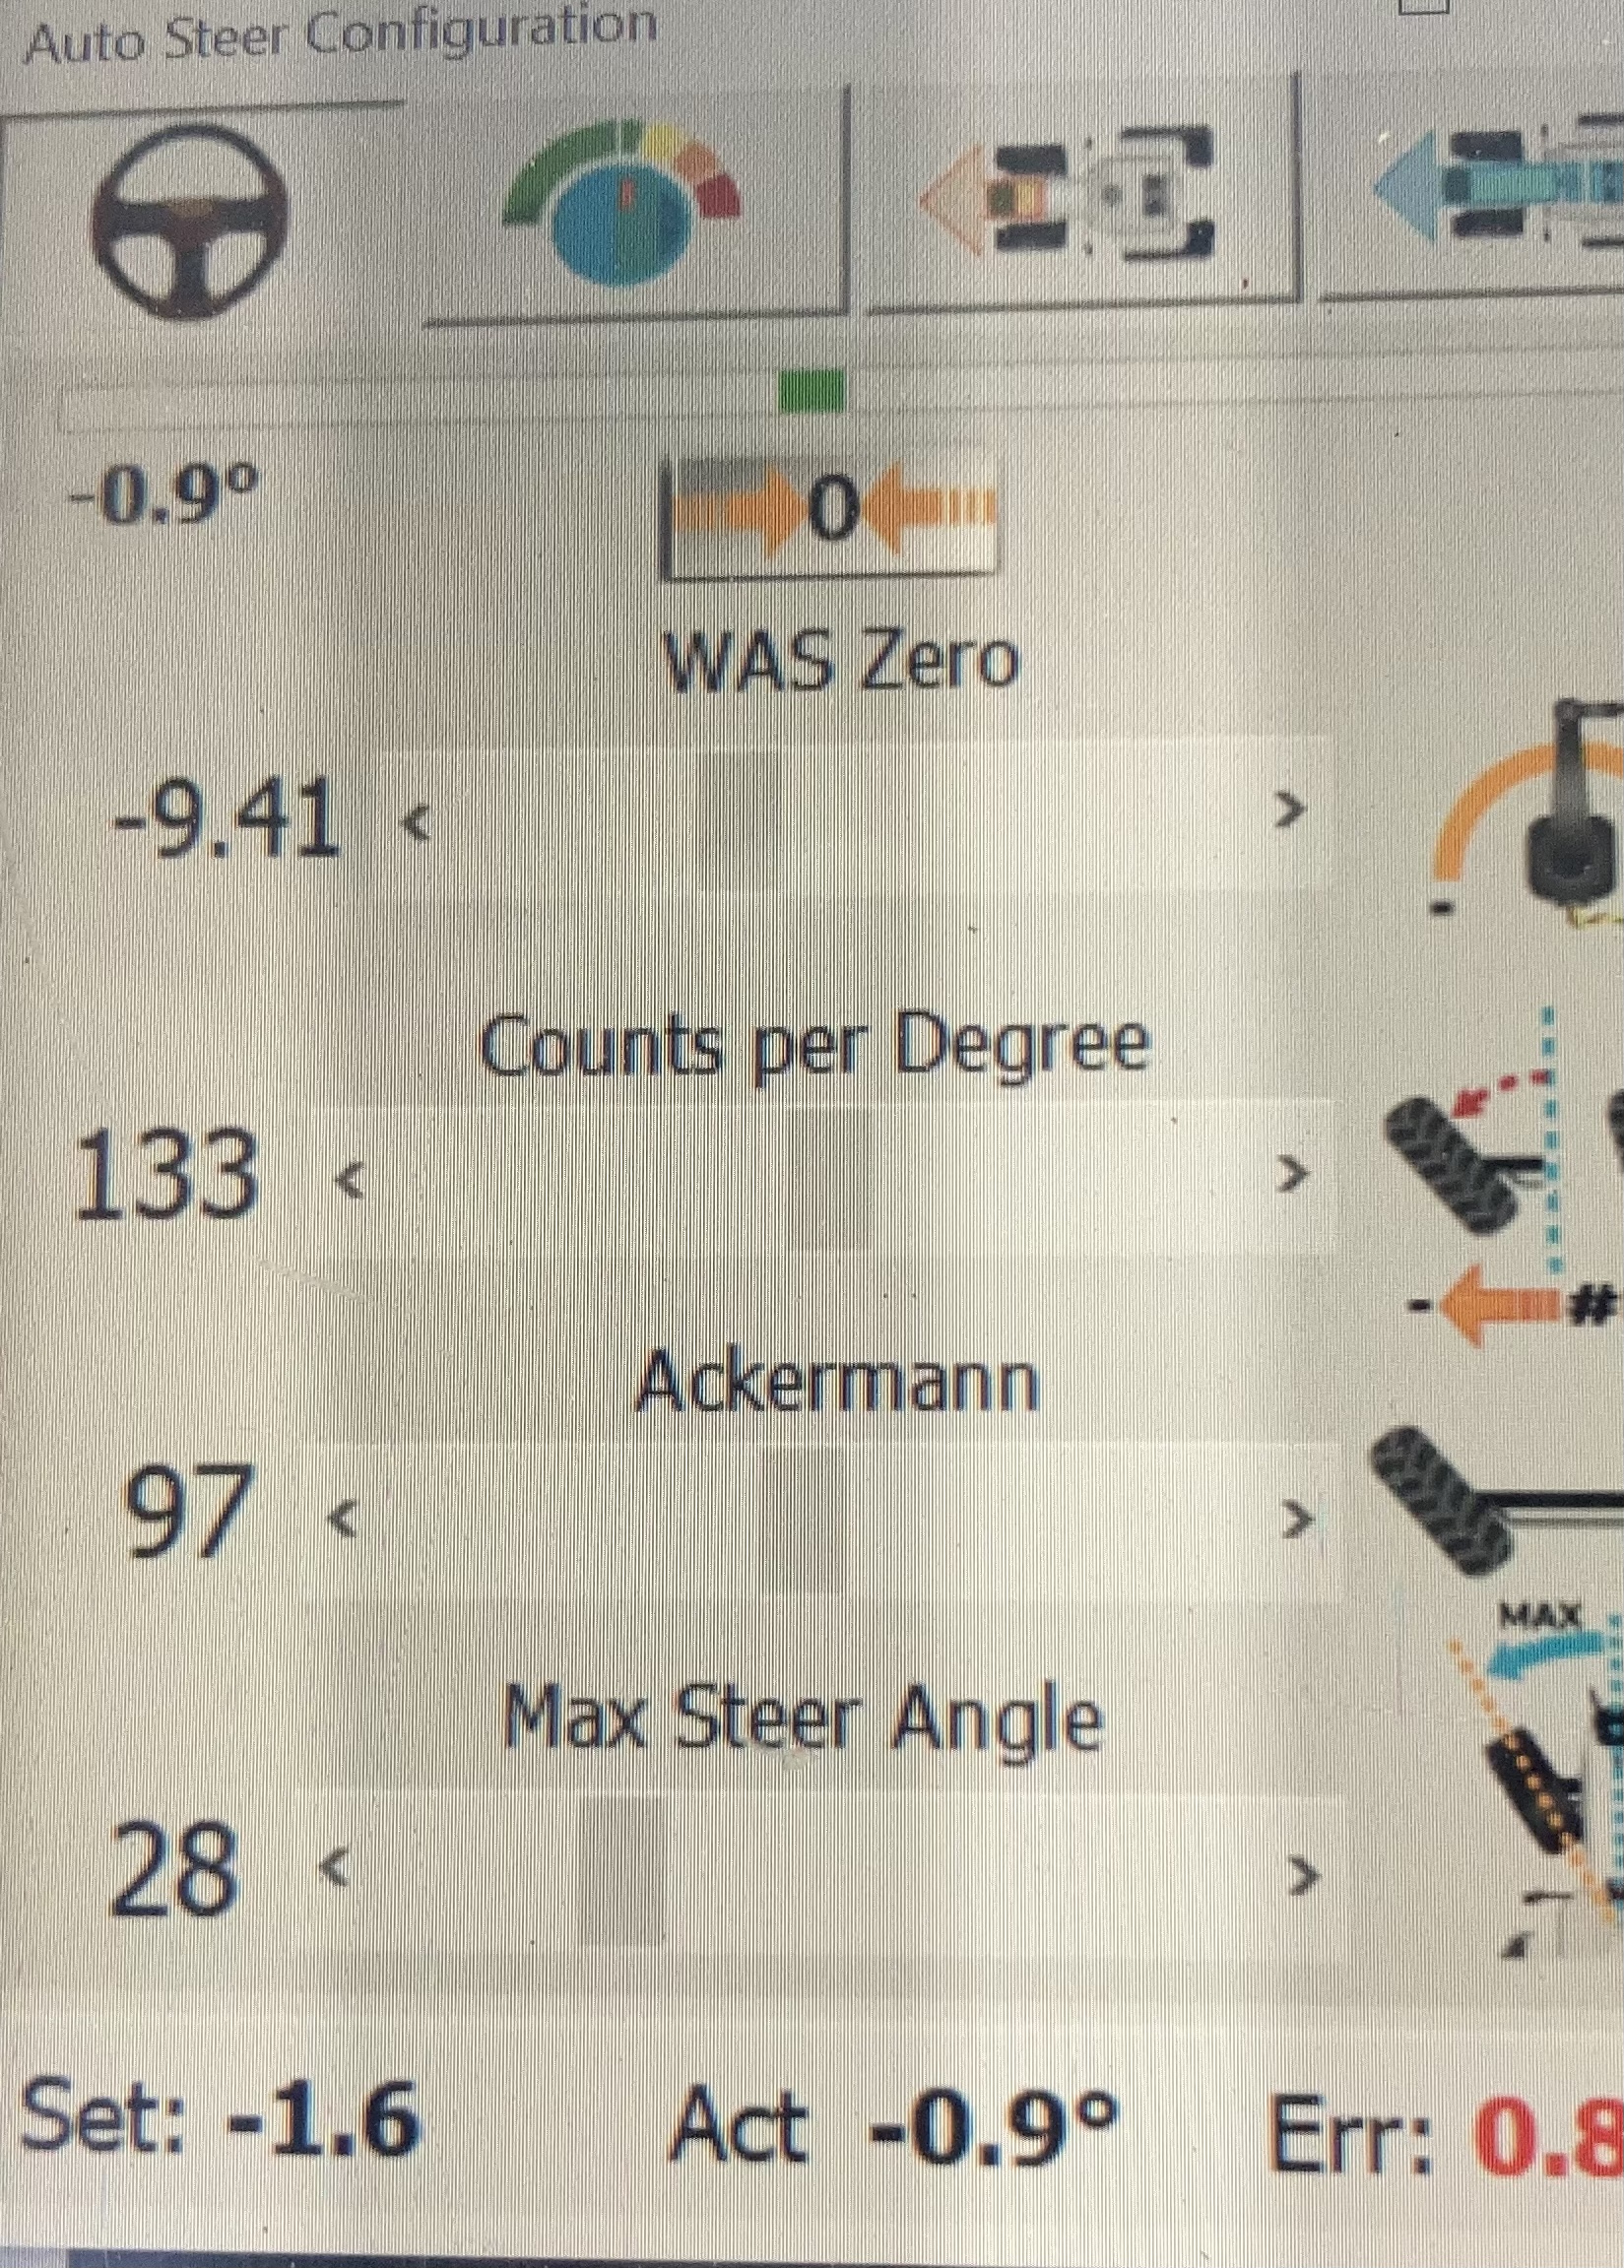
Here are my current settings. It was working great in the 3.5-6 mph range which is where I spend most of my time. I did notice if I was going towards the upper end of that range when I tried to u-turn it wouldn’t come back to the line quite as nicely but it’s best for me to slow down at the ends of the field anyways.
And now for more of my beginner questions. I haven’t been able to get the green box around the icons when I’m connected but it shows the data going in and out. Maybe a version thing? I’m using the Lego version, 5.5 I believe.
I was also wondering if there is somewhere on the screen when I’m using the auto steer that I can see the distance travelled between 2 points? When I calibrate my seeder it would be much easier than measuring out a set distance to drive ahead of time. I’m sure this is already a feature somewhere, I just haven’t gotten familiar enough with it in the field yet.
Finally got to do my first little bit of real work with agopengps today. I had some trouble getting my v2 board to connect but after I restarted my tablet it connected fine. Not sure what that was about, but other than that everything worked flawless. Straight lines and smooth u-turns. Just awesome.
Thanks for posting this story. When you get on to this forum it can be very intimidating for a beginner. As time marches on it feels like the intimidation factor grows when it should really be the other way around.
Your posts here are proof that AgOpenGPS systems can be built by anyone who has enough perseverance to sort through a few problems and try some things out.
It is so satisfying seeing straight lines through the back window and then watching the tractor turn itself around knowing you put the pieces together to make it work.
I hope this encourages anyone new to AgOpenGPS that it is something that you can build yourself.
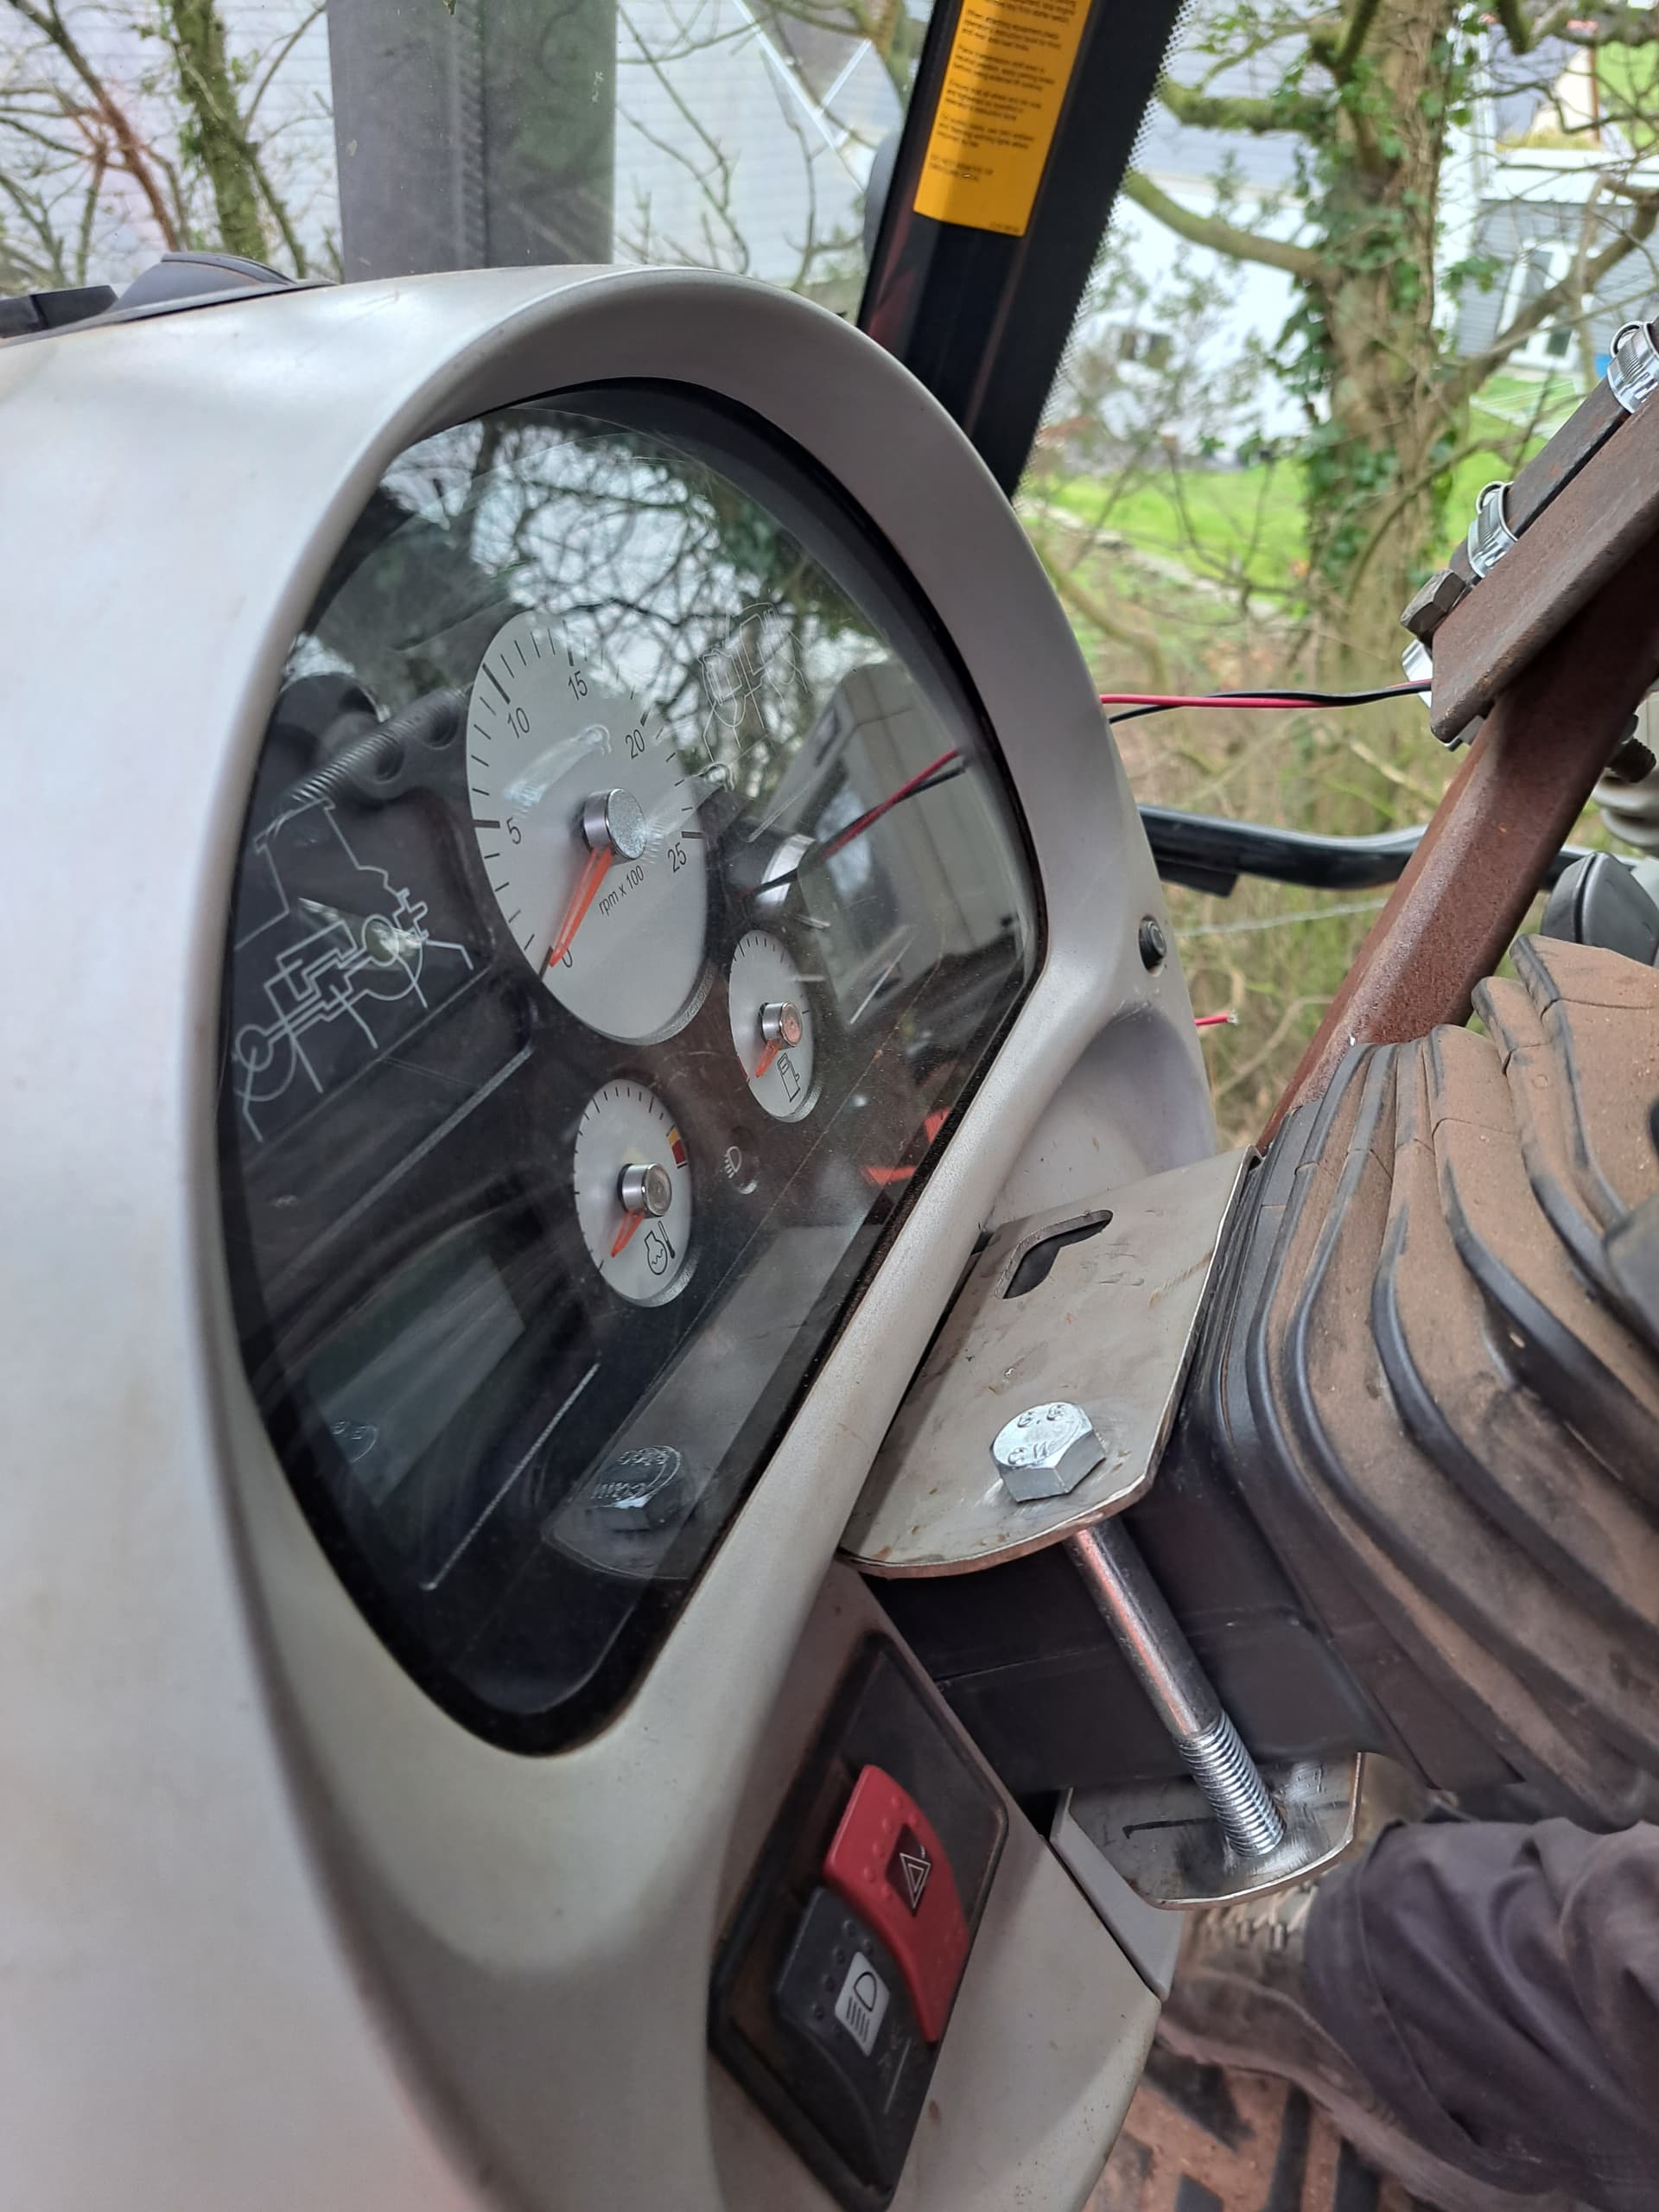
It’s not fancy at all. There is a lot of plastic in these tractors and I wasn’t excited about tearing the steering column apart so it’s just 2 steel plates held together with 4 bolts with. I have the steering wheel telescoped all the way out so the pinch plates are spread out over as much area as possible and the bolts are just snug. I’m sure you could over tighten it and crack the plastic but it’s really solid so far.
It’s attaches to the column similar to the bracket that Trimble makes for my model of tractor for the EZ Steer motor(pictured above) which is why I decided to try it this way. I figured if it was good enough for them it would hopefully work for me.
I put together a quick video with a few of the pictures/videos I took from the beginning of my build to the end. I wish I would have documented more now, but I was able to get a clip of u-turn in action which is still incredibly satisfying. Hopefully I can get some better quality video to share as spring work progresses.
The big gear is petg and the small gear is TPU. Printed to the specs in the linked topic, there’s tons of info there as well. They seem to be very durable but I haven’t put them to heavy use yet, lots of others have and it sounds like they hold up great.