Had you tried it before modifying? It sounded like the PCB traces should work for the Phidgets but I don’t have one for testing.
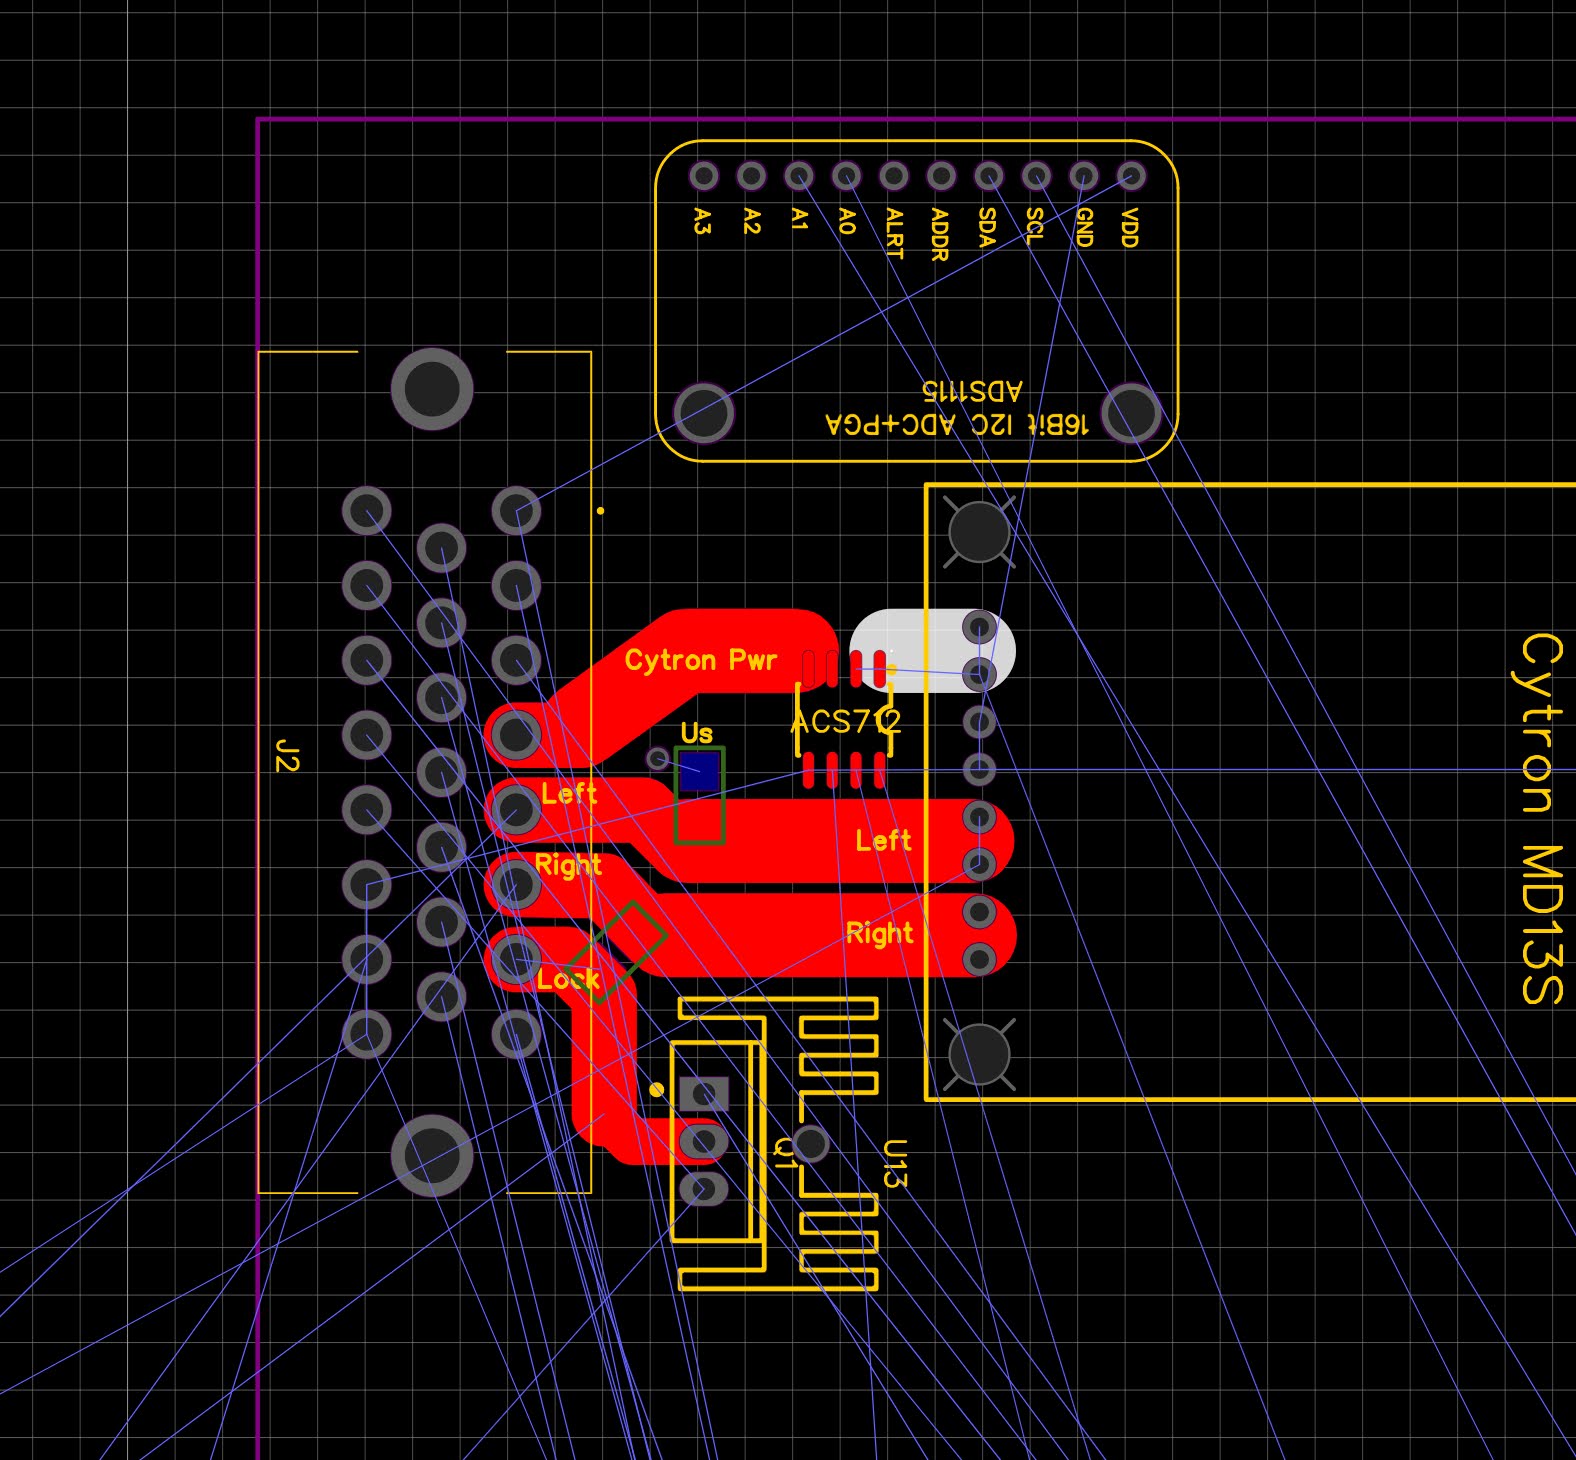
This is how I envision a possible new PCB
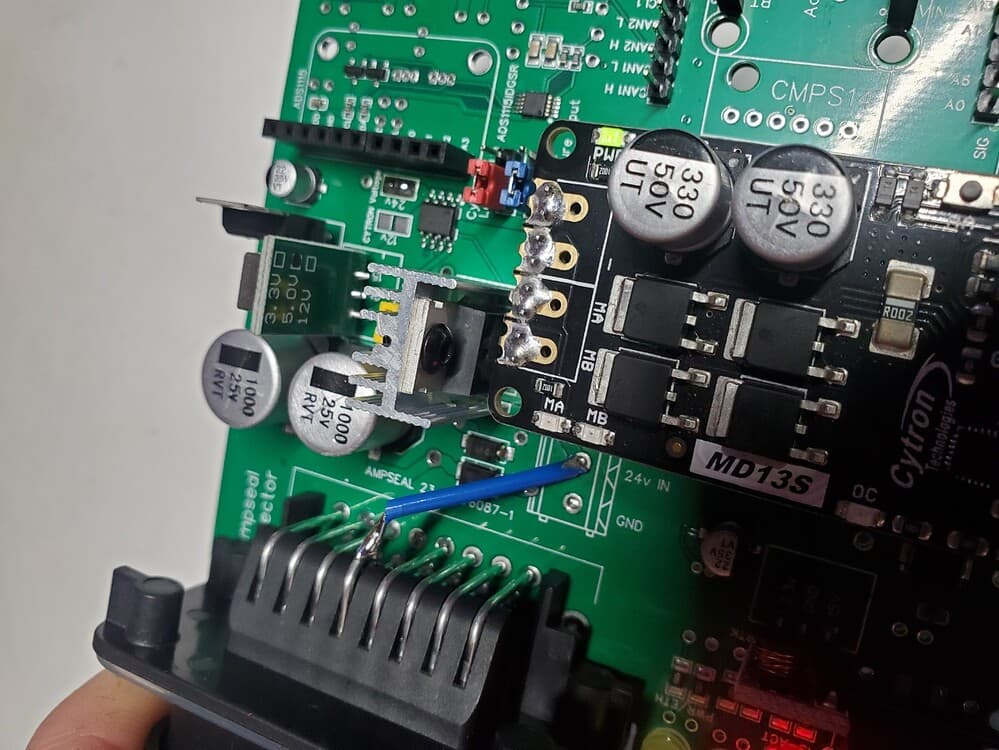
So I have only reallocated pin 4 (extra gnd) as Cytron power on my PCBs.
Had you tried it before modifying? It sounded like the PCB traces should work for the Phidgets but I don’t have one for testing.
This is how I envision a possible new PCB
So I have only reallocated pin 4 (extra gnd) as Cytron power on my PCBs.
I tried that too and it worked with the phidgets motor. don’t forget to add backup wires for Right and Left as @Jhmach recommended. I still think it’s worth it although current is lower on these lines since you have twice the voltage.
what I observe on my test boards: when powering the cytron with 24v, the supply to the 12-24v converter draws more current for the same force compared to when I power the cytron directly with 12v. a bit like if your riding a bicycle and switching to a higher gear.
on my board some of the 24v traces are only 0.5oz thick. this in combination with the above mentioned observation made me decide to go for the complete bypass as shown in my previous post. just to be on the safe side.
but the supply for the converter doesn’t go through the board traces?
typically the current in the 24v circuit should be less than if using all 12v, but yes you would expect the supply load to the convertor will be higher.
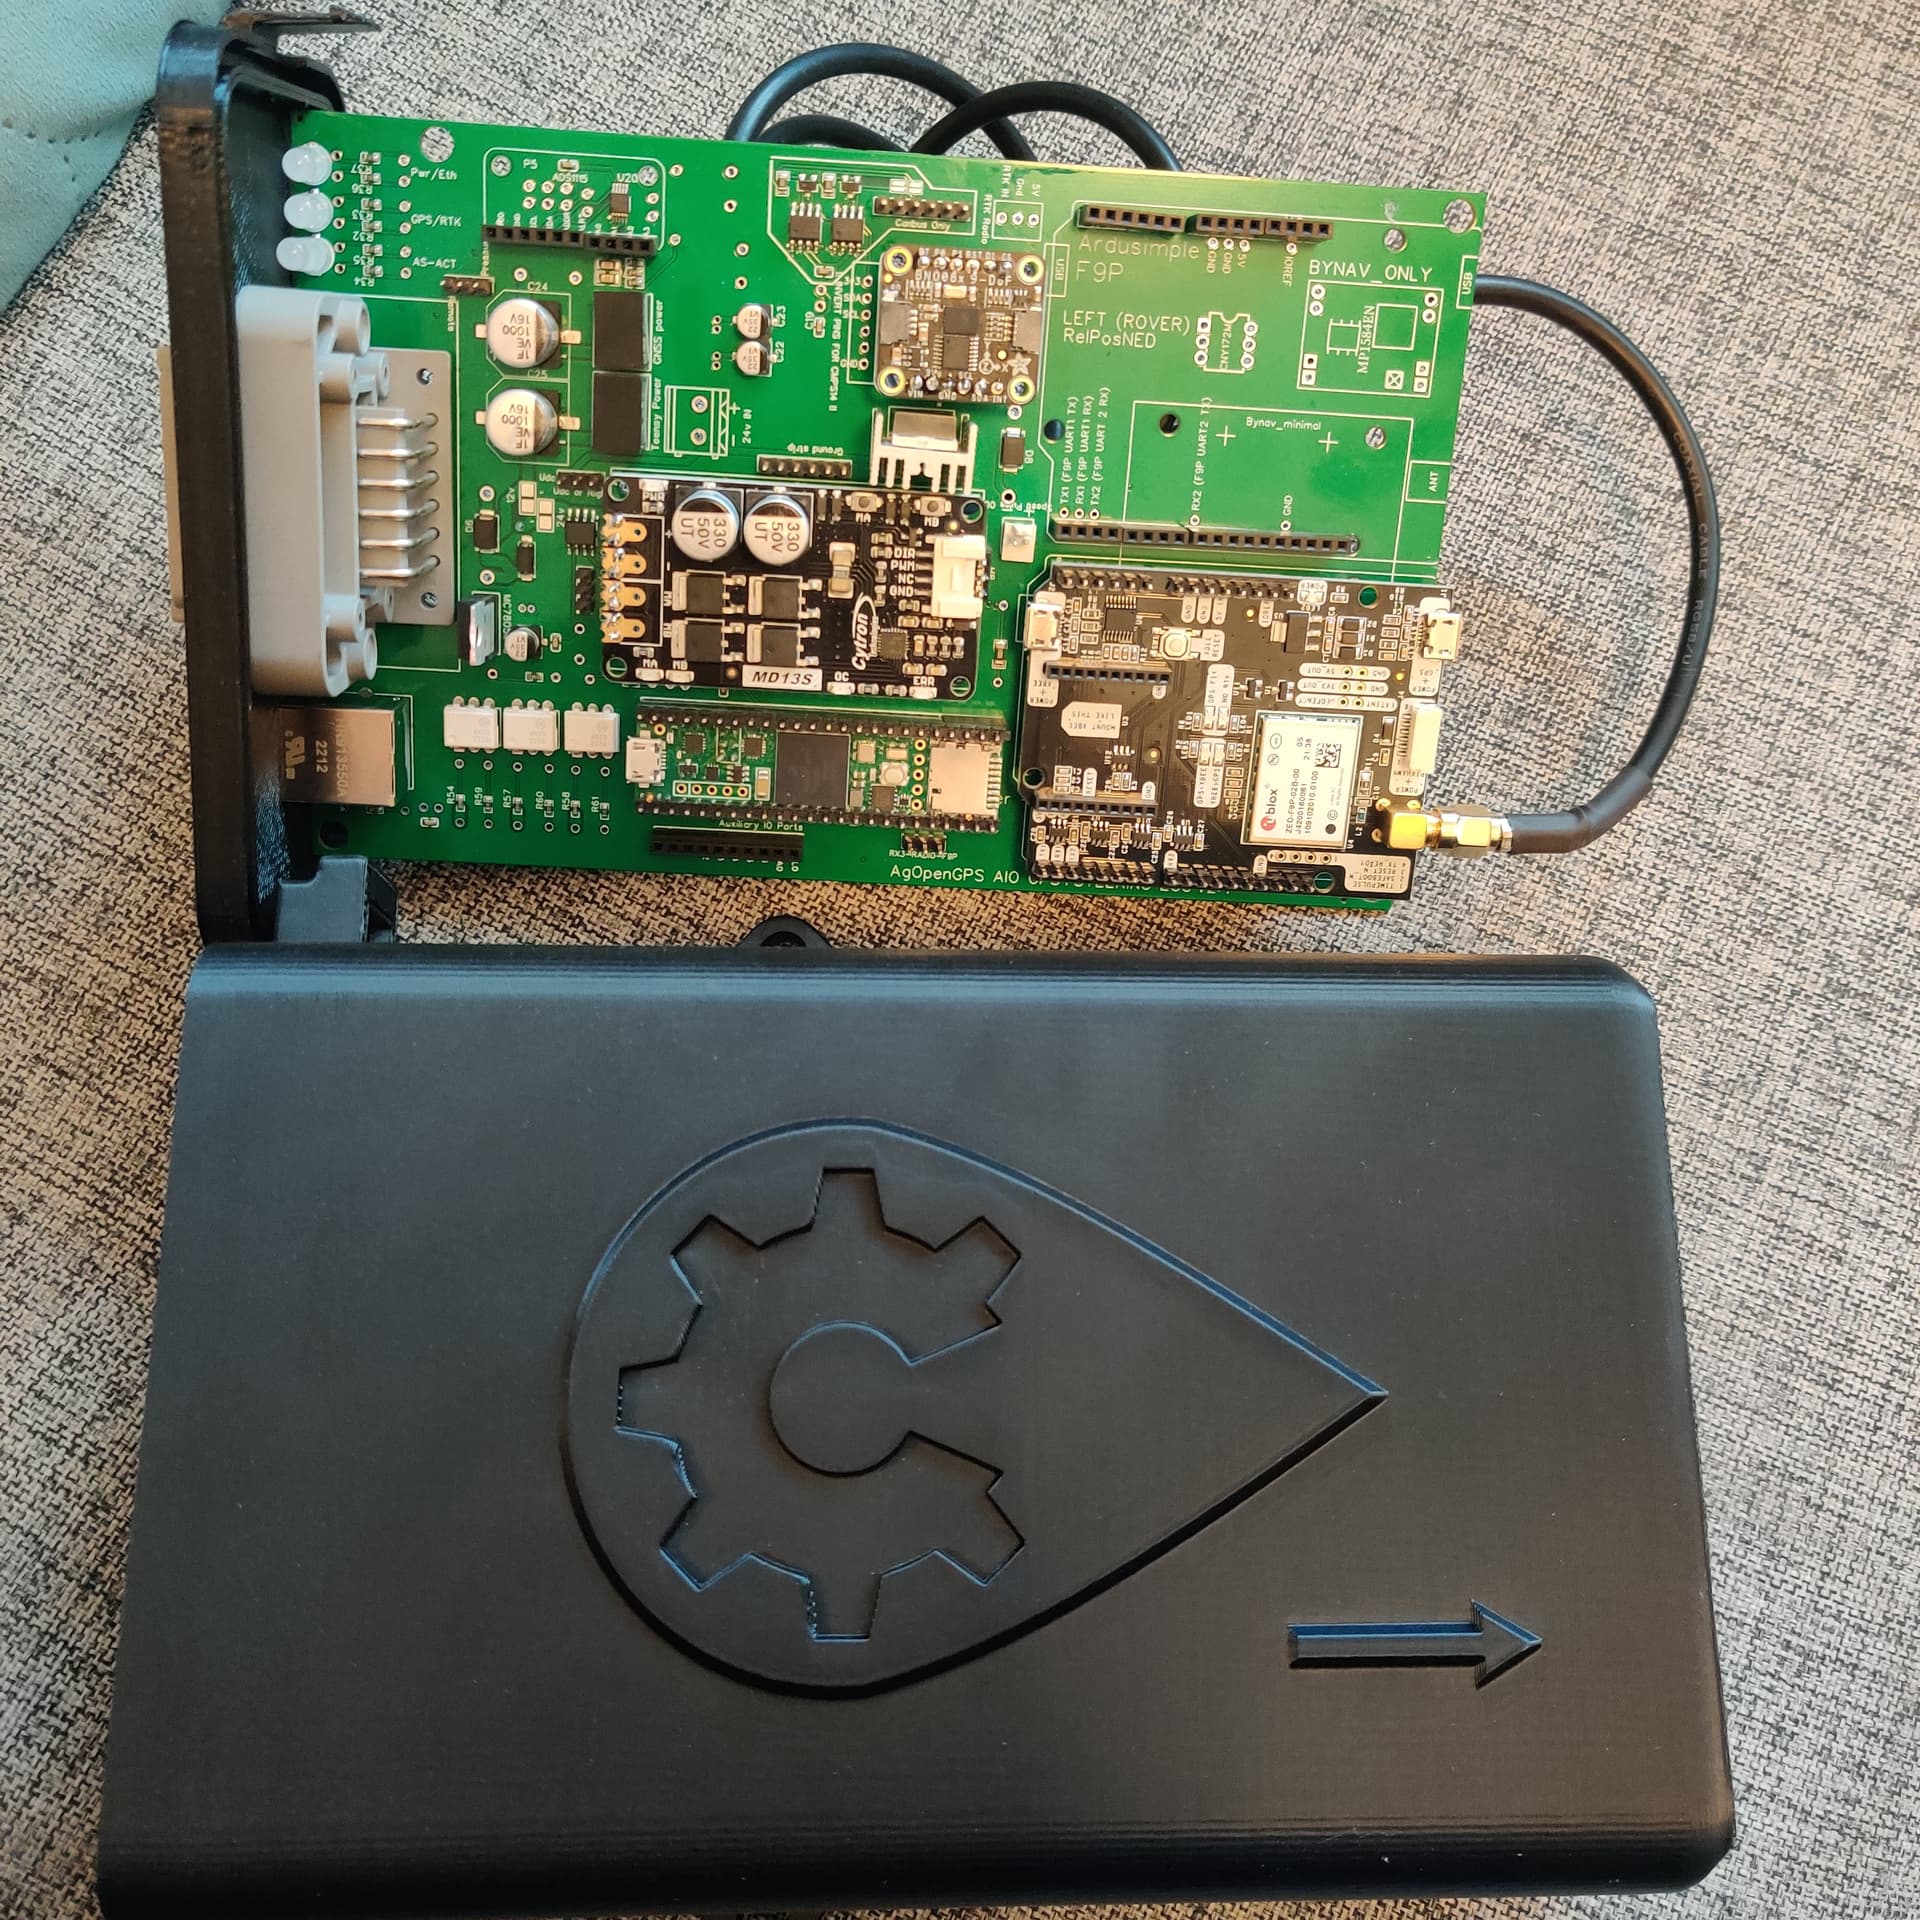
How have you fitted standard F9P to the box? I just received my antenna extenders but with them the board is too long and it hits the back wall.
solution
Correct. The Pando ino times the IMU reading to occur a certain number of ms after the last GGA so that it corresponds closely to the next GGA. hope that makes sense. The PANDA sentence will only be generated after that next GGA comes in.
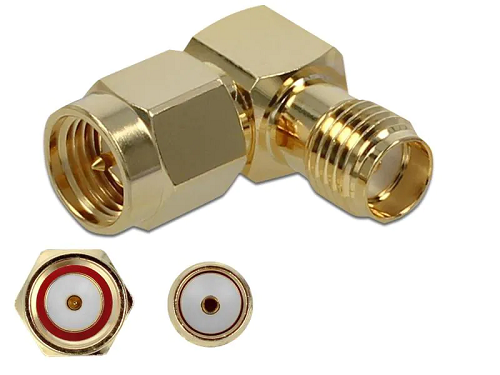
I always hate to use these kinds of things because every adapter like that attenuates the signal a bit. However it shouldn’t be a problem for GPS.
I used the cable with the 90 degree end to avoid another connection
Hello @Vili,
I printed the Micro Ampseal Box and the holes for the F9P antenna connection for the face plate do not line up with the board. JLCPCP used short headers for the micro F9P. Just wanted to let you know in case you want to fix the file for the face plate.
Indeed same problem here. Need to grind a bit to left and down.
Fixed some days a go, redownload files, and print only cover
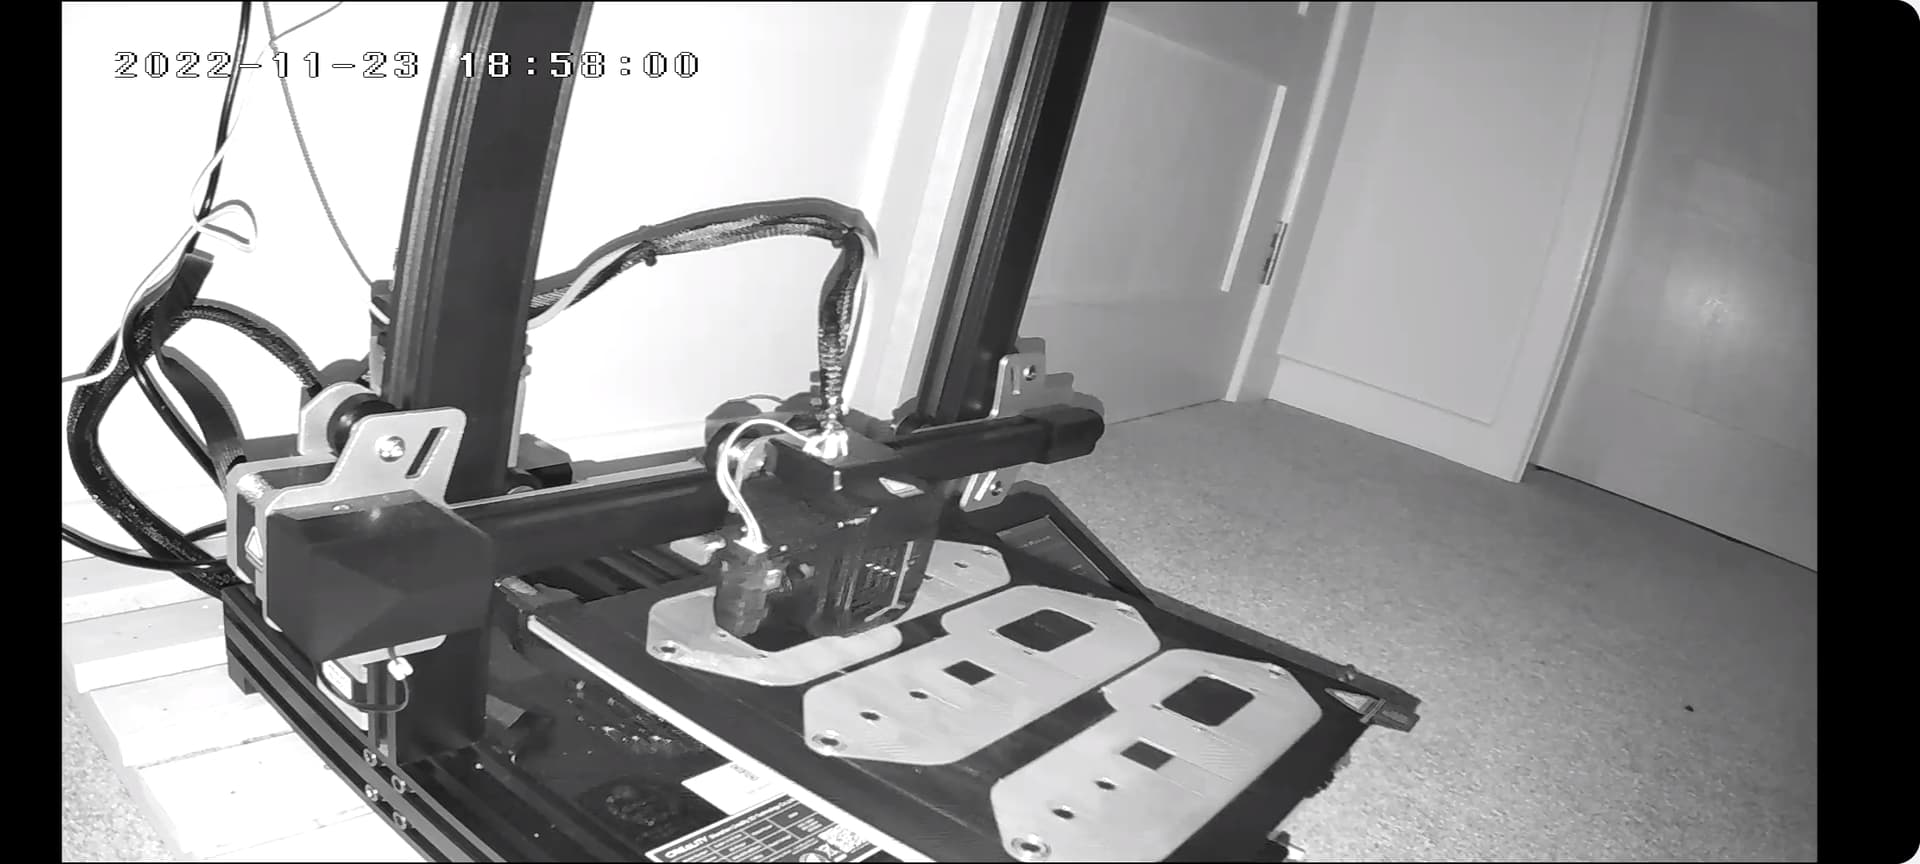
I have to say, fantastic design on these. Can tell a lot of thought went into it, well done and thank you! Took less than 20 hours to do the three complete “micro-screws” cases at 20% infill and less than 600g of filament. Any chance on getting these in *.step files, or have you published the updated CAD files?
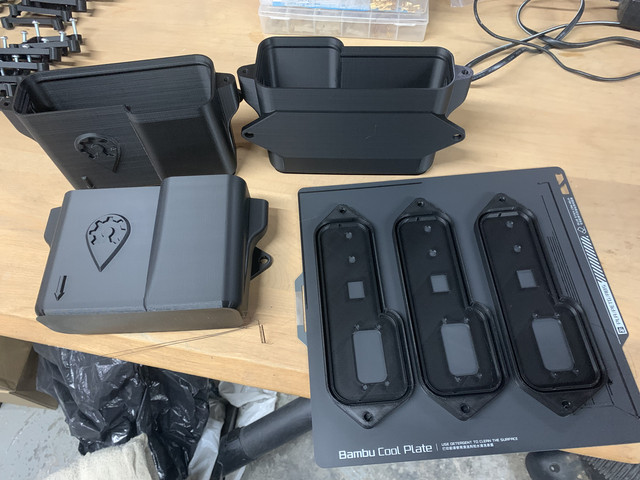
20 hrs? That’s good going!
Pretty impressed with the Bambu Labs X1C, just toss filament in and go.
What model want you?
If you can export the step files for the micro in the snap and screw type with one and two GPS that would be great. I don’t think it’ll make that much difference print quality wise but I’m keen to compare if you don’t mind.
With Cura i can change any print setting in stl file
I make step files, and i will post here url to download it
STEP files are also easier to remix and modify with parametric tools since they are “solid”. Also the curved surfaces stay curved, whereas in the STL they become faceted, which makes modifying the model a bit more computationally intensive with all the triangles.
No warpage or shrinking on such a flat part very impressive.