So, finally getting time to write this one up. While look at a friend’s CVX240, I couldn’t help but admire the nice shiny new 6718S sitting next to it. Very tidy machine, jumped up in the cab, nice monitor… “aye, it’s steer ready”. Me: “oh, do you have RTK etc?”. Owner: “no, no unlocks for anything, it’s just ready”.
Well…
I had that AOG All-In-One board just sitting there, so time to go browse the CANBUS pages and see what all it entailed. I’d already read Tony’s excellent CANBUS for beginners thread and had a feeling this wouldn’t be that difficult.
Was a bit more than I expected, so here’s how I got it working. First, if you haven’t already, go check out how I ordered and built my Micro v2.4 board here. That’ll pretty much get you to the right place where I started with a board that worked for hydraulics, but wasn’t in the least bit useful for CANBUS.
If you’re wanting to follow the buy/build process, the AOG board wiki is here and while under construction, there’s some great info in there.
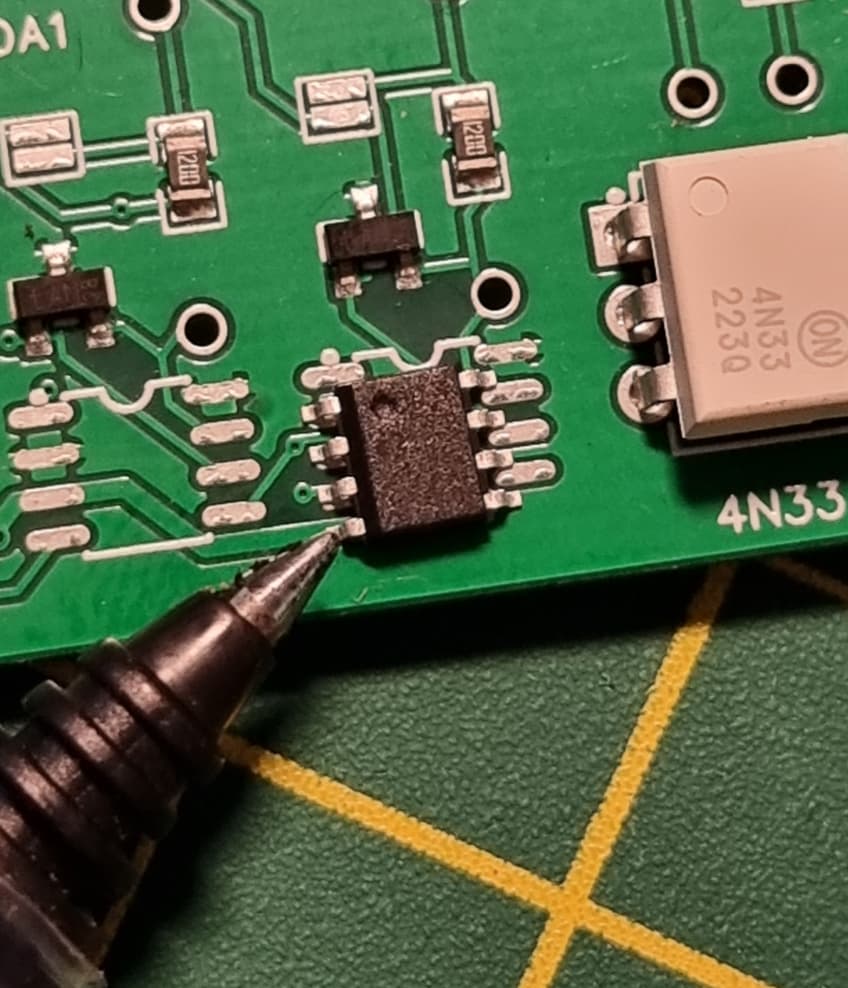
But my board, as it had arrived, wasn’t quite CANBUS-ready. There were no CANBUS transceivers on it, and I was advised that the Teensy was CAN-capable, I just didn’t know what I needed. A bit of help from the team on Telegram pointed me towards these. I ordered 40, as that was the minimum amount I could get without paying postage. Aye, that’s smart thinking eh…
They arrived, and damn, they’re SMALL! Not a little daunting with the soldering iron, but with a fine tip, tinning the contacts first, they actually went on no bother! Yes, that’s a pen-tip, for scale…
So, now I had a board that was supposedly ready for CANBUS. But I wanted to test if I could speak CAN to the tractor and query its steering system. I had already built a CAN-sniffer using an Arduino Nano and an MCP2515 chip, so I had to find the correct jack on the MF to plug it into, make sure I could receive the right PGNs etc. Long story short, you want the one that’s on the outside of the tractor, X184 it’s labelled as - the one lower at the front is X888 (engine/transmission etc) and X183 (nearest the seat) is where you’d find the joystick/hydraulics I believe.
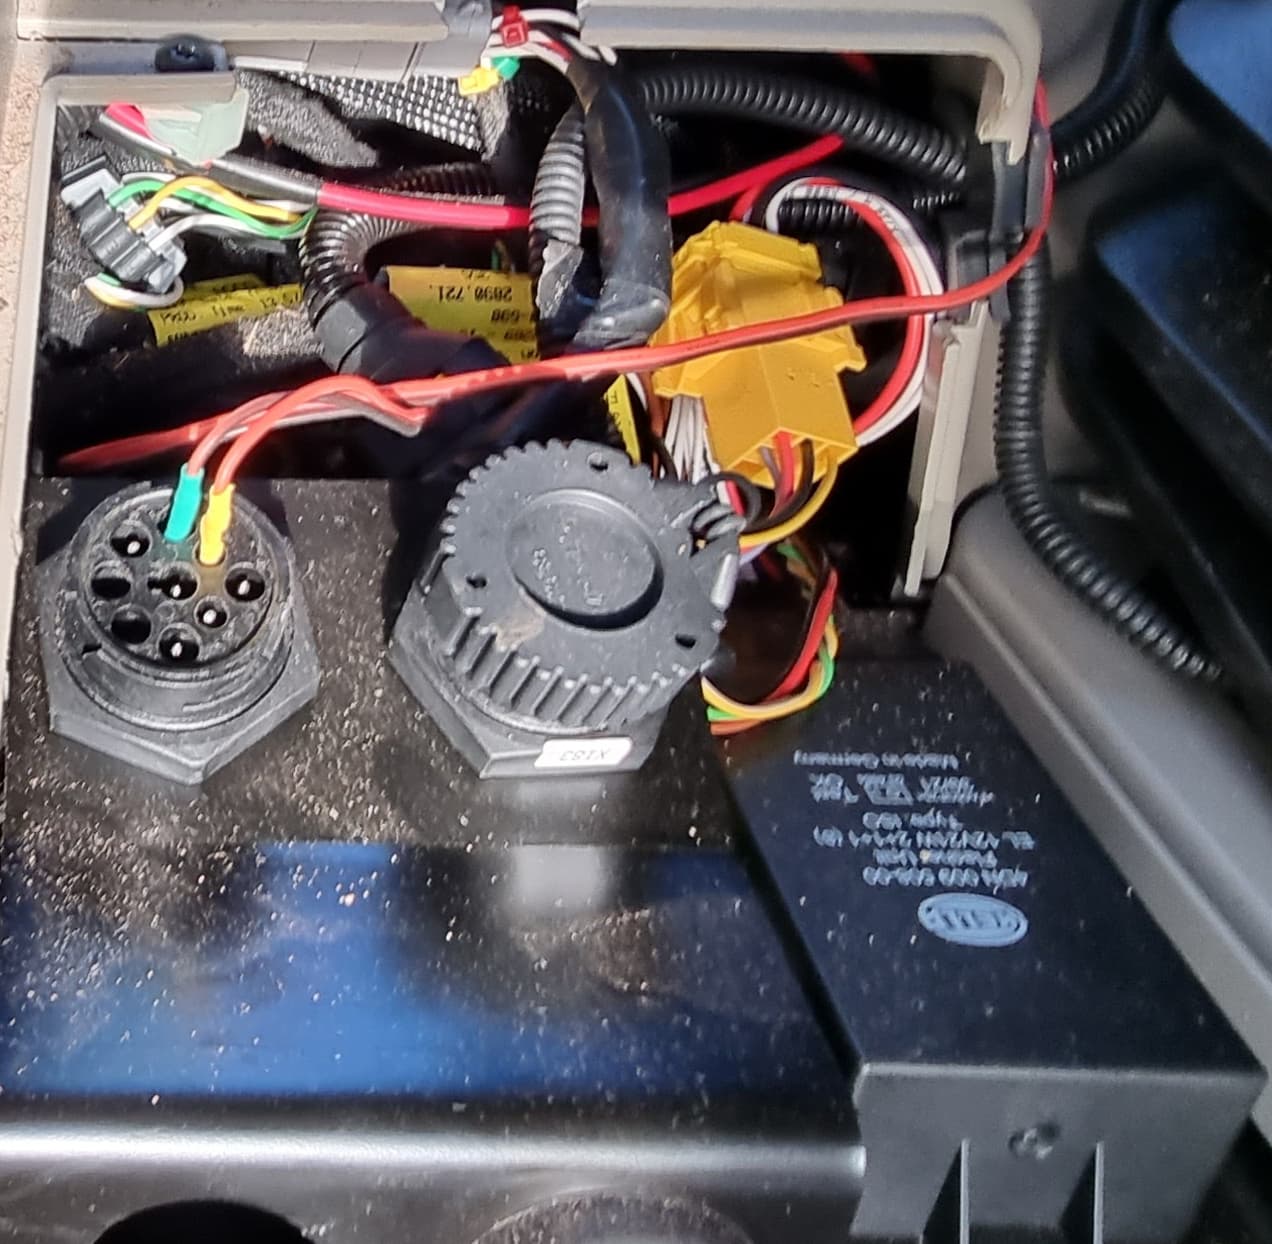
The green wire will go to CAN-L (low, the green grass is low) and the yellow to CAN-H (high, the yellow sun is high).
I used my Nano to ensure I could speak to the bus, and I could - I used this sketch from Tony to engage auto-steer (I’ll document this later how I built the scanner, but it’s largely the same as in Tony’s thread). Fly-by-wire steering a brand new tractor… so that’s fun. And best of all, if you grab the steering wheel, the safeties kick in, auto-steer disengages, and you have to dis/re-engage the toggle switch again to resume auto-steer. In other words, same as if it was factory!
Here’s how that worked out:

So, I knew I could speak to the CANBUS, and I had my AGO board ready to go with the transceivers on it - I loaded Tony’s CANBUS-controlling Teensy code to the board and… nothing. Hmmm.
Fortunately, Tony pointed me in the right direction - his code is written for his own CAN board (which I’m currently building), and needed some tweaks to work with the AIO as he uses different pinouts for the Teensy (and different LED indicators etc). I made those tweaks and am going to try and keep my branch up to date with his changes as he makes them.
You can get my AIO-changed code here.
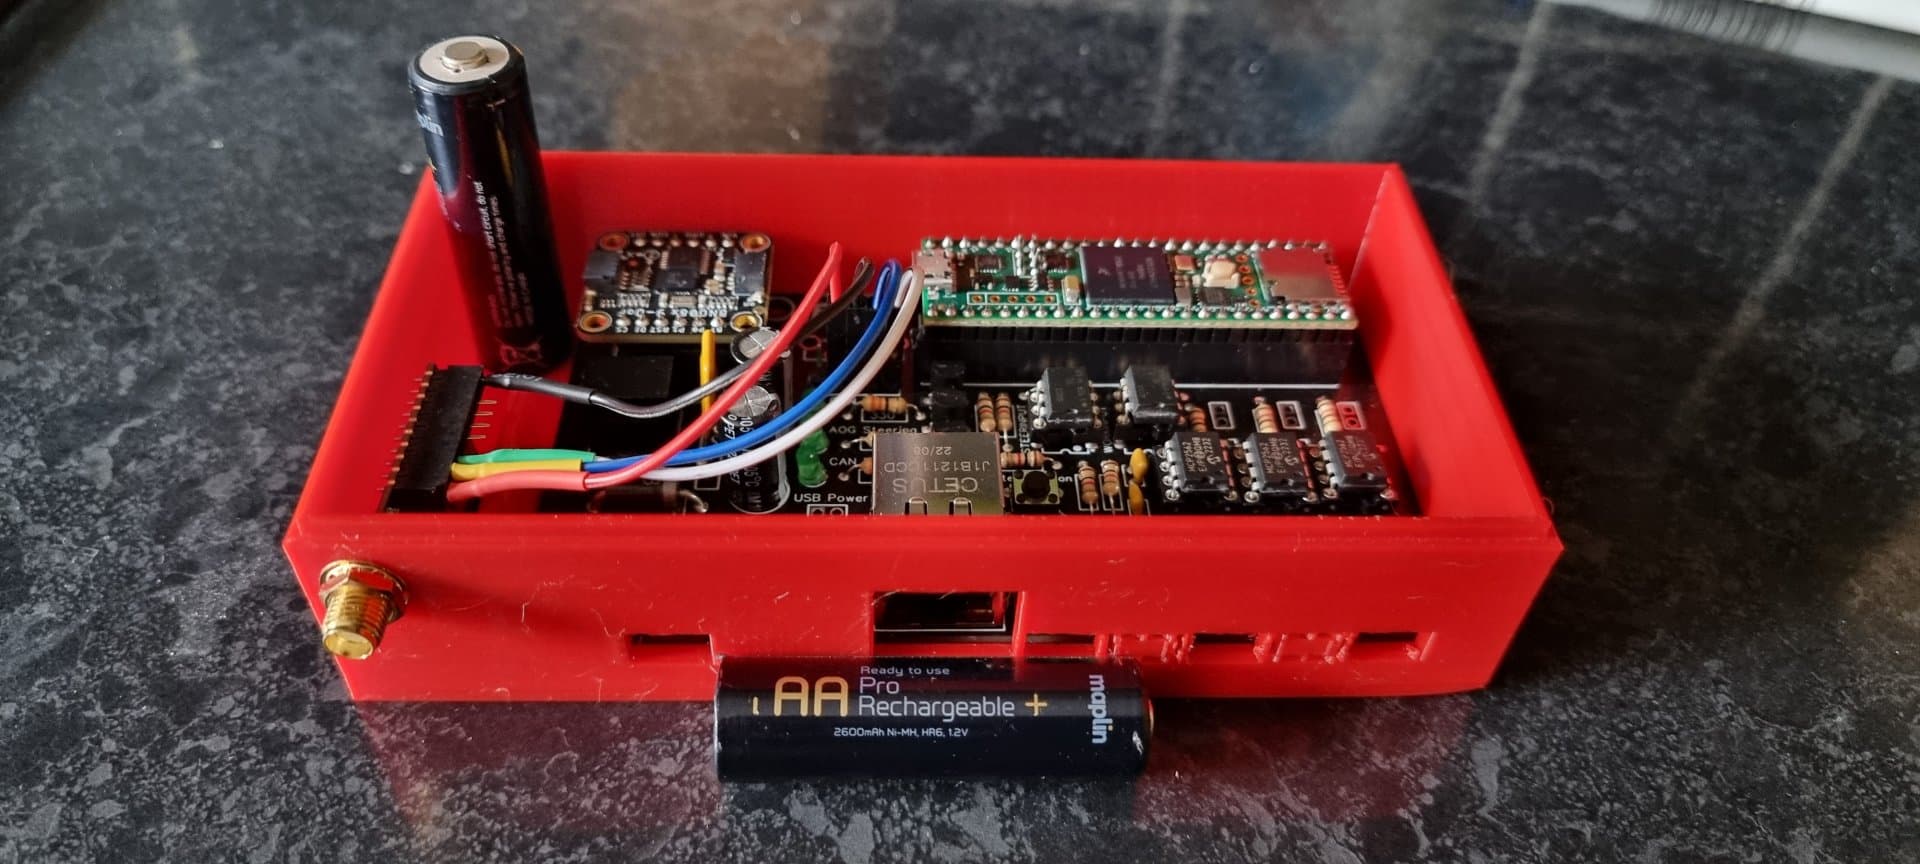
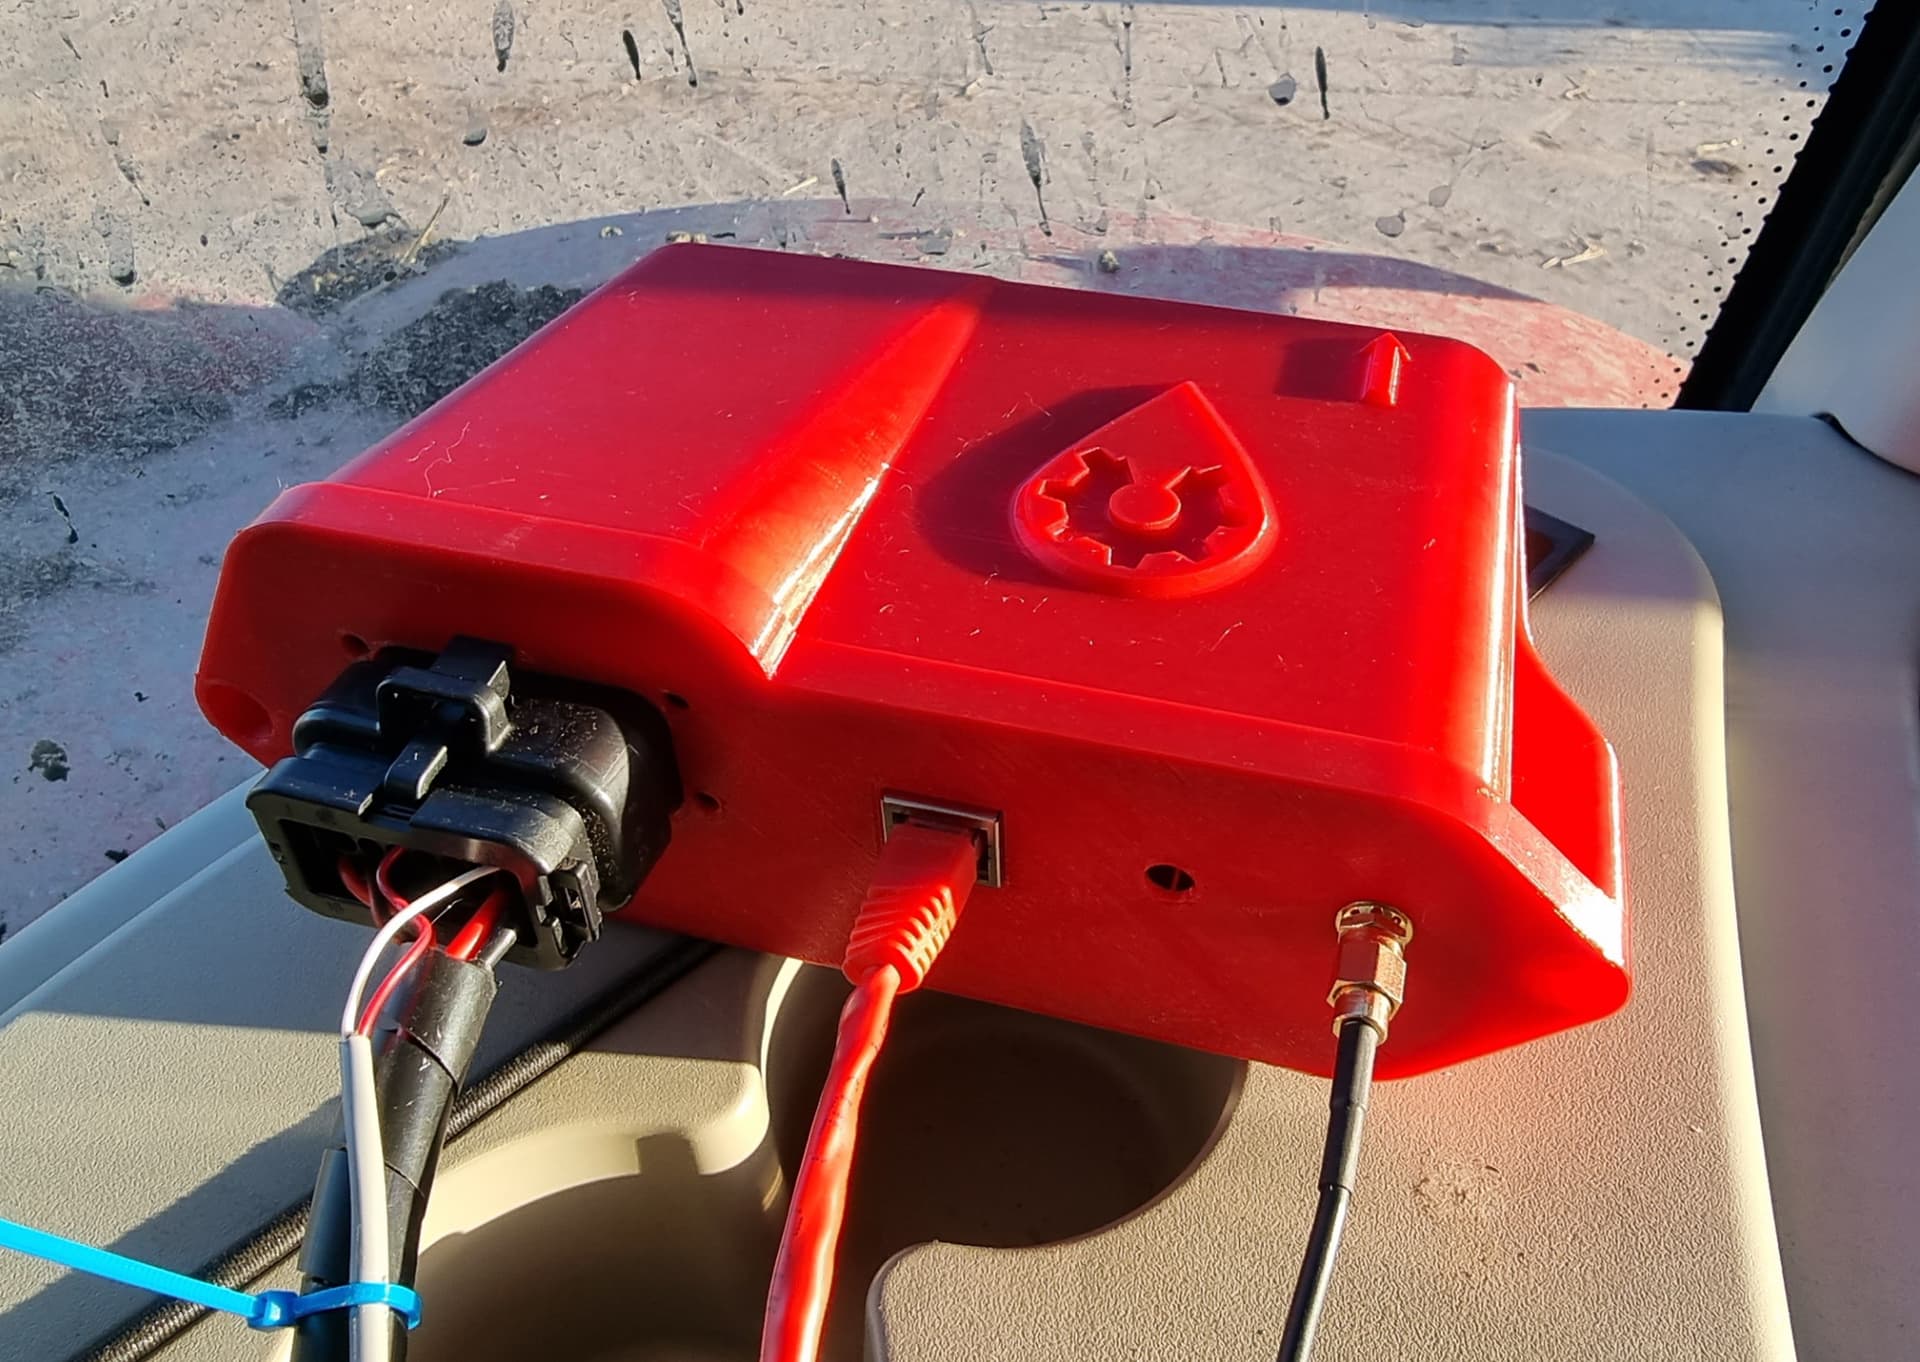
3D-printed out a box…
Made up my loom. Two wires going from CAN1-H/L to the X184 connector as above. Two wires (fused) going to the 3-pin D-connector in the tractor for power. Two wires going to a temporary steer-engage switch until I get the joystick sussed and … we are steering on AOG!

And, that’s about it. Call it around £300 for a used tablet, around £400 in parts for a board and a bit of time to make up. Zero-subscriptions, zero unlocks. Win !
The next task is to integrate auto-steer with the joystick; at the moment, if I engage auto-steer while recording headland management, it spots that I’ve engaged it - but when I play that back, it doesn’t engage it. I guess that’s because it’s essentially clever enough to spot I pressed the button, but it also knows the tractor doesn’t really have auto-steer, so it won’t engage it until unlocks are paid for. No matter, we’ll trap the joystick button direct in time.